
Neapolitan Pizza for a Home Pizza Oven
This Neapolitan-style pizza has a tall, blistered cornicione with a soft, bready chew, bright tomato sauce, and creamy pockets of juicy buffalo mozzarella. It pays homage to the pizzas of Naples while still being practical to make at home.
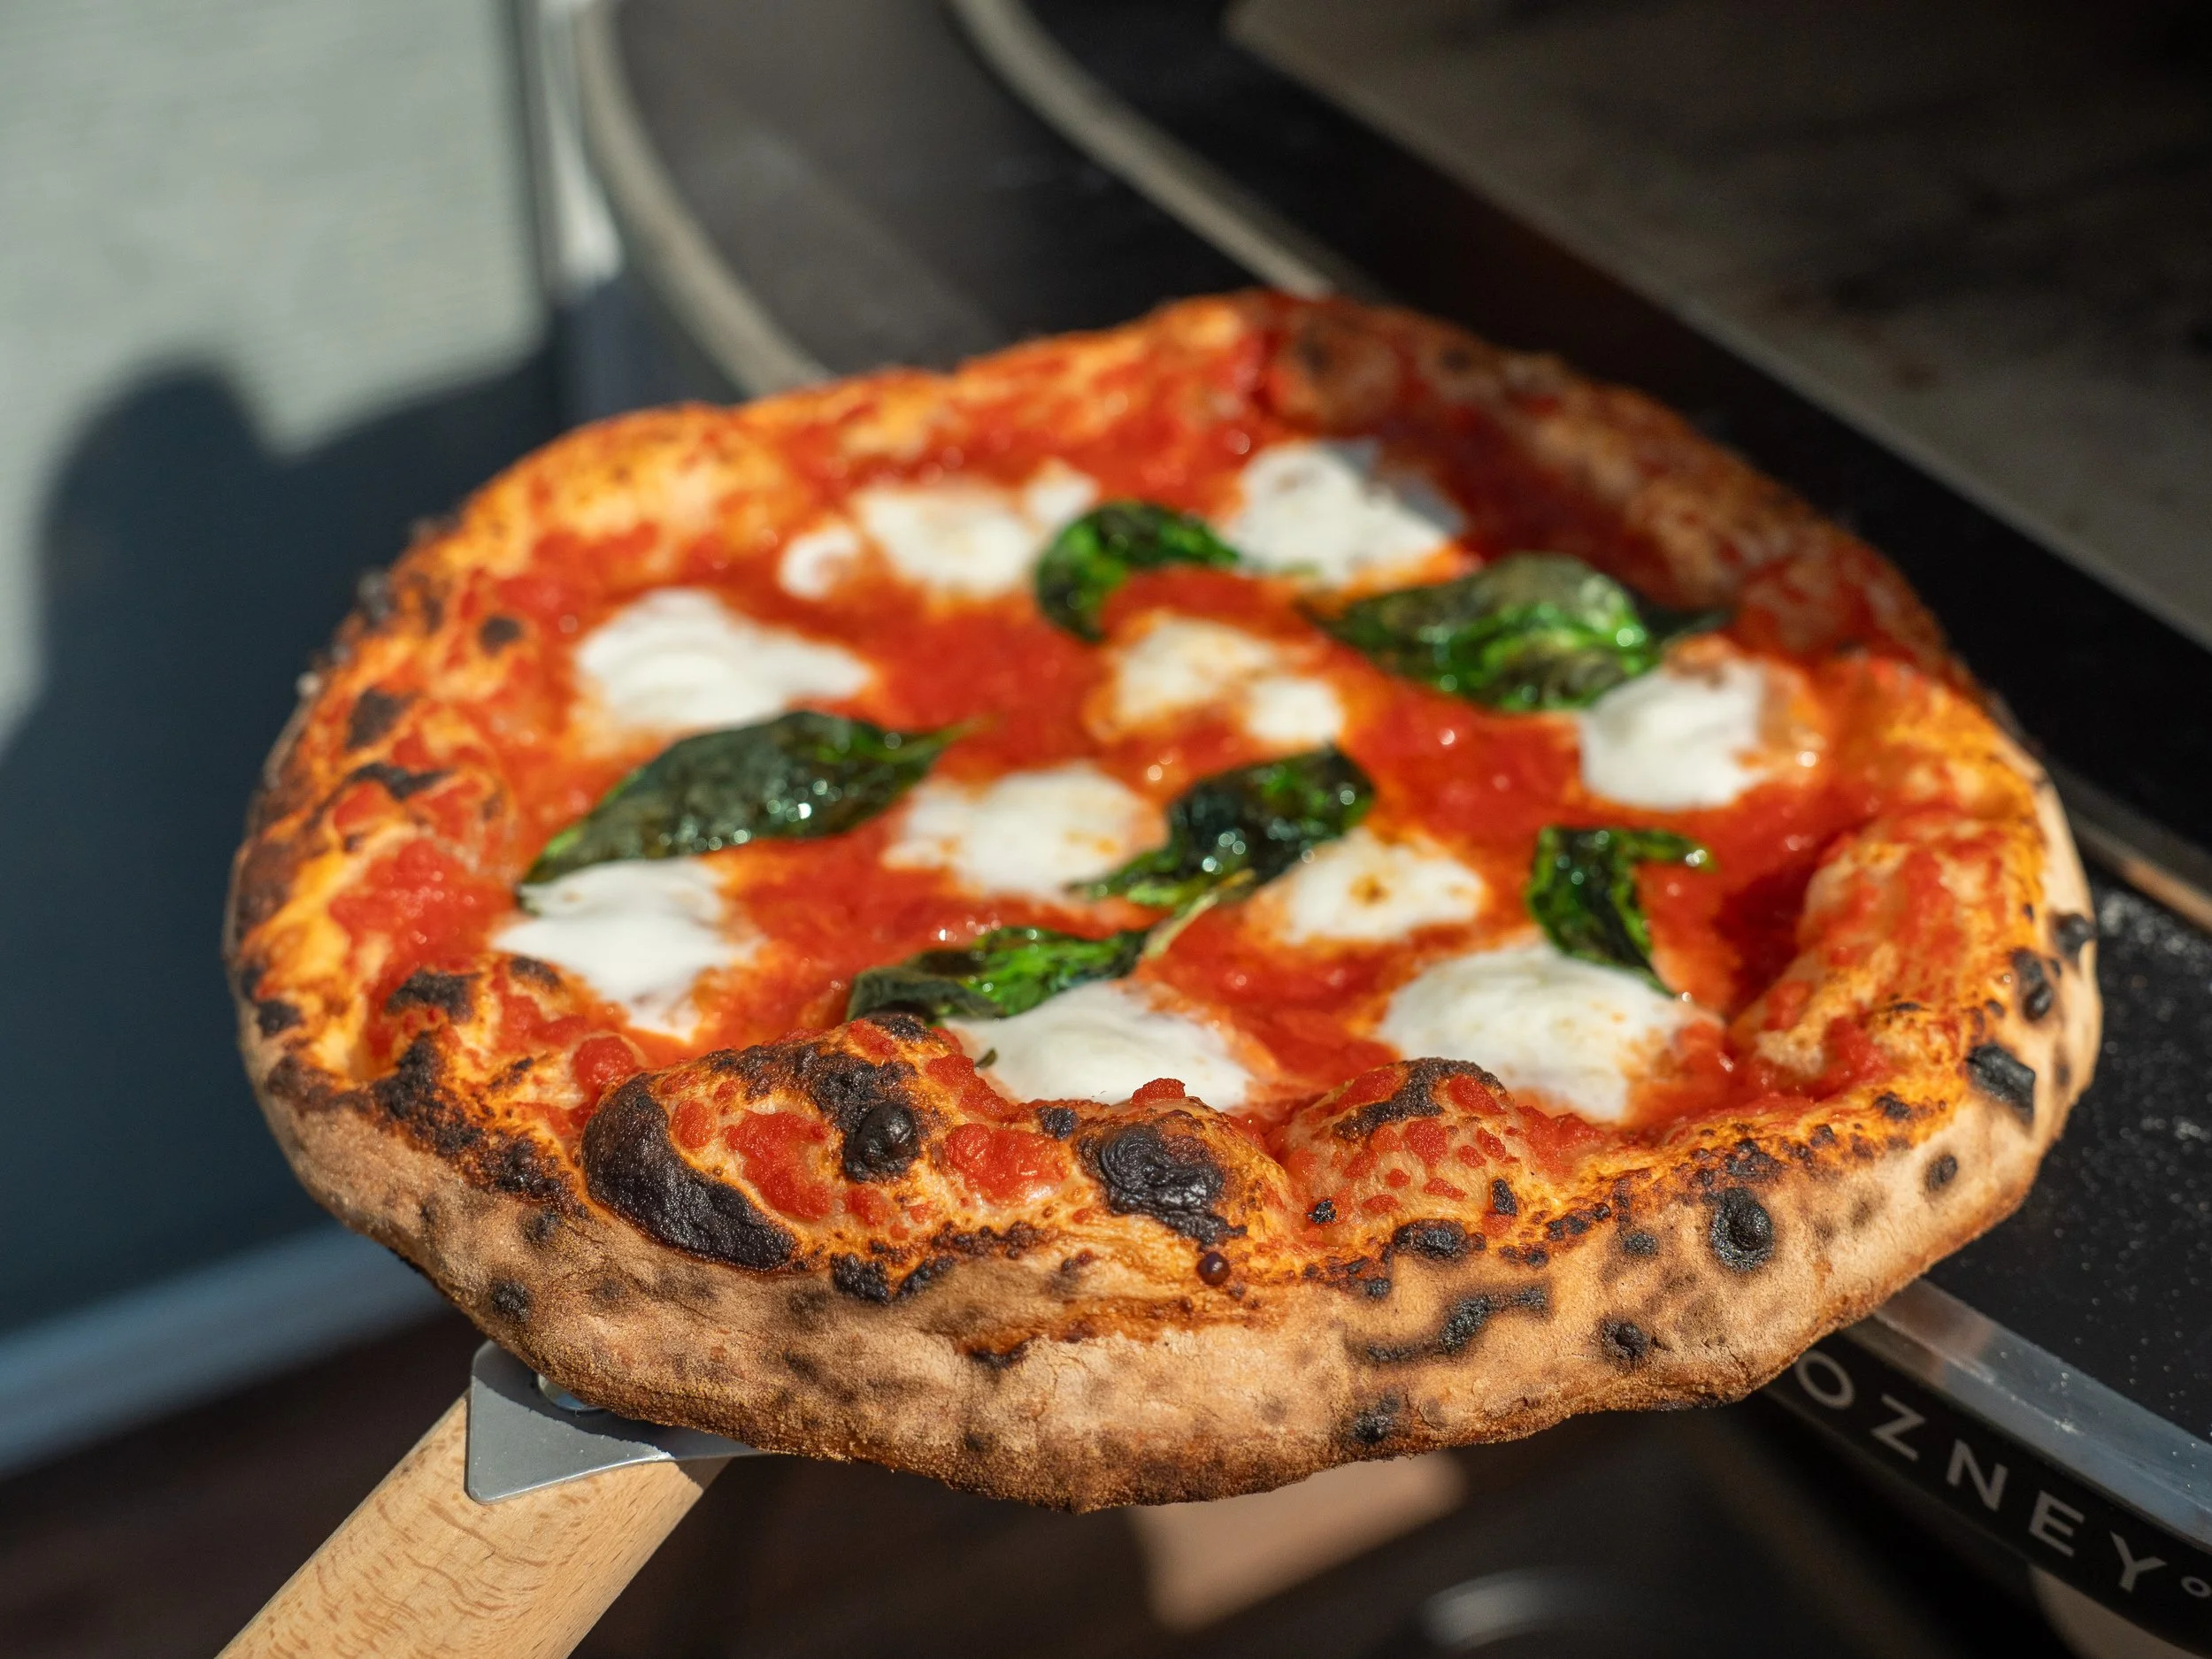
Why This Neapolitan-Style Pizza Delivers
Neapolitan pizza can be the best bite of pizza you’ll ever have, or it can be aggressively mid. Because it bakes at such extreme temperatures, there is very little room for error. The fermentation, oven temperature, shaping, toppings, and bake all need to be dialed in. Otherwise, you’re serving hot bread slop at your pizza party.
My recipe is designed to keep each of those variables under control. A tiny amount of yeast, moderately cool water, and a slow overnight ferment give the dough time to develop flavor without becoming overproofed and bloated with gas. Two strength-building folds develop enough gluten to support a tall, airy cornicione during the bake. Simple, well-chosen toppings keep the pizza balanced, while a properly heated oven and close attention during the bake let the crust blister and char without burning before the rest of the pizza is ready.
If you don’t own and pizza oven and don’t plan to buy one, check out my Neapolitan-ISH pizza recipe that’s adapted to be made in your standard home oven on YouTube HERE.
Brian's Pro Tips
Slow Bulk Fermentation - Using a small amount of yeast and cooler water stretches the bulk ferment to about 10 hours, giving the dough plenty of fermented, yeasty flavor without producing excessive gas. The result is a more extensible dough that stretches easily into a pizza without tearing or fighting back. Basically, you get a high-flavor, low-gas dough that gives you the best shot at the dream Neapolitan aesthetic.
Mind the Room Temperature - Room temperature has a huge effect on fermentation speed. This dough works best in a room that is at least 72°F (22°C); below 70° (21°C), fermentation will slow considerably. In a warmer room, expect the dough to finish sooner. For example, at around 76°F (25°C), the bulk ferment may be done in about 8 hours.
Pop the Center Bubbles Aggressively - A thin surface bubble can turn black almost instantly in a 900°F (480°C) oven. Pop any obvious large, thin surface bubbles before topping, including any that form on the rim. Just avoid pressing down or generally degassing the outer crust.
Heat the Stone All the Way Through - A hot reading on the surface is not enough. The stone needs time to absorb and store heat so the floor does not crash when the cool dough lands on it. In my oven (which is a Gozney Dome XL), that means a full hour at maximum heat, followed by a short cooldown before baking.
Key Ingredient Notes & Substitutions
These are the important ingredients I want to call out in this recipe, but a full list of ingredients and amounts can be found in the recipe card below.
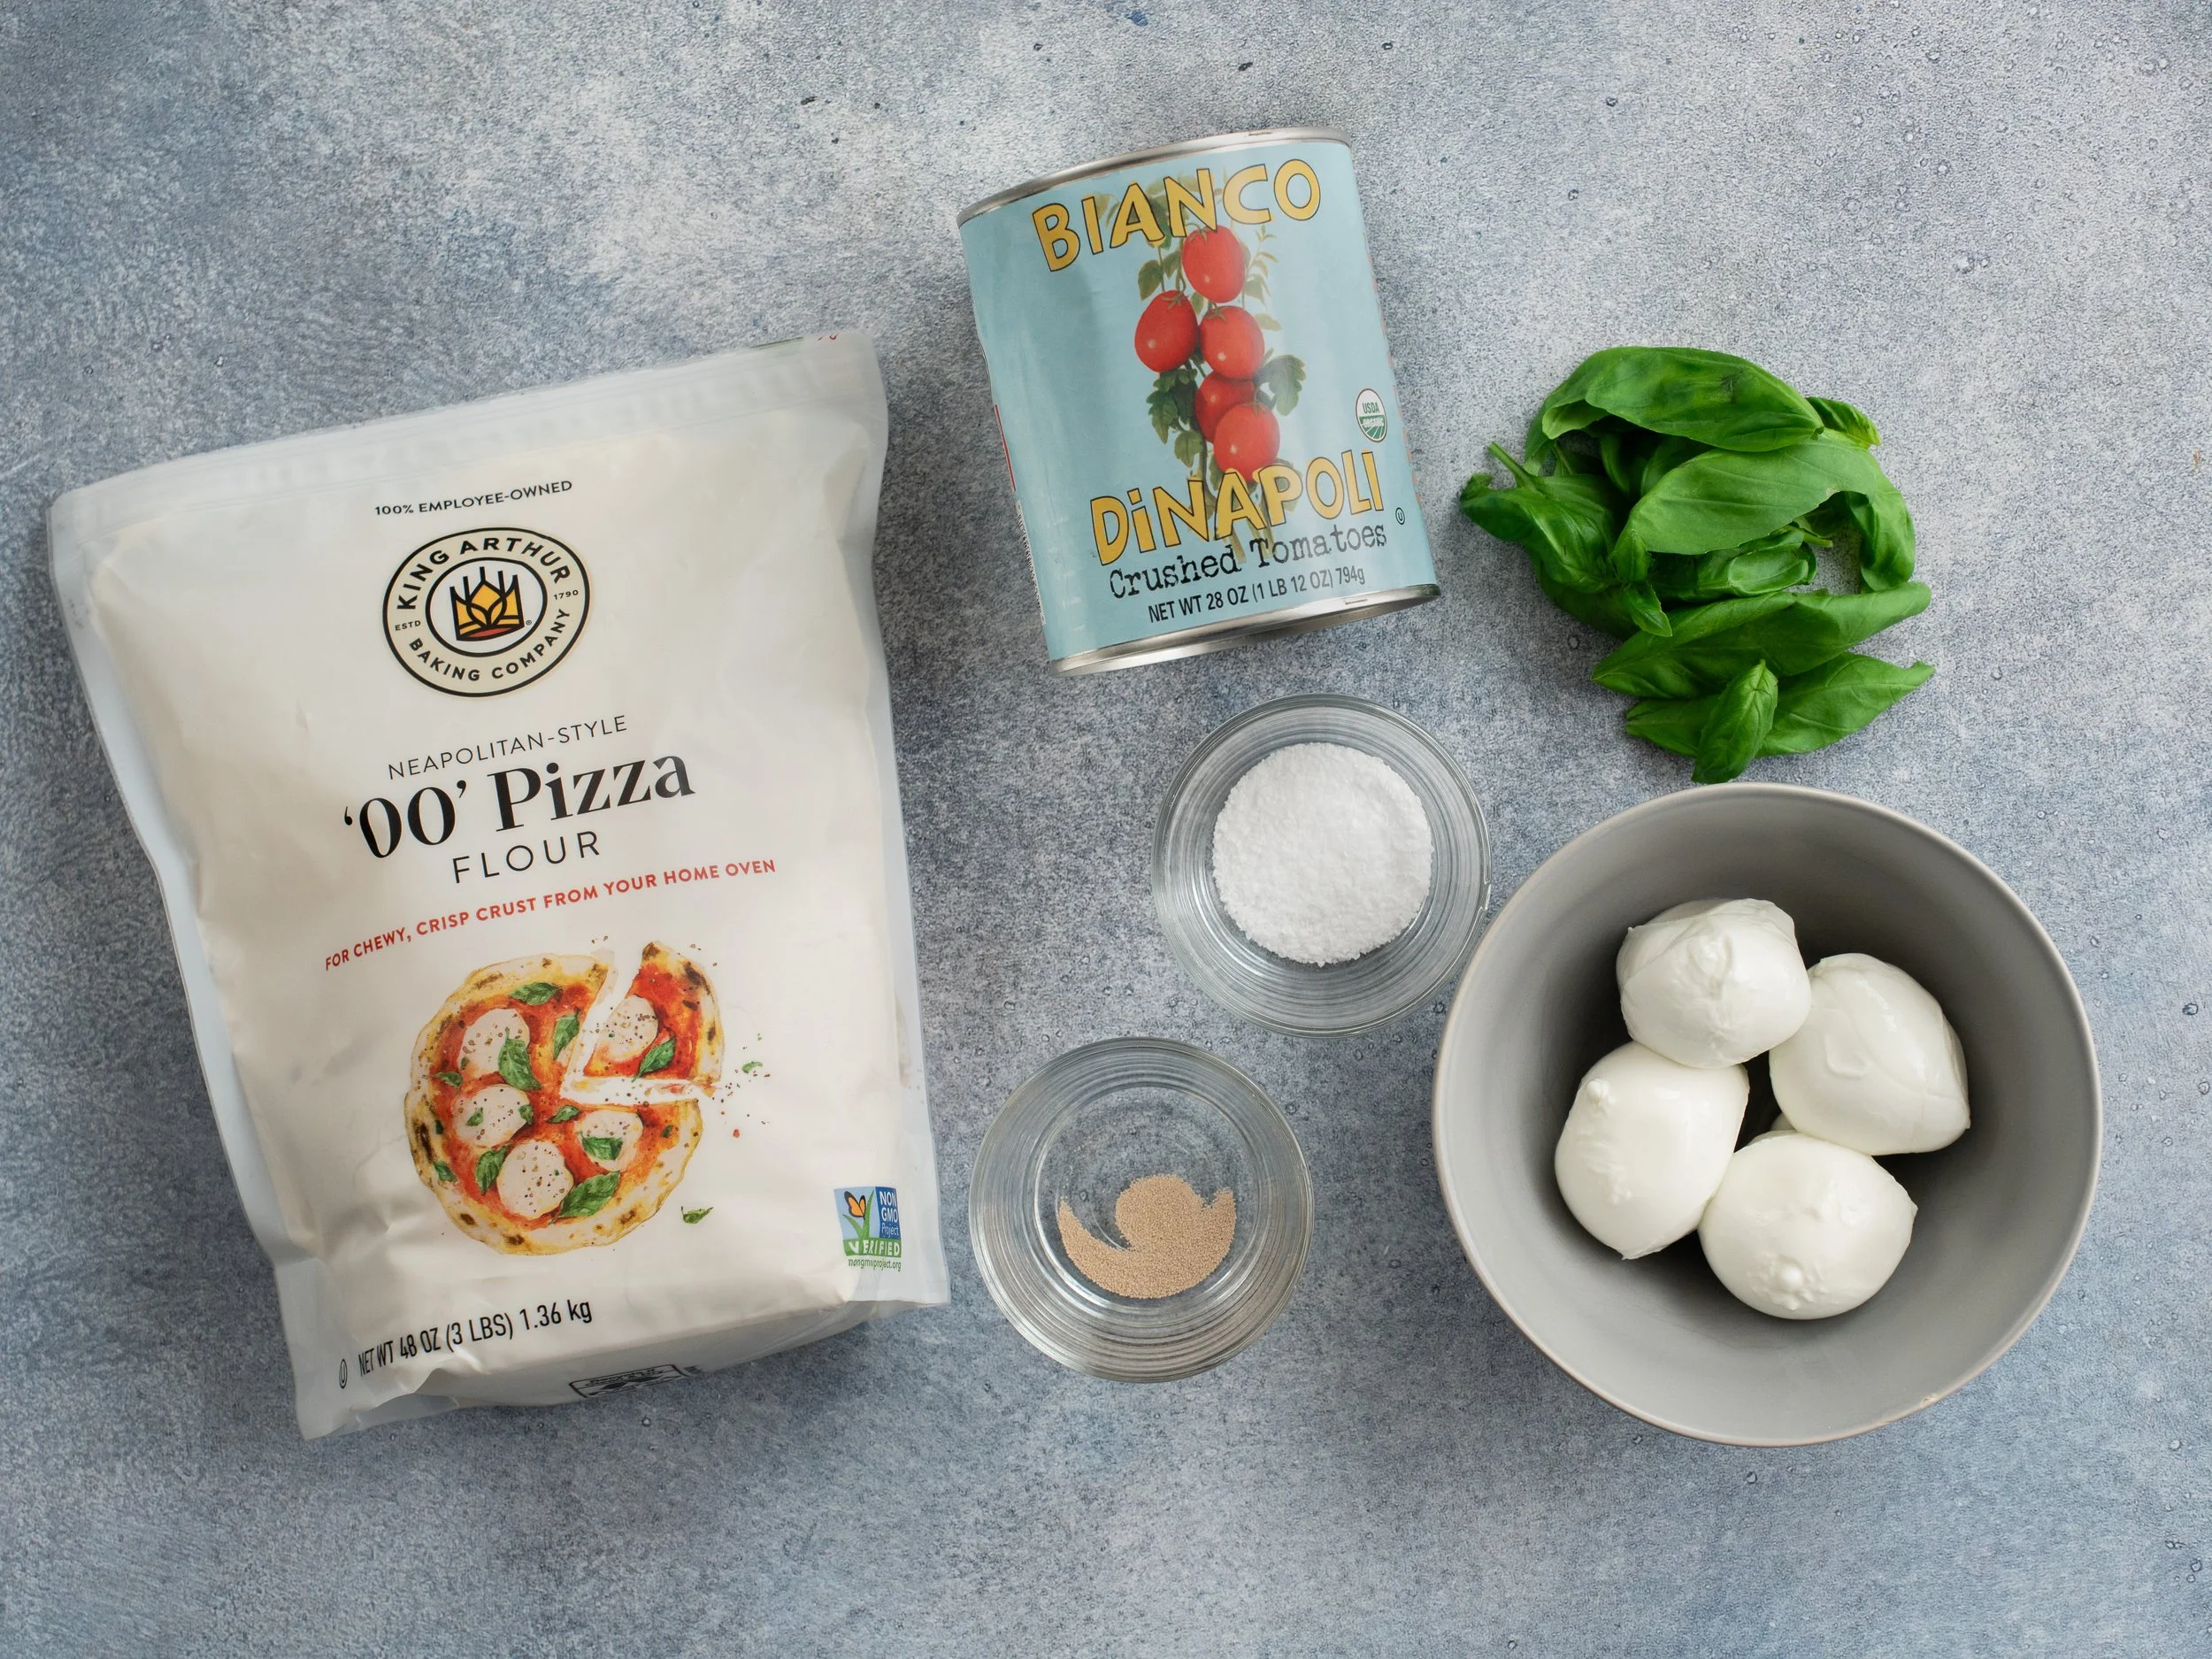
Instant Yeast - The 0.7 to 0.8 grams is not a typo. It is roughly three-quarters of a 1/4 teaspoon. That tiny amount keeps the dough from racing through its 8 to 10 hour room-temperature ferment. A scale that reads to the tenth of a gram makes this much easier to repeat. (here’s a shameless plug to sign up for my mailing list to find out when my scale comes out)
00 Flour - 00 flour is finely milled and gives this style of pizza its signature tender chew. Bread flour is the best substitute, but expect a slightly less tender and luxurious chewiness. Most bread flour has some malt powder in it as well which will make the crust brown faster at the Neapolitan baking temperatures, so stay frosty. I’m using a trusted go-to, King Arthur brand, for this recipe.
Crushed Tomatoes - Traditional Neapolitan pizza calls for whole peeled San Marzano DOP tomatoes, but I do not think that is necessary. Just use canned tomatoes that taste good straight from the can. I use lightly blended Bianco DiNapoli crushed tomatoes because they are bright, sweet, consistently delicious, and have the texture I prefer. Hand-crushed whole peeled tomatoes work too, and are traditional, but they make a sauce that is looser than I prefer.
Fresh Mozzarella - Cheese choice matters a lot, actually, and not all fresh mozzarella is created equal. I would go out of your way to find a juicy, sweet buffalo-milk mozzarella. For this high-heat style of pizza, you need a soft, creamy cheese that melts quickly and has a milky wetness to it.
Most fresh mozzarella in the US is designed for caprese salad or pizza baked at much lower temperatures than Neapolitan. The curd is usually cooked more, which makes the cheese drier and can leave it rubbery and bouncy instead of soft and luscious. I use BUF brand bocconcini, which I can usually find at Whole Foods or the Italian market near my house.

Recipe
YIELD: Four 12-inch pizzas
INGREDIENTS
Dough
• 450g cool water, 73 to 75°F
• 0.7 to 0.8g instant yeast (about three-quarters of a 1/4 teaspoon)
• 665g 00 flour
• 18g salt
Tomato Sauce
• 1 28-ounce can (790g) crushed tomatoes, preferably Bianco DiNapoli
• 7g (1 1/4 teaspoons) salt
Toppings
• 70 to 80g tomato sauce (about 1/3 cup)
• Fresh buffalo-milk mozzarella, torn into small pieces
• Fresh basil leaves
• Extra-virgin olive oil
• Flaky salt
How to Make Neapolitan-Style Pizza
Mix the Dough
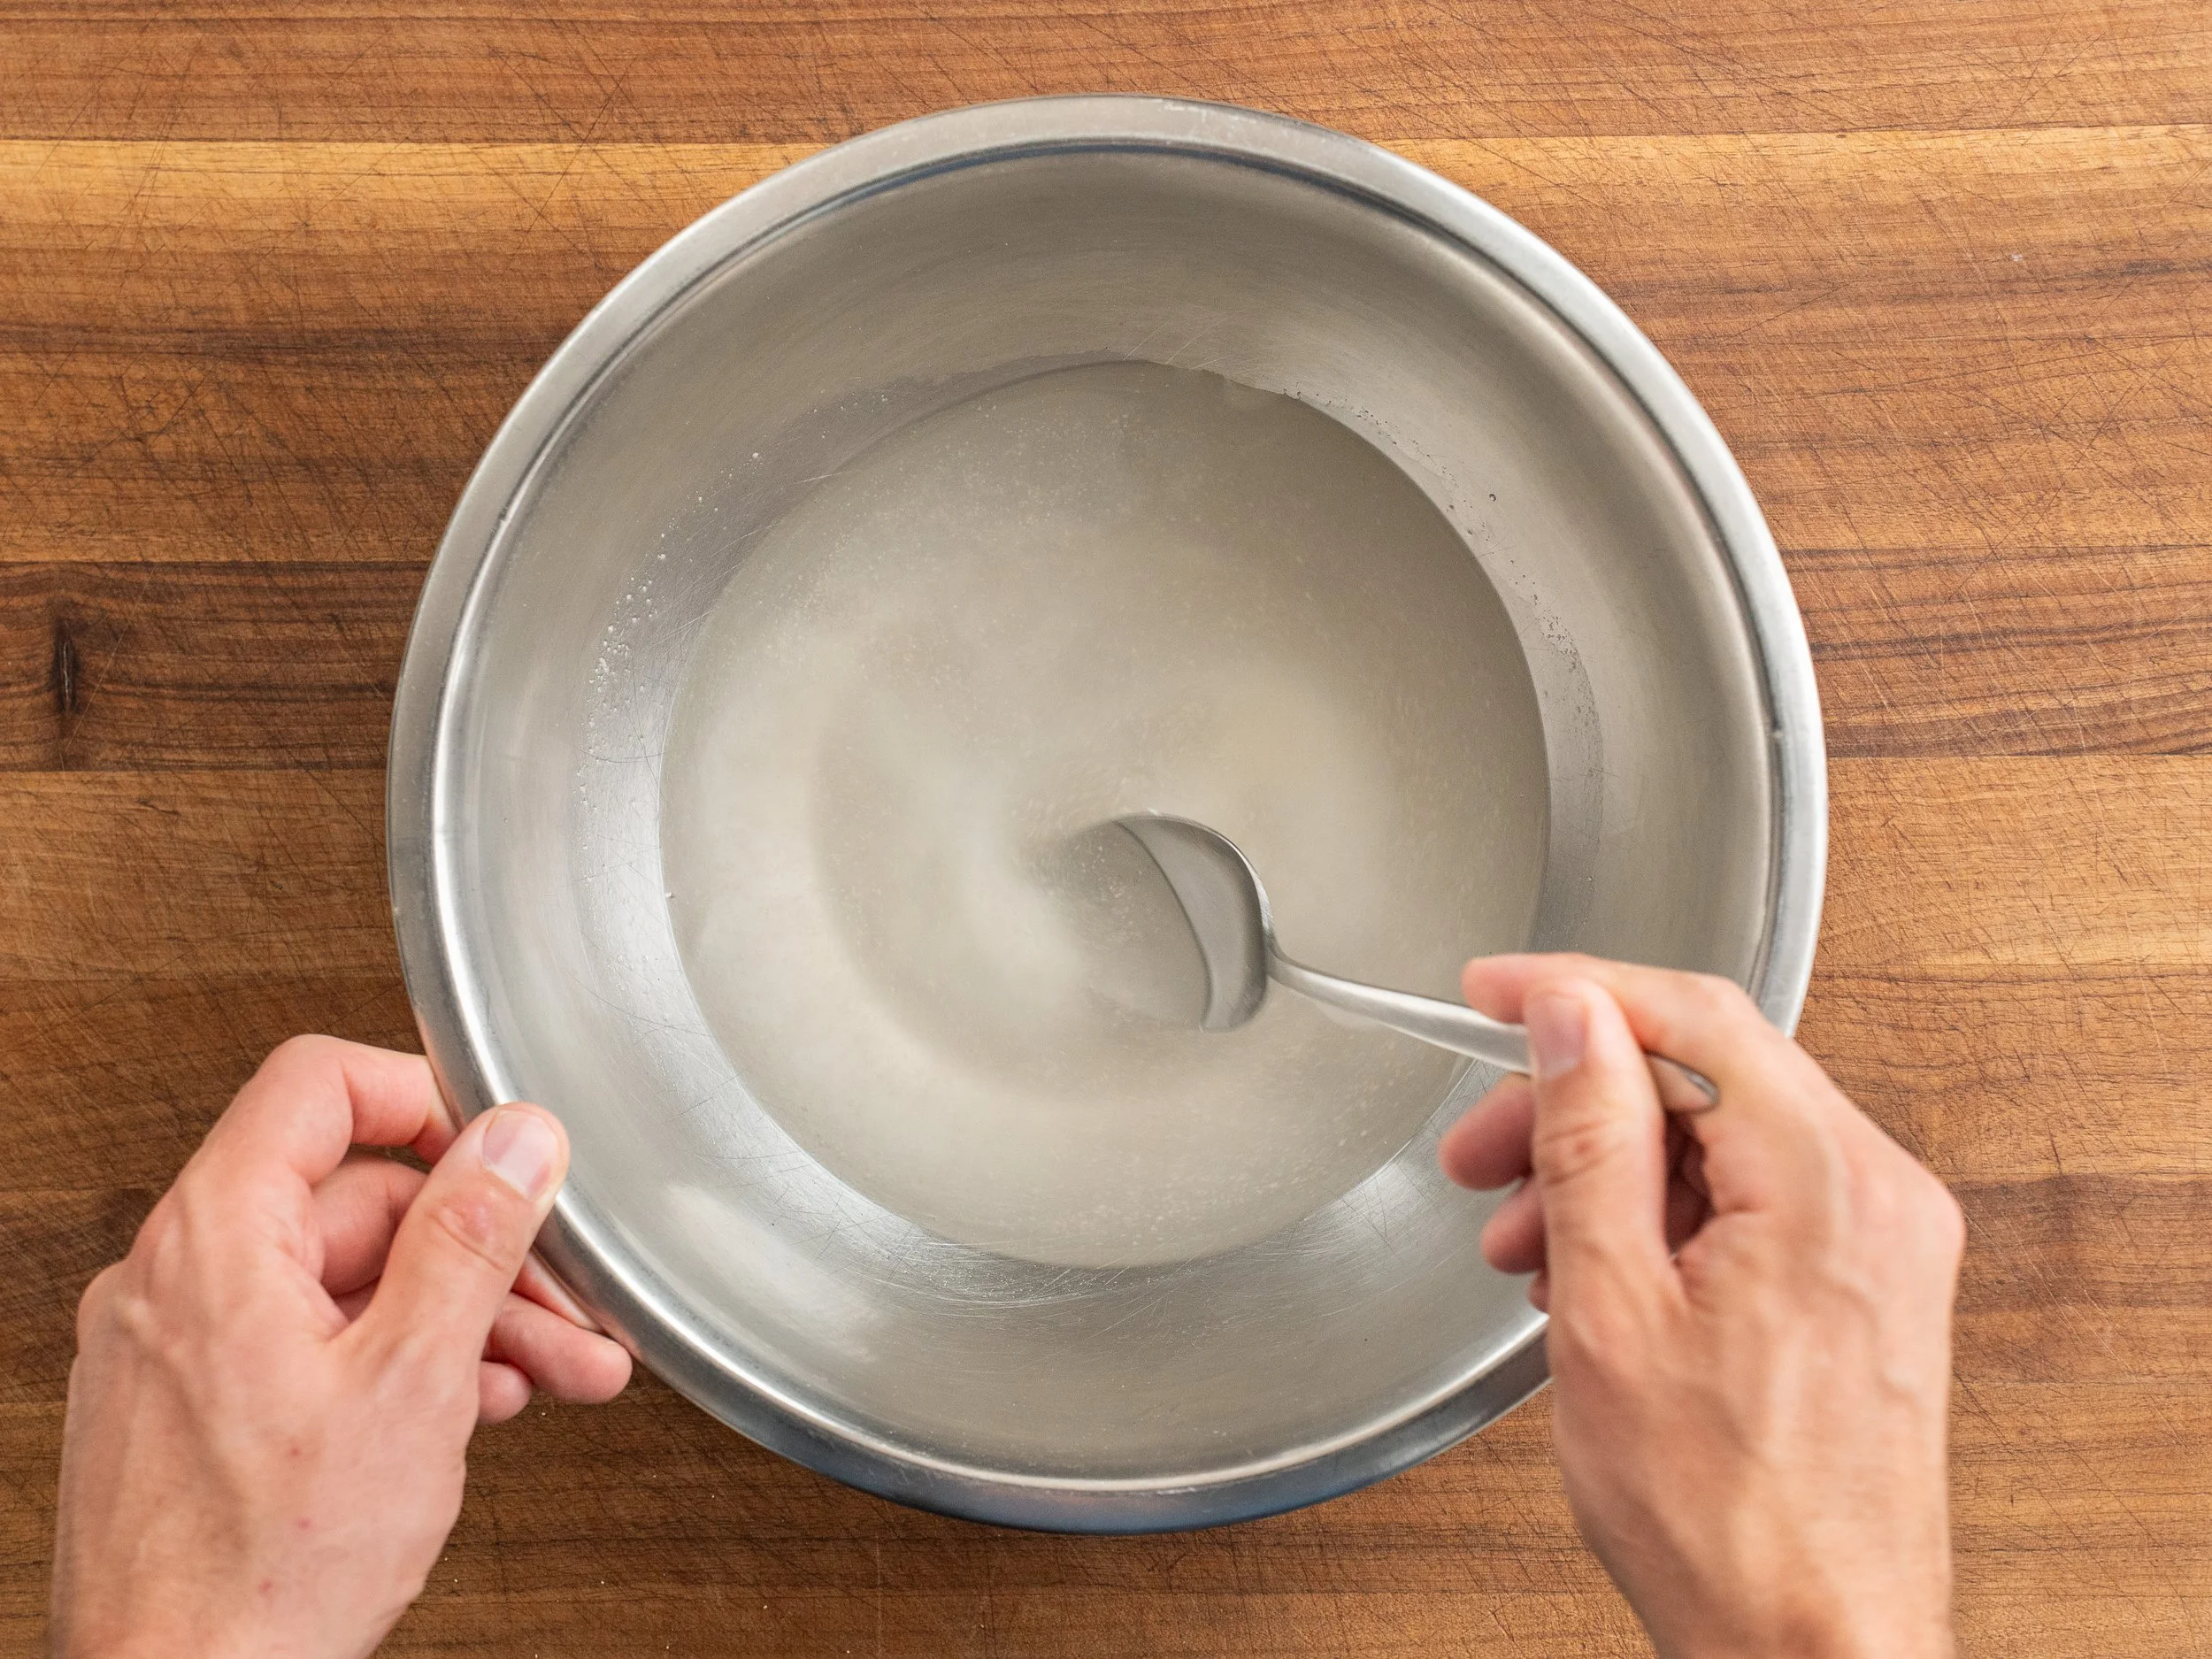
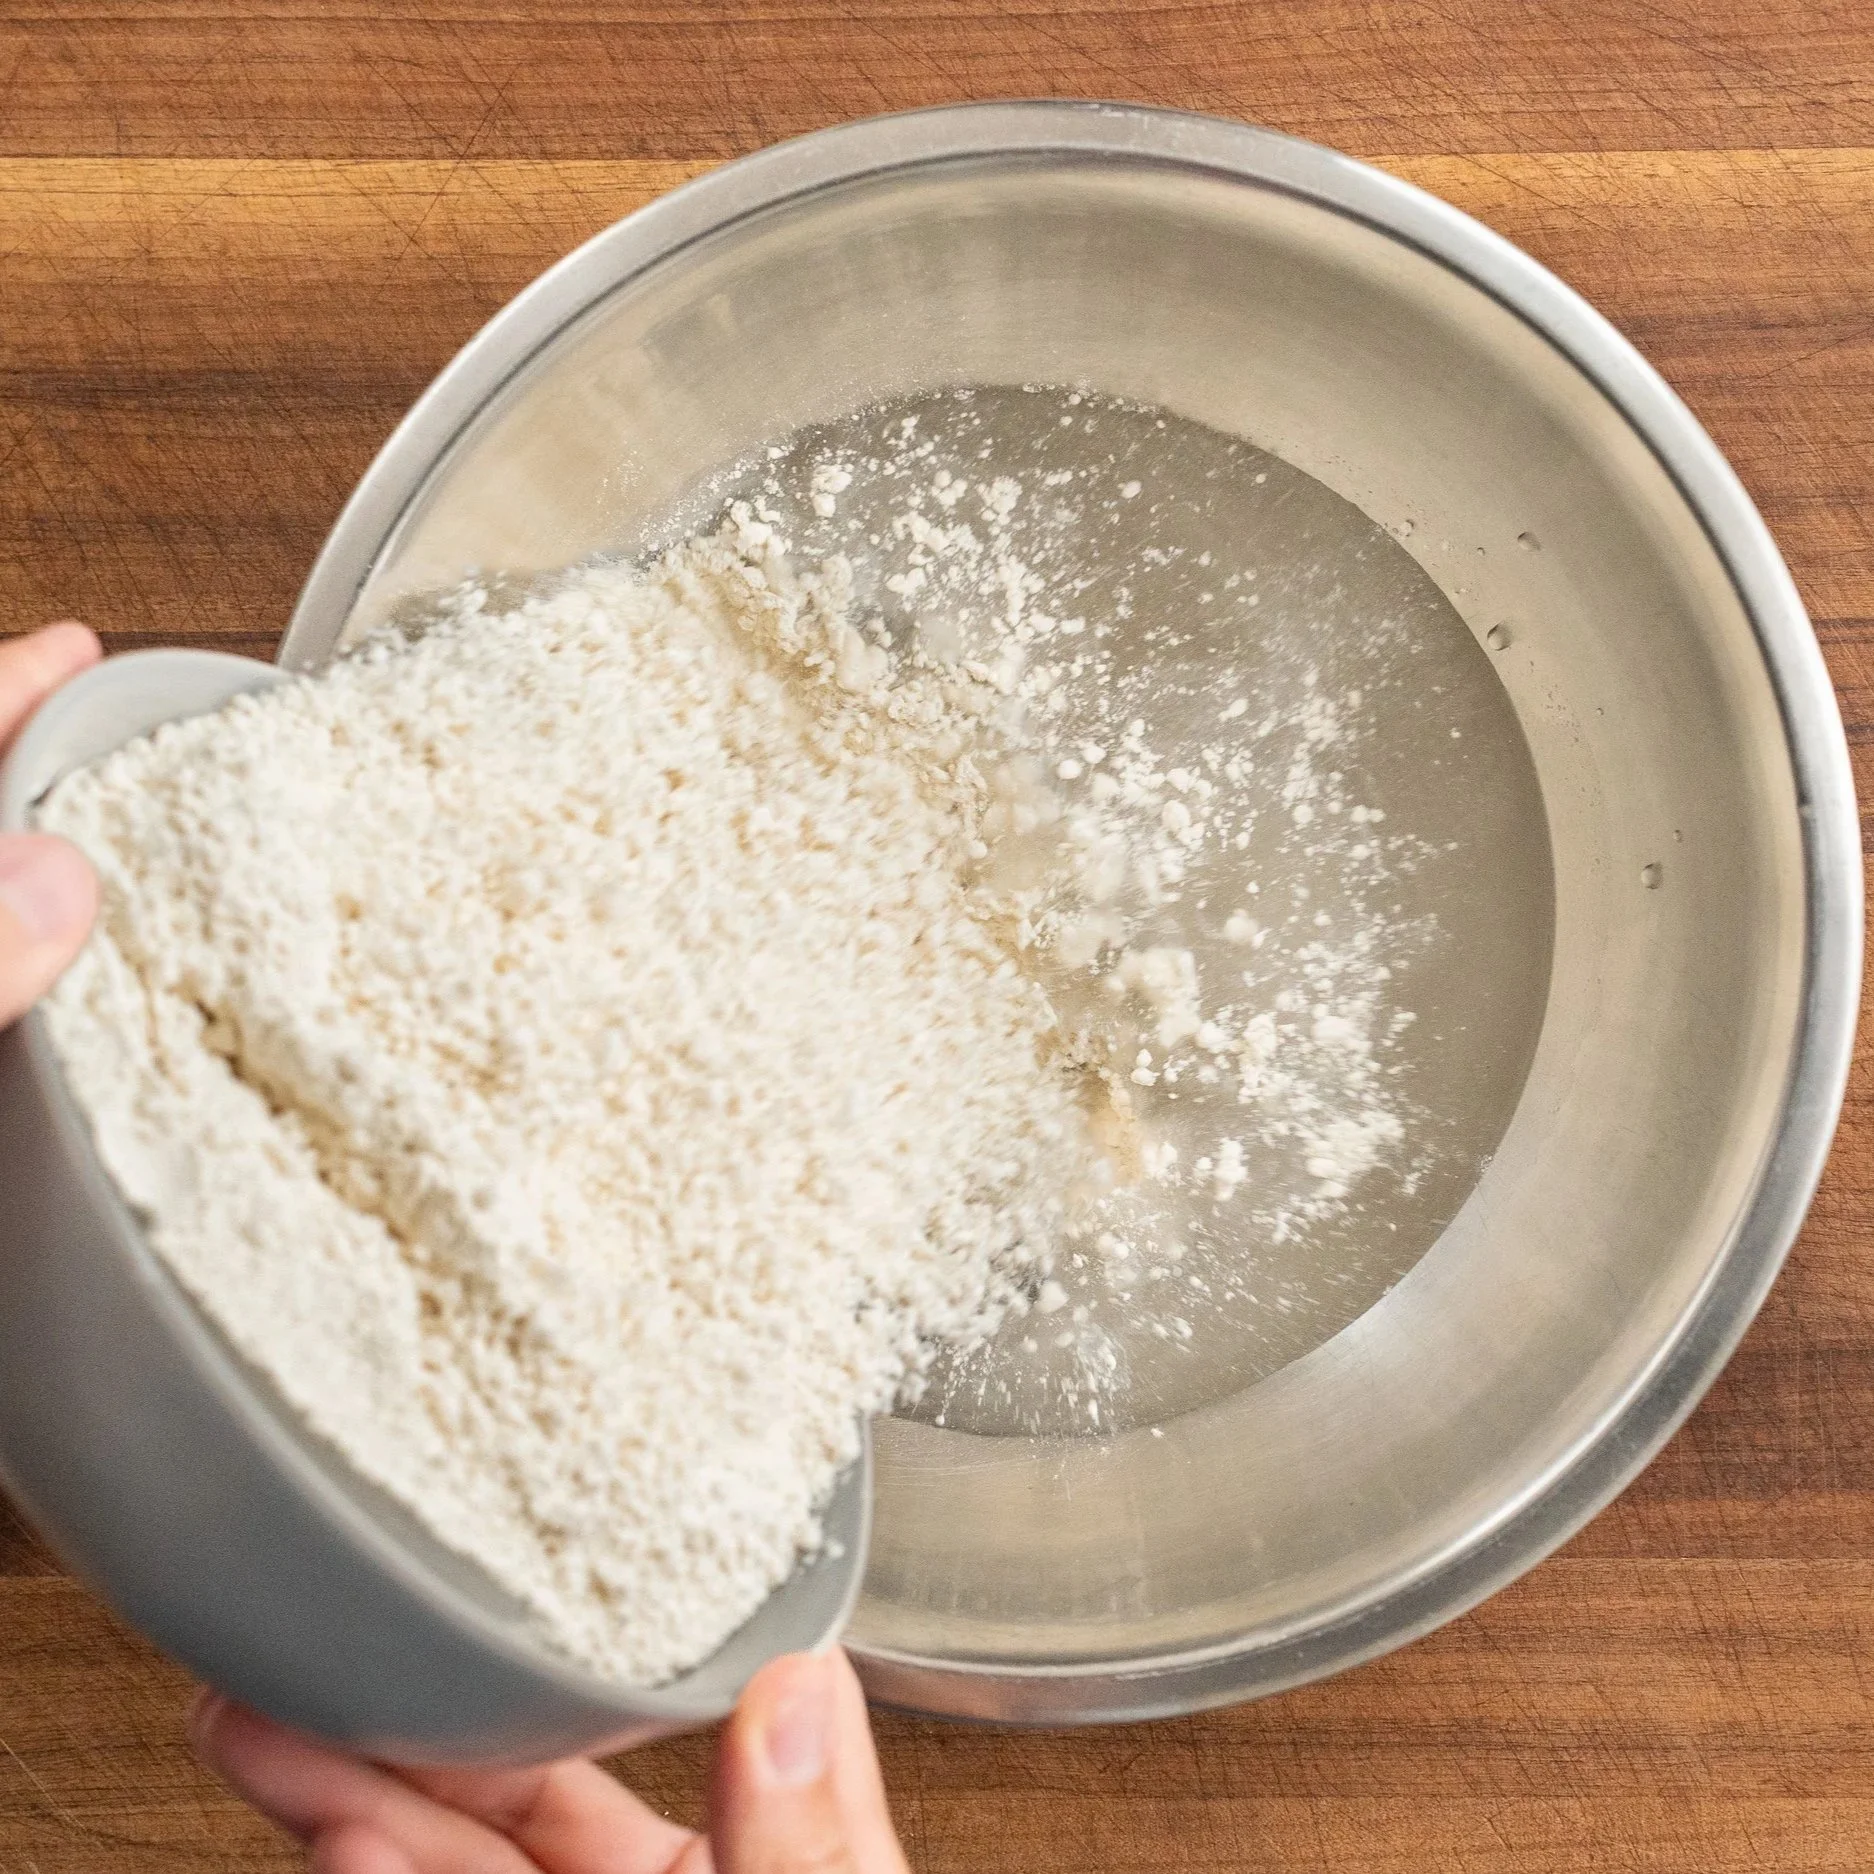
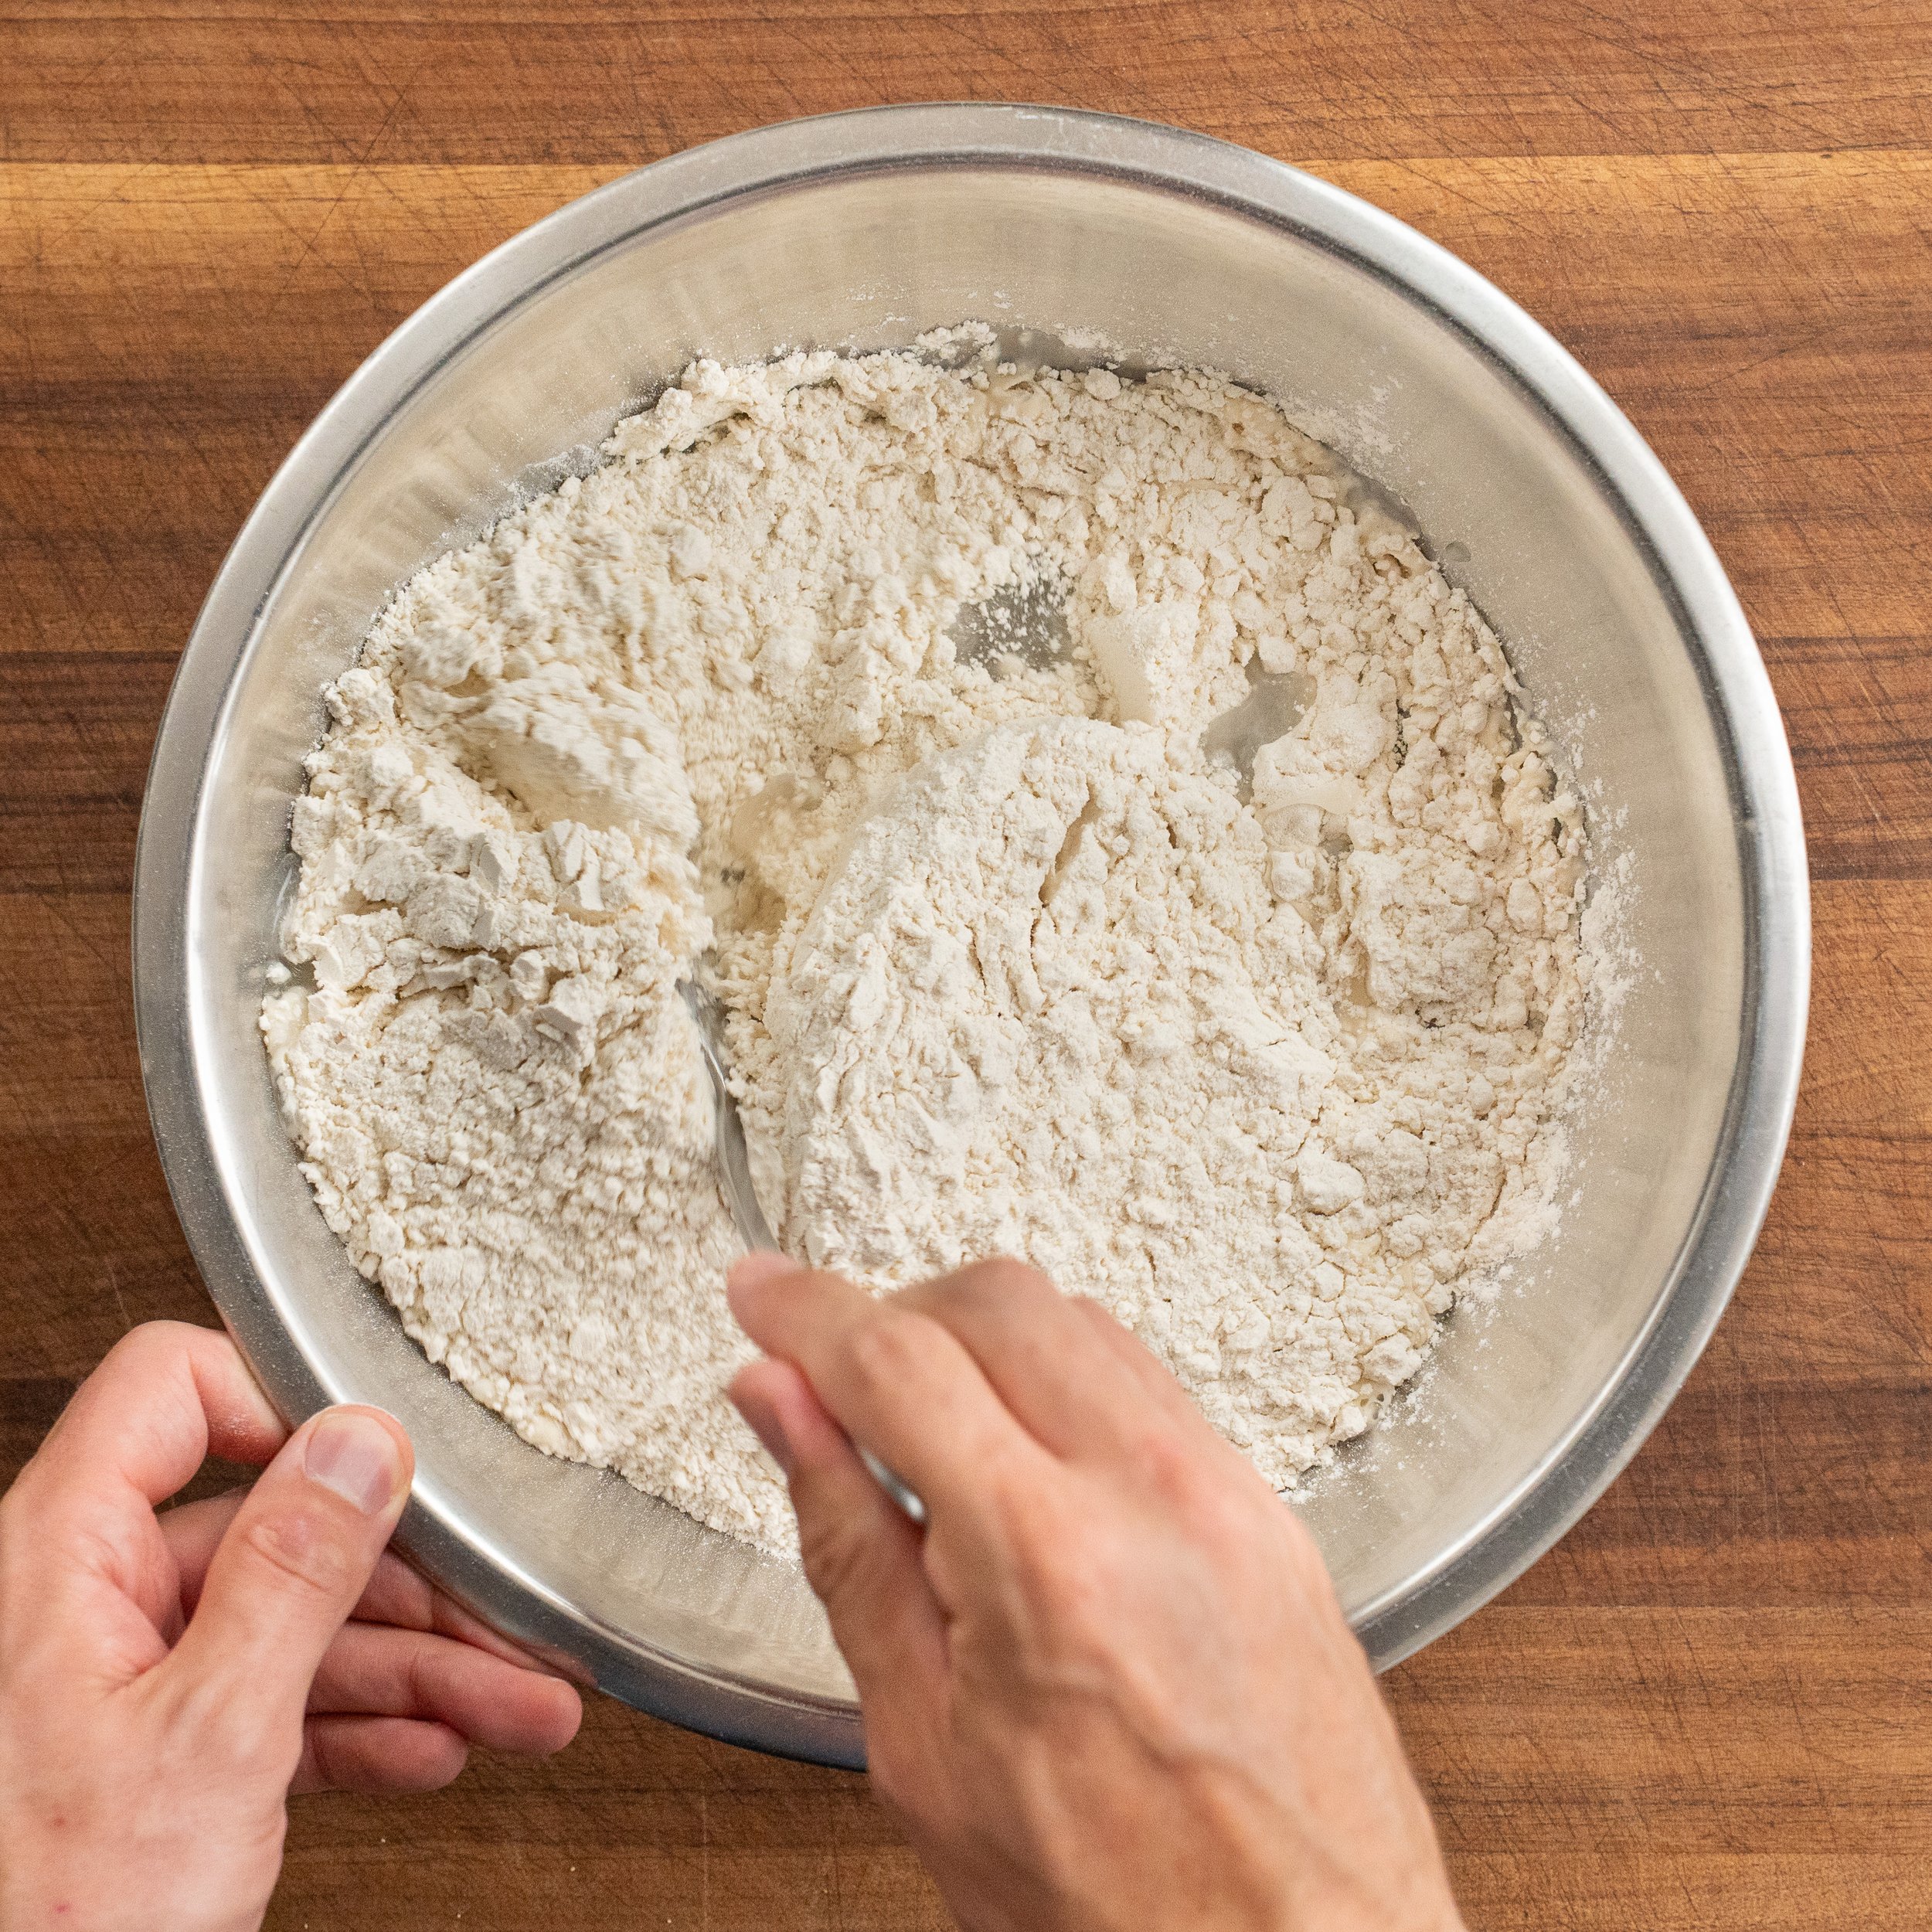
1.Add 0.7 to 0.8 grams instant yeast (again ¾ of a ¼ teas measure) and 18 grams of salt to 450 grams of 73 to 75°F (23°C) water and stir until dissolved. Add 665 grams of 00 flour and stir with a sturdy spoon until the water has been mostly absorbed and the dough has formed into a shaggy mass.
Tip: Keep using the spoon a little longer than you think you need to. If you put your hand in while there is still loose flour, nearly all of it will stick to you.
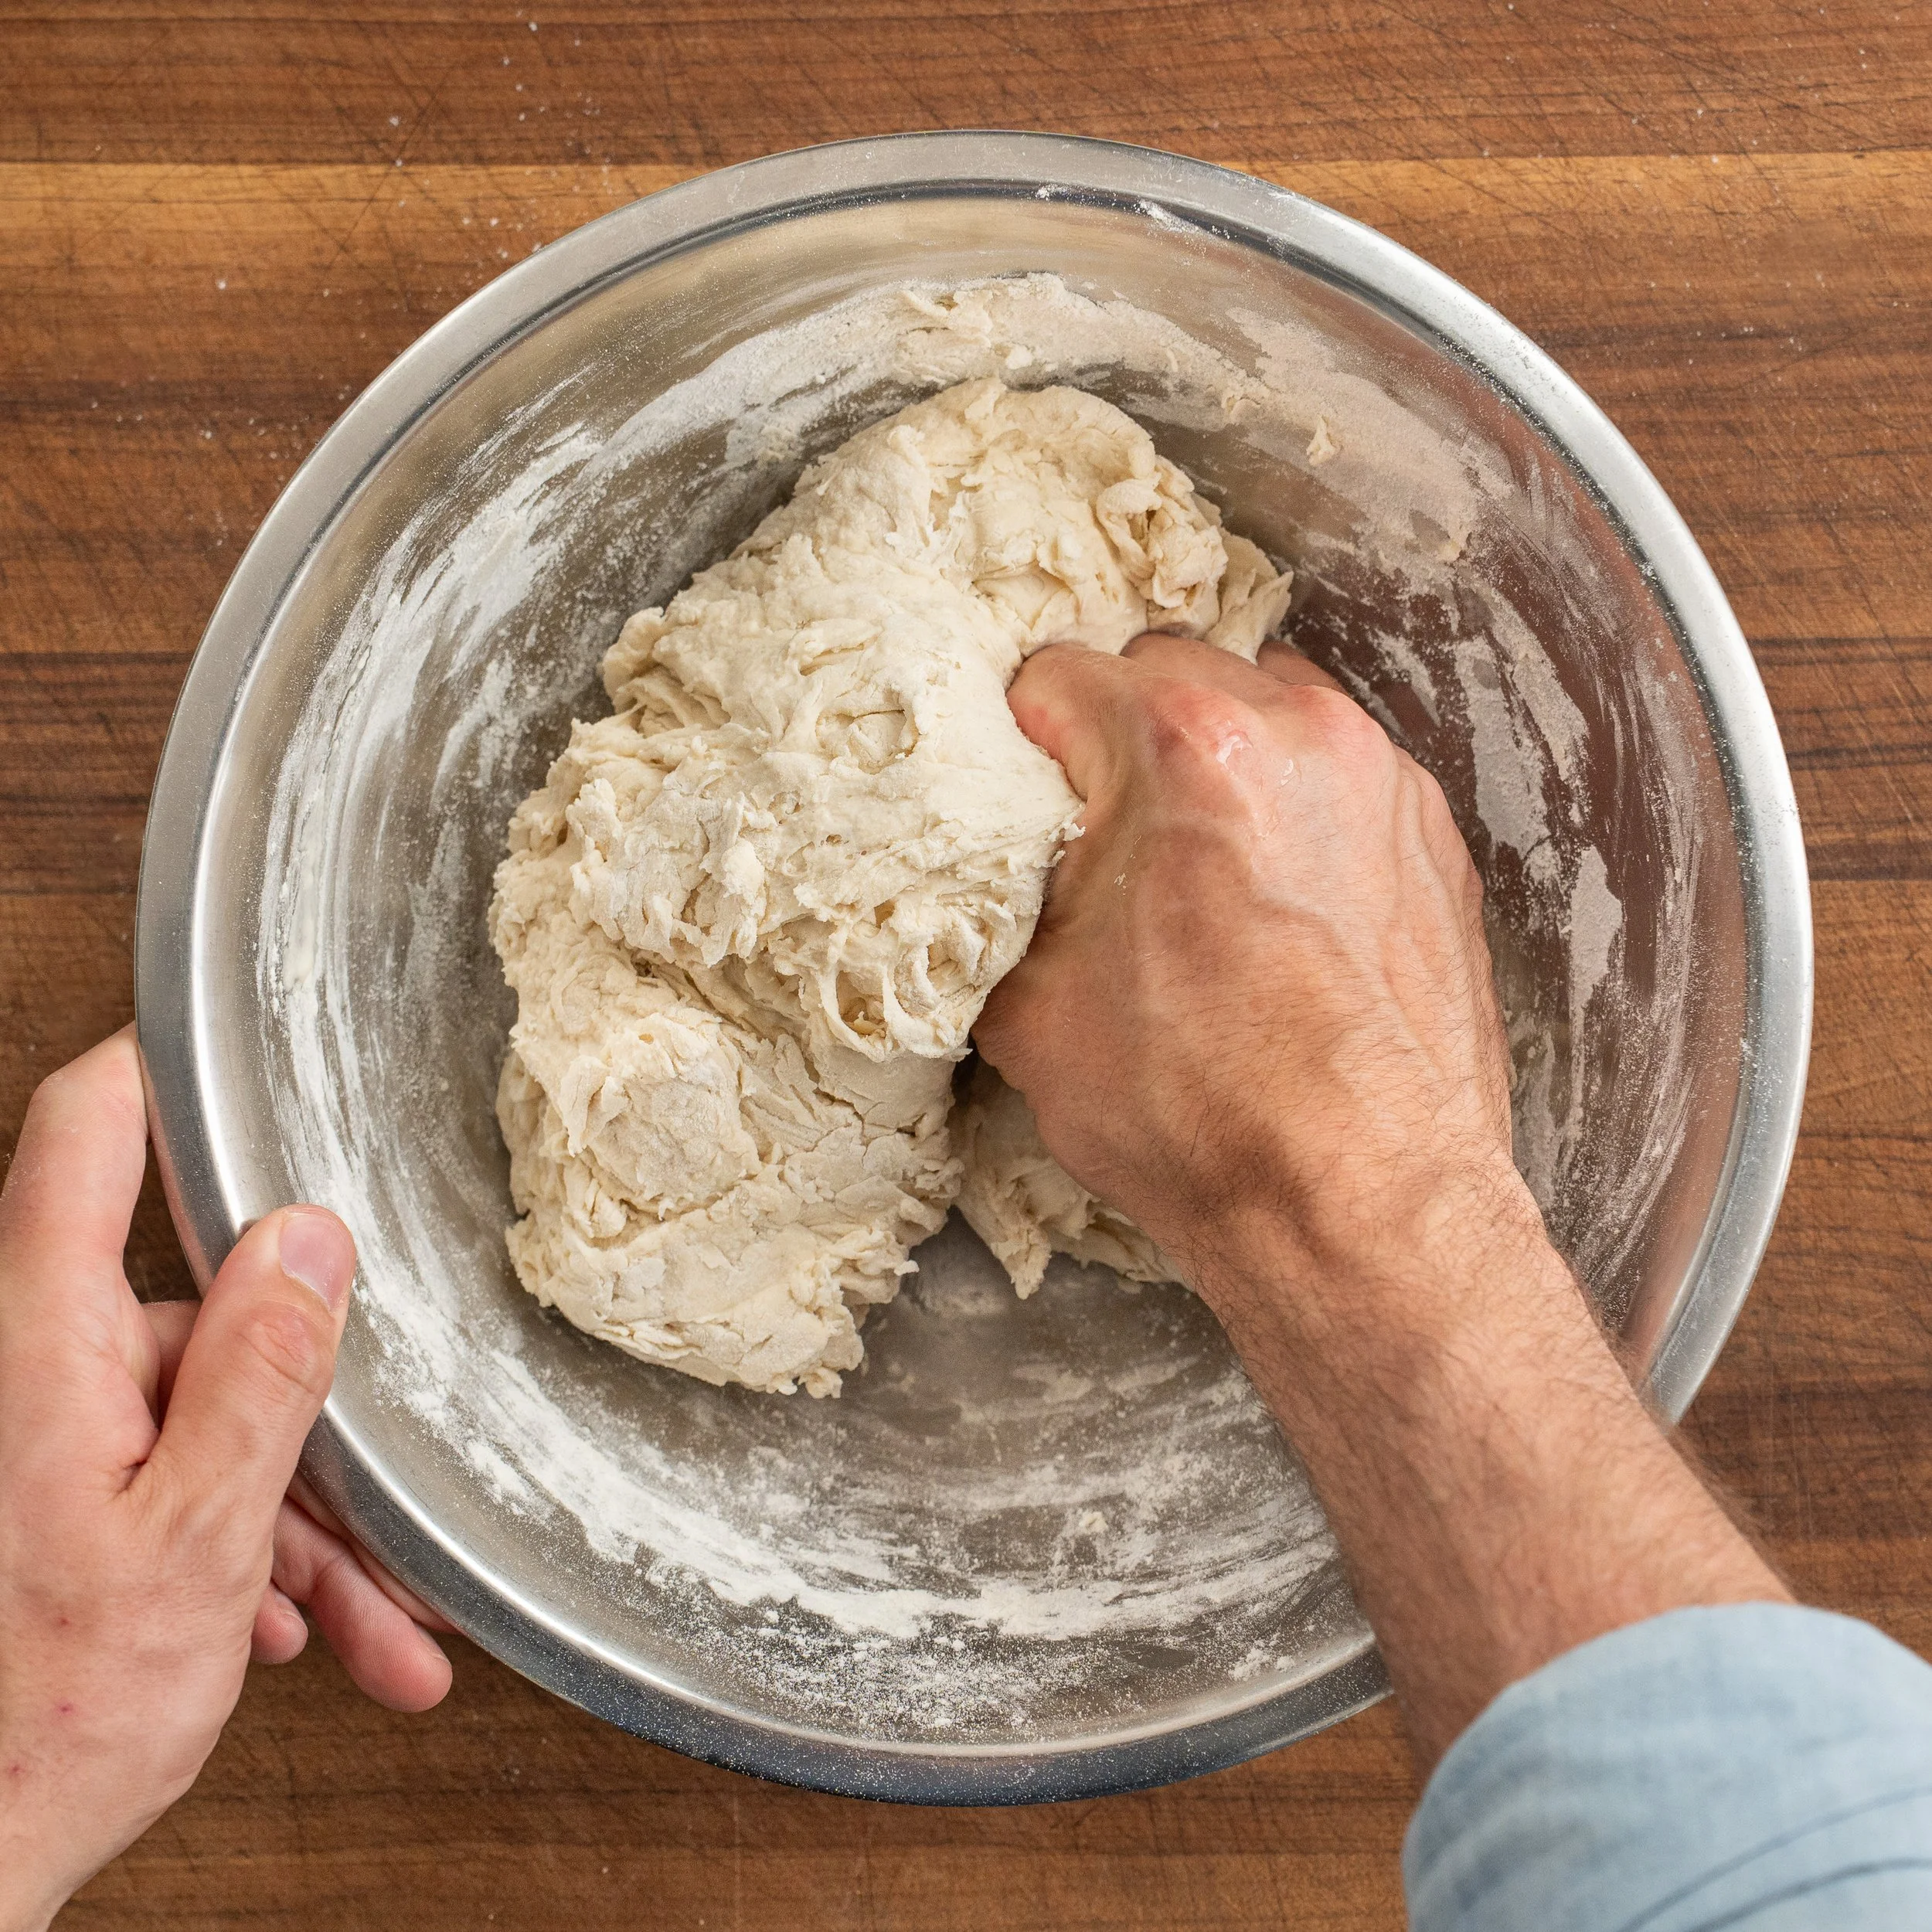
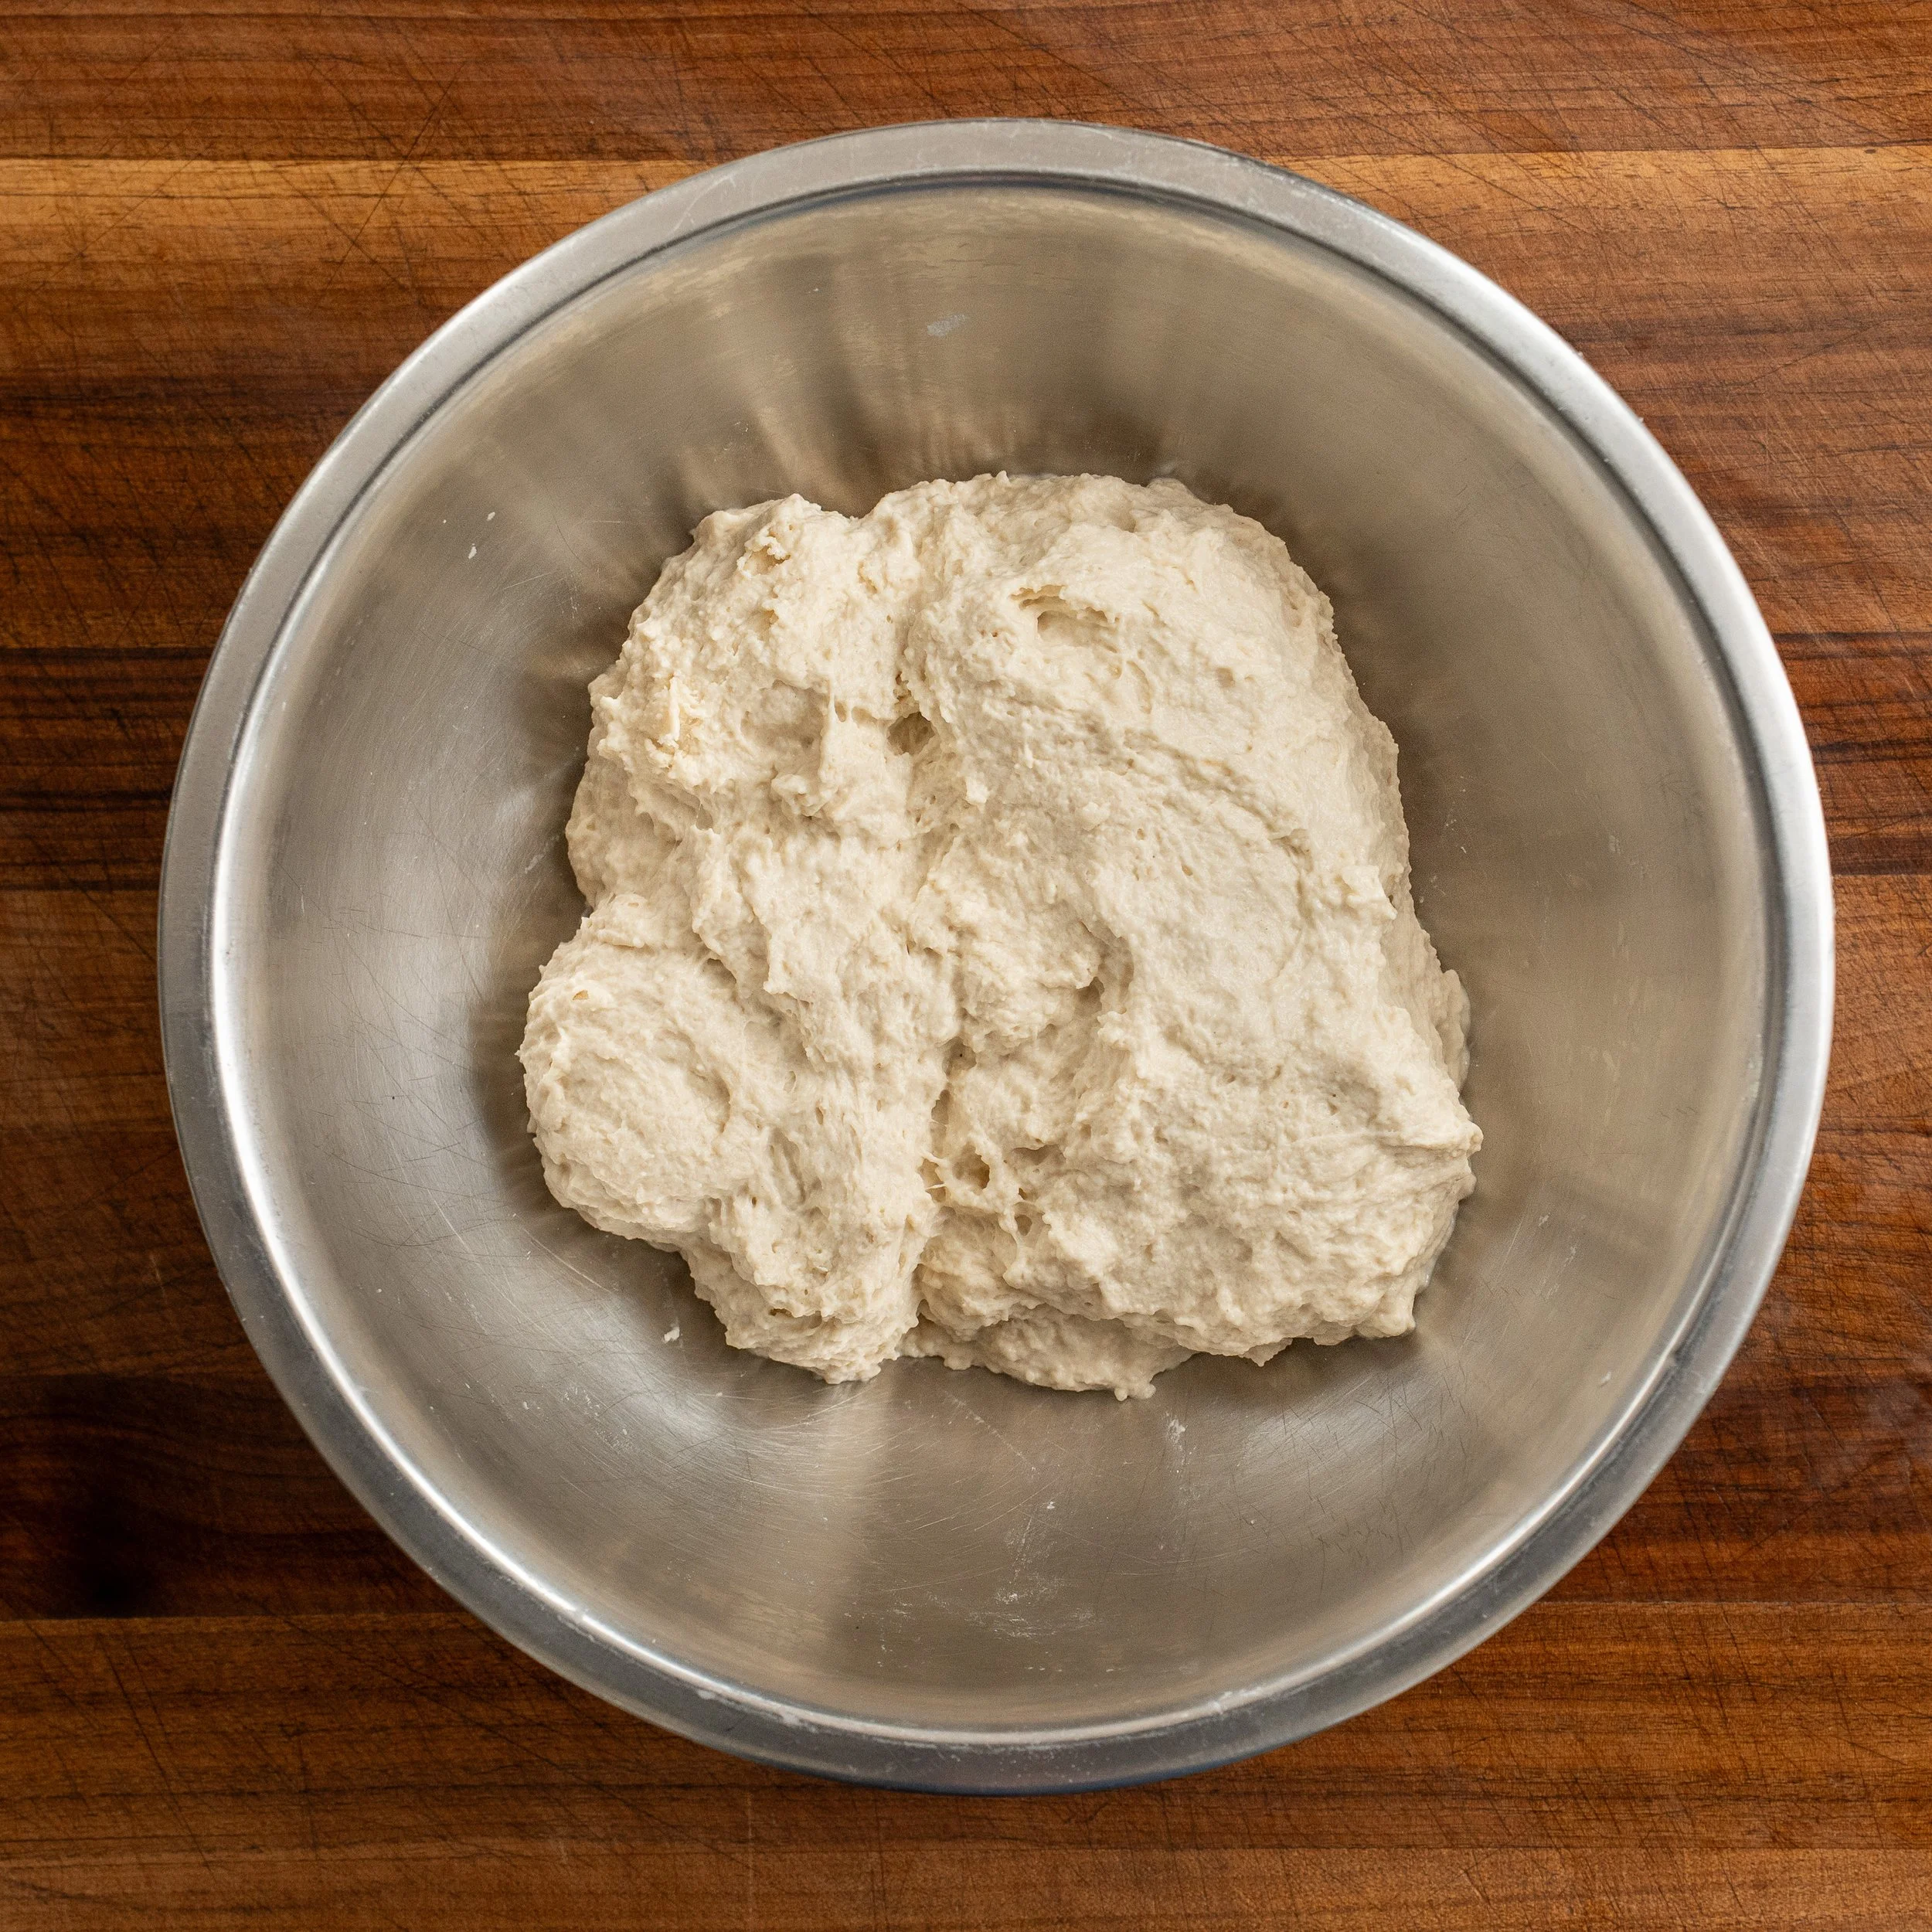
2. Come back with a wet hand, then pinch and squeeze the dough through with a claw grip while rotating the bowl. Scrape down the sides and continue until there are no major lumps or dry spots. You are not kneading. You’re just making the dough homogeneous. It will still be quite sticky.
3.Cover the bowl and rest the dough at room temperature for 30 minutes.
Strength-Building Folds
*I recommend watching out my video instruction for this process on YouTube as a guide
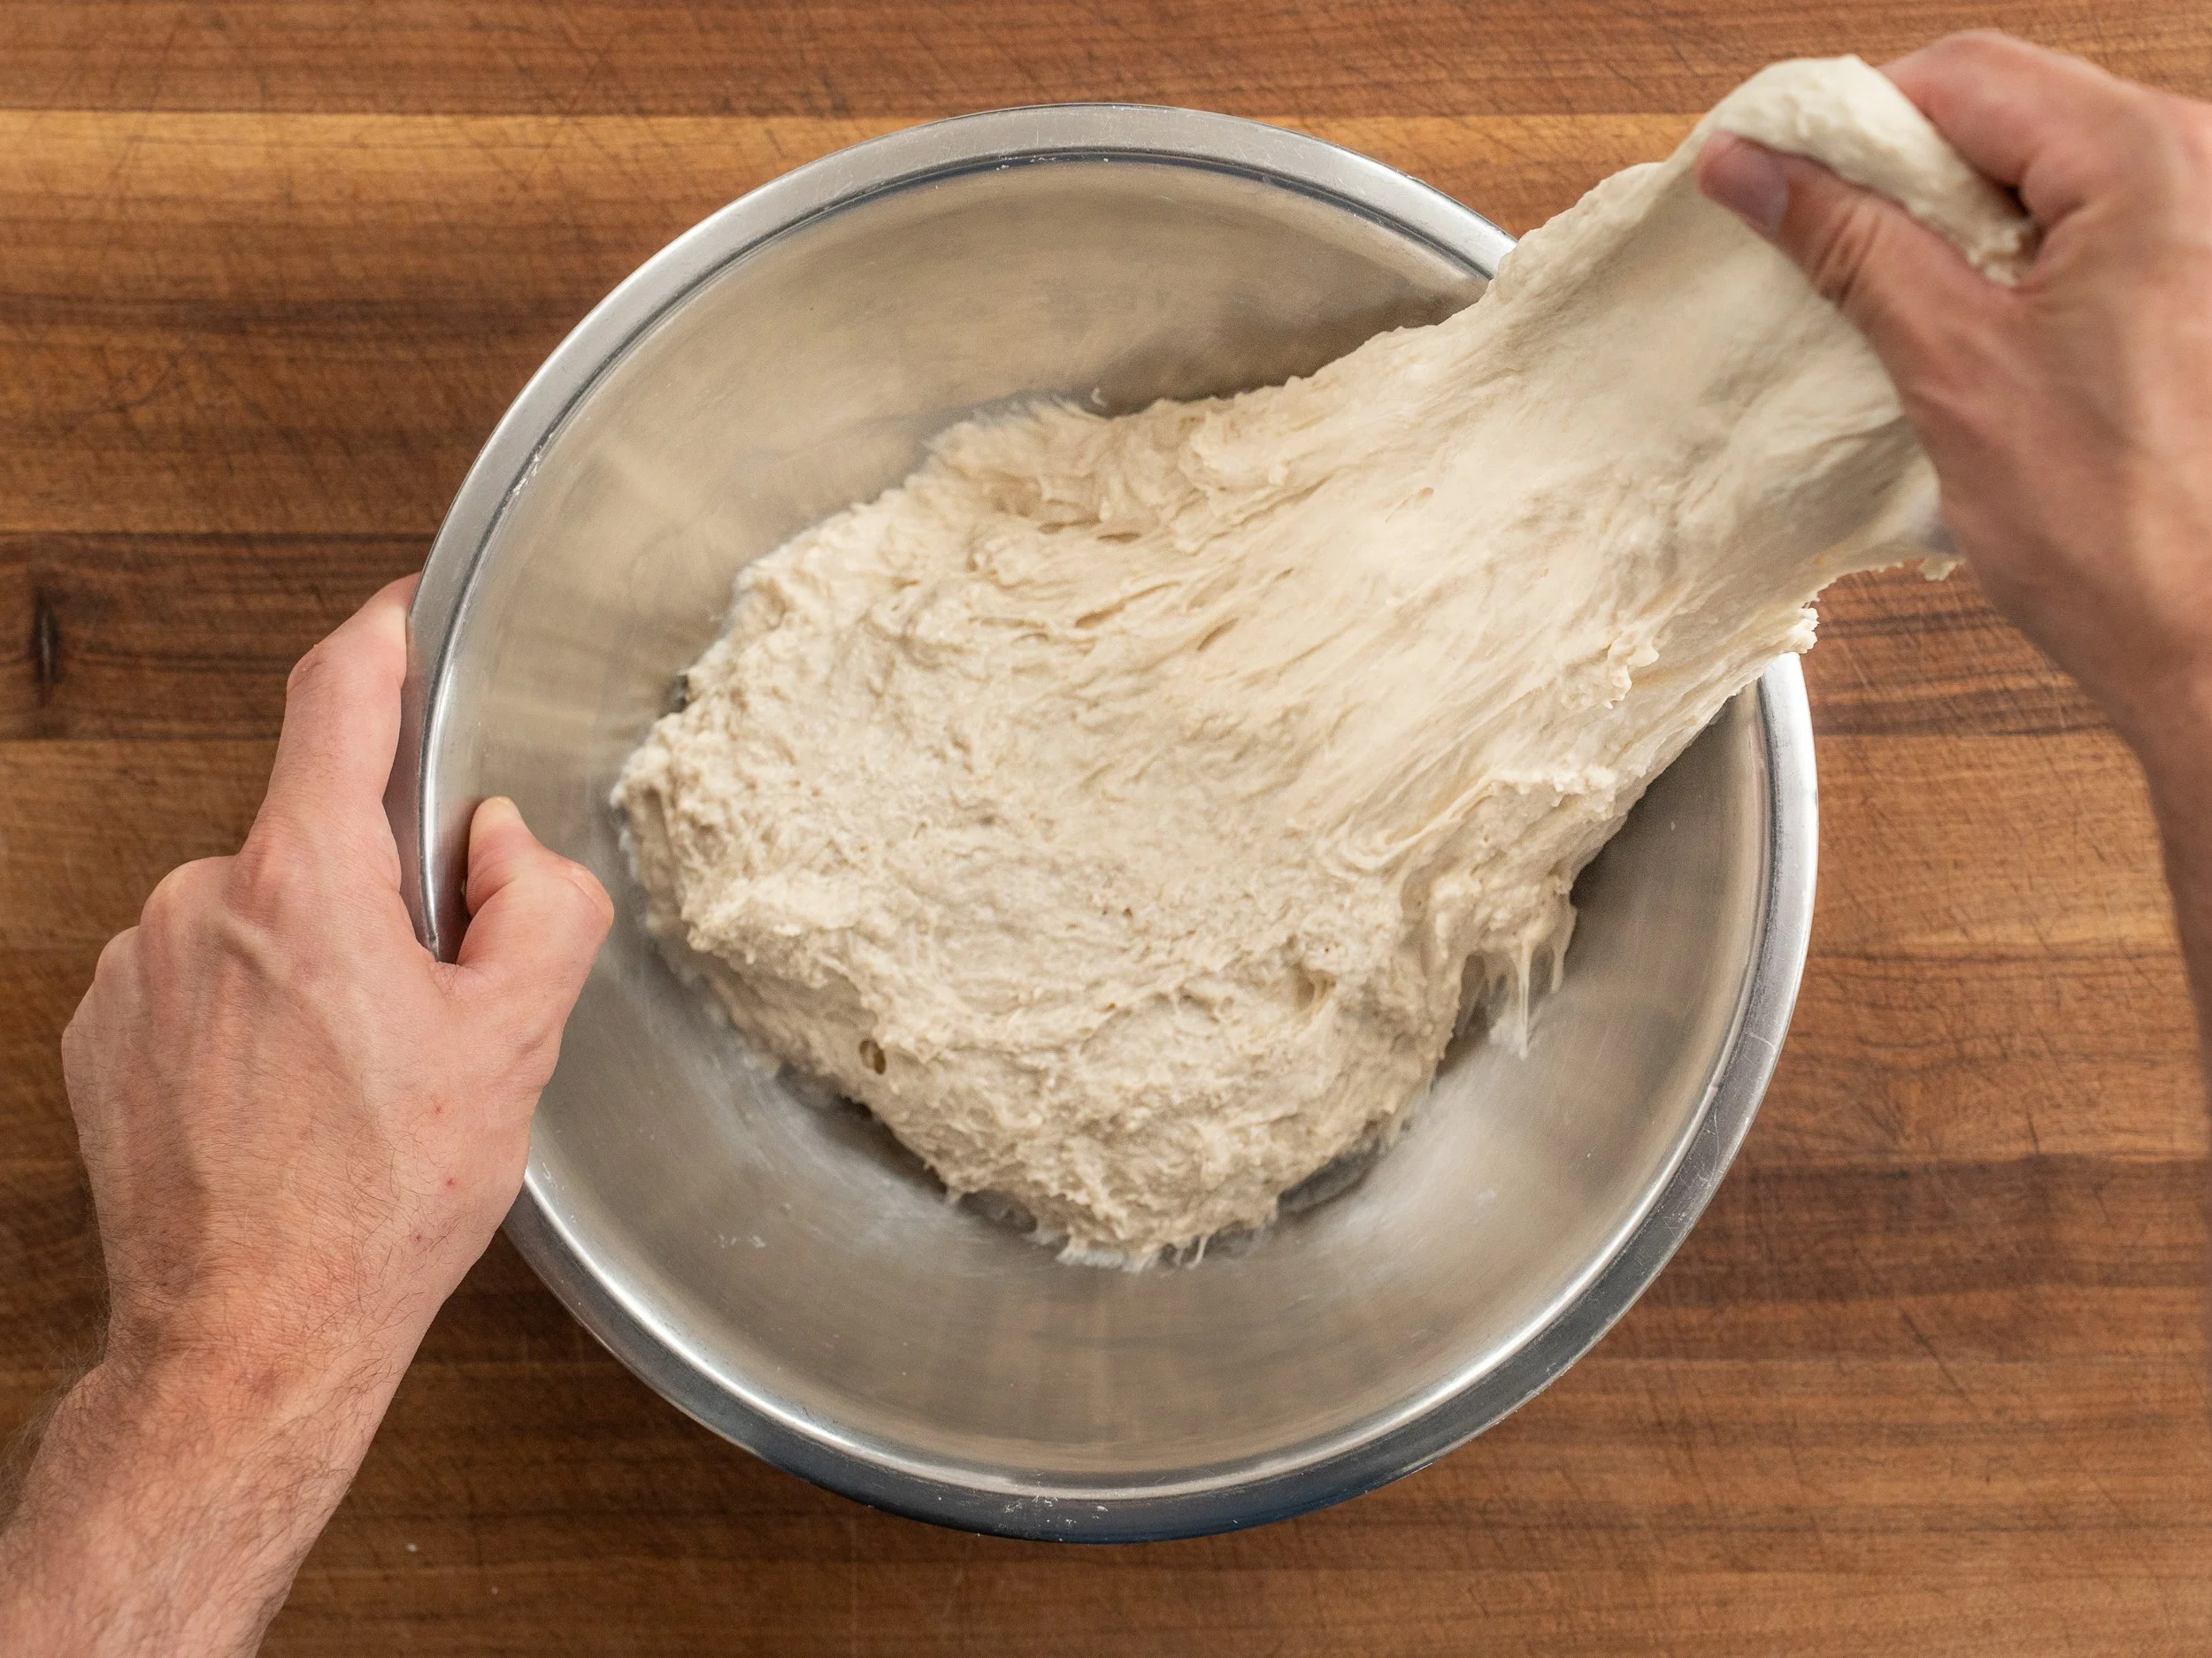
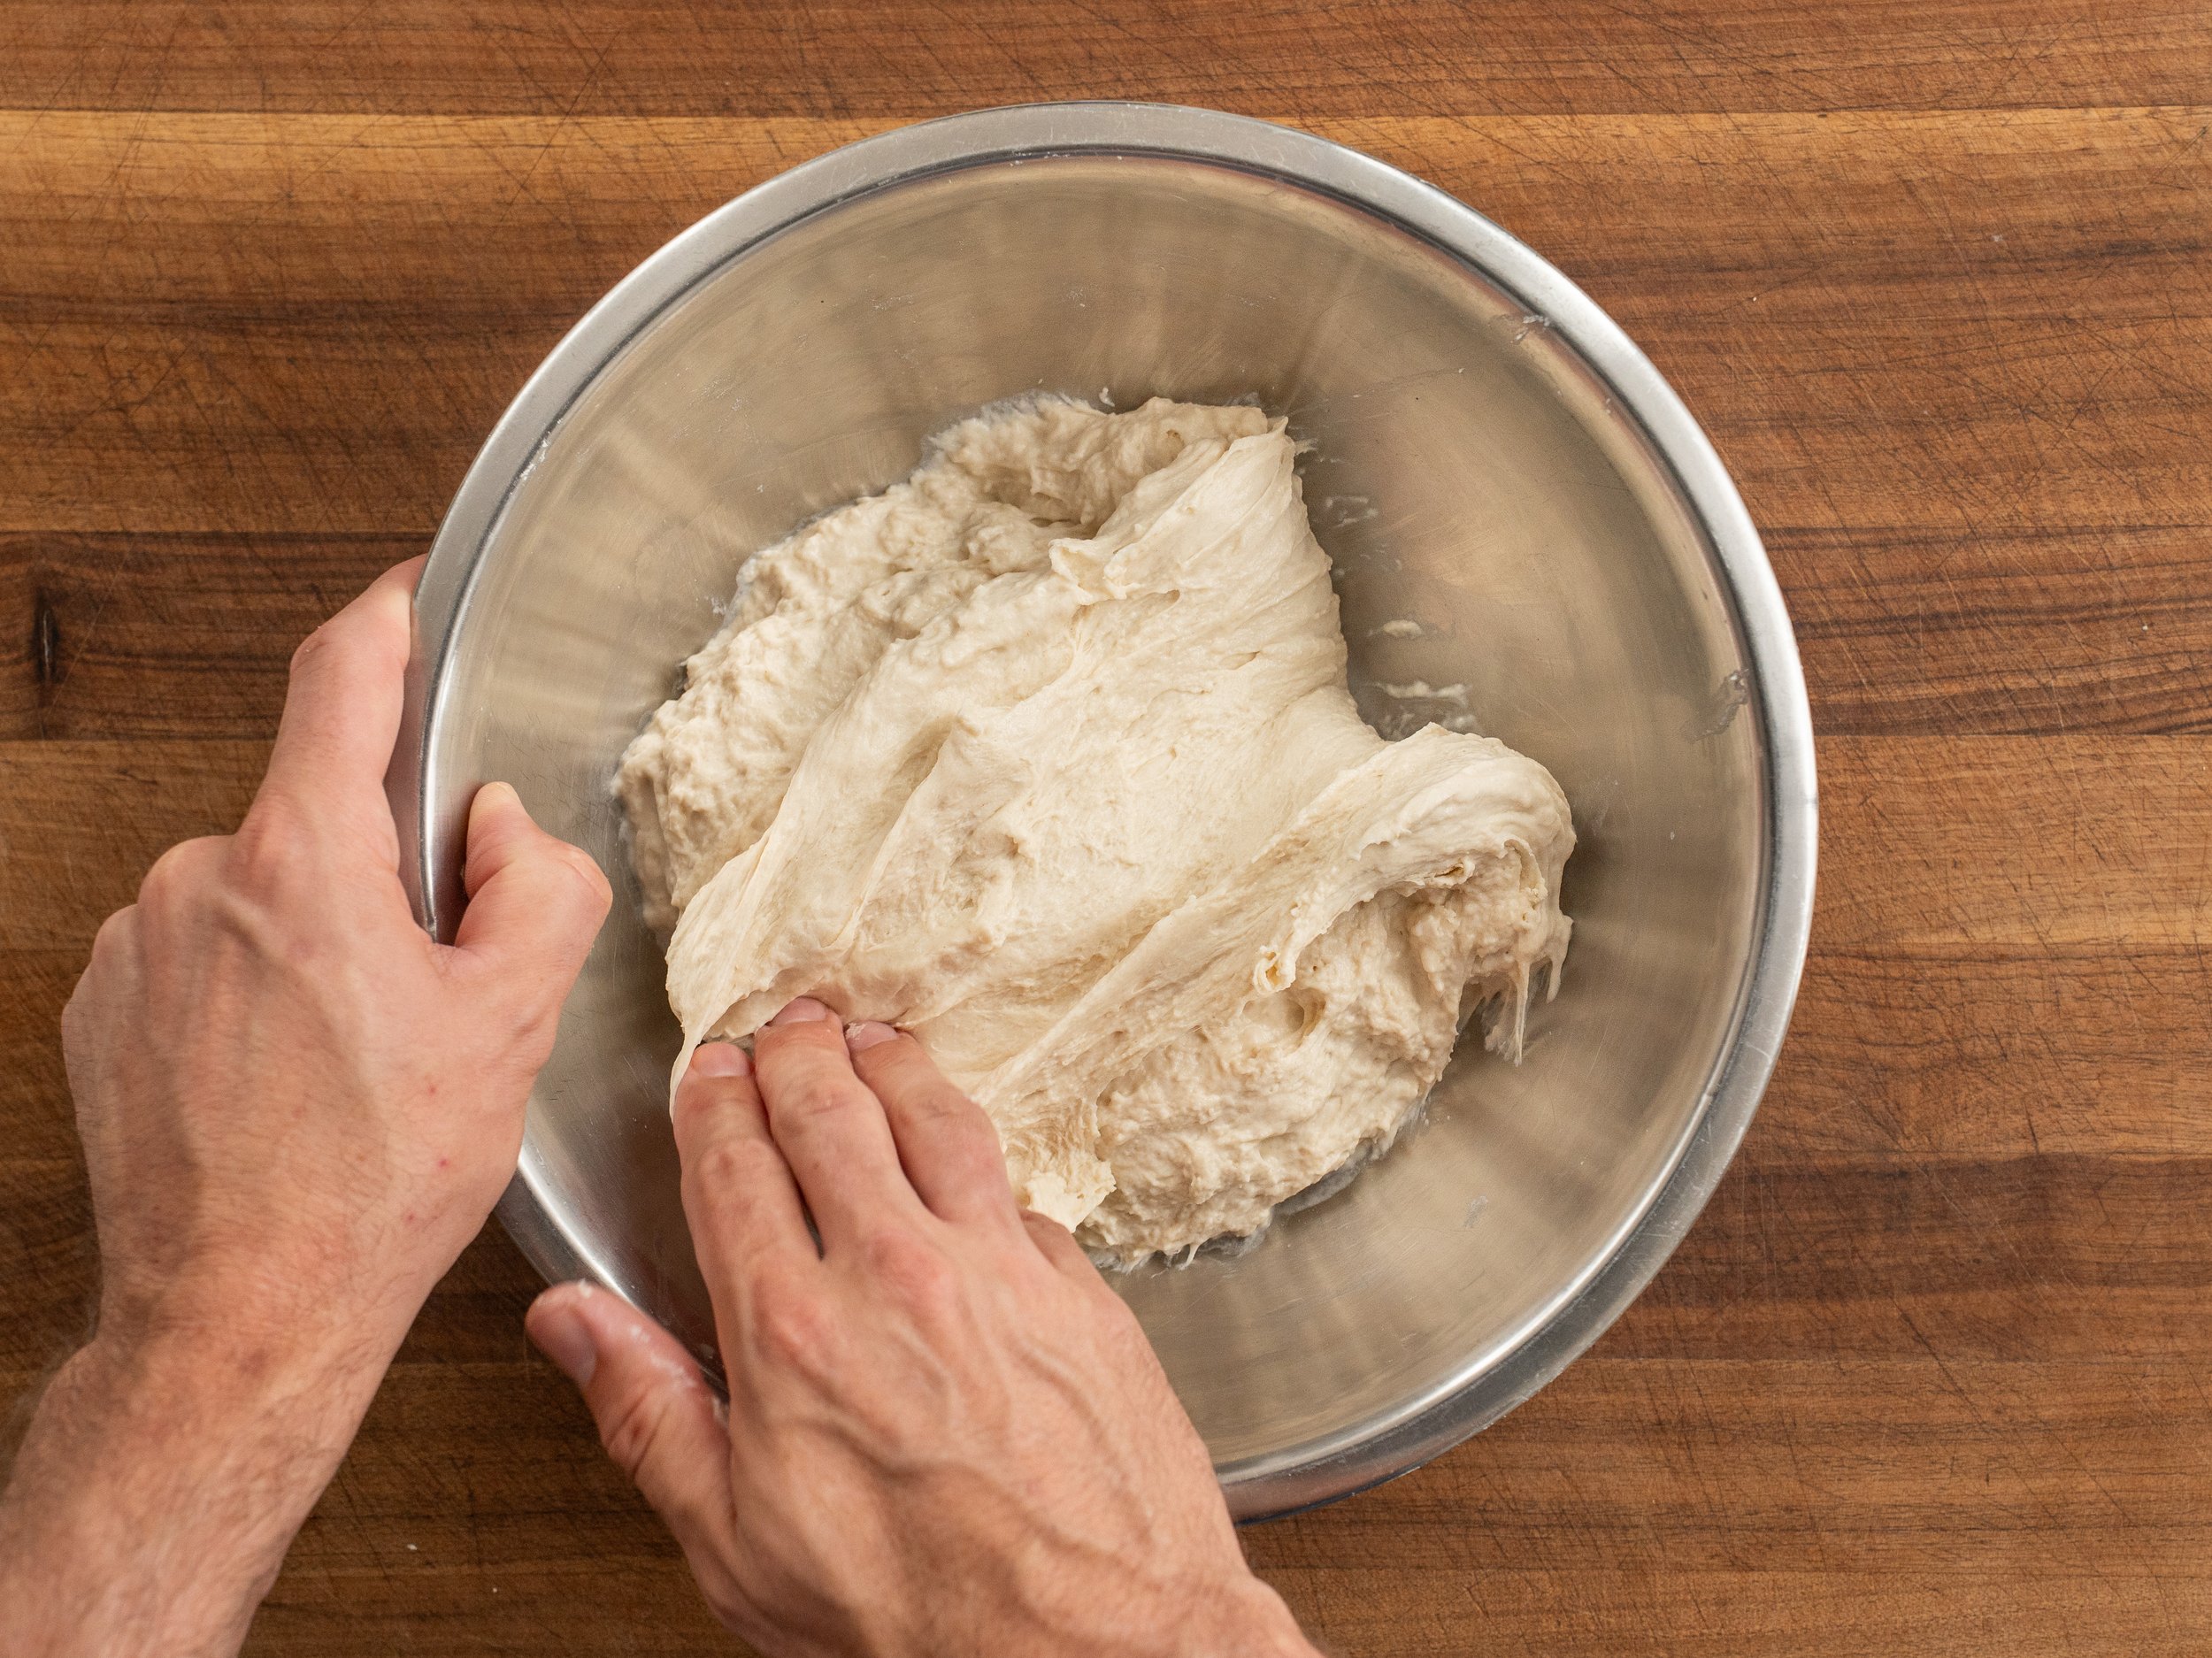
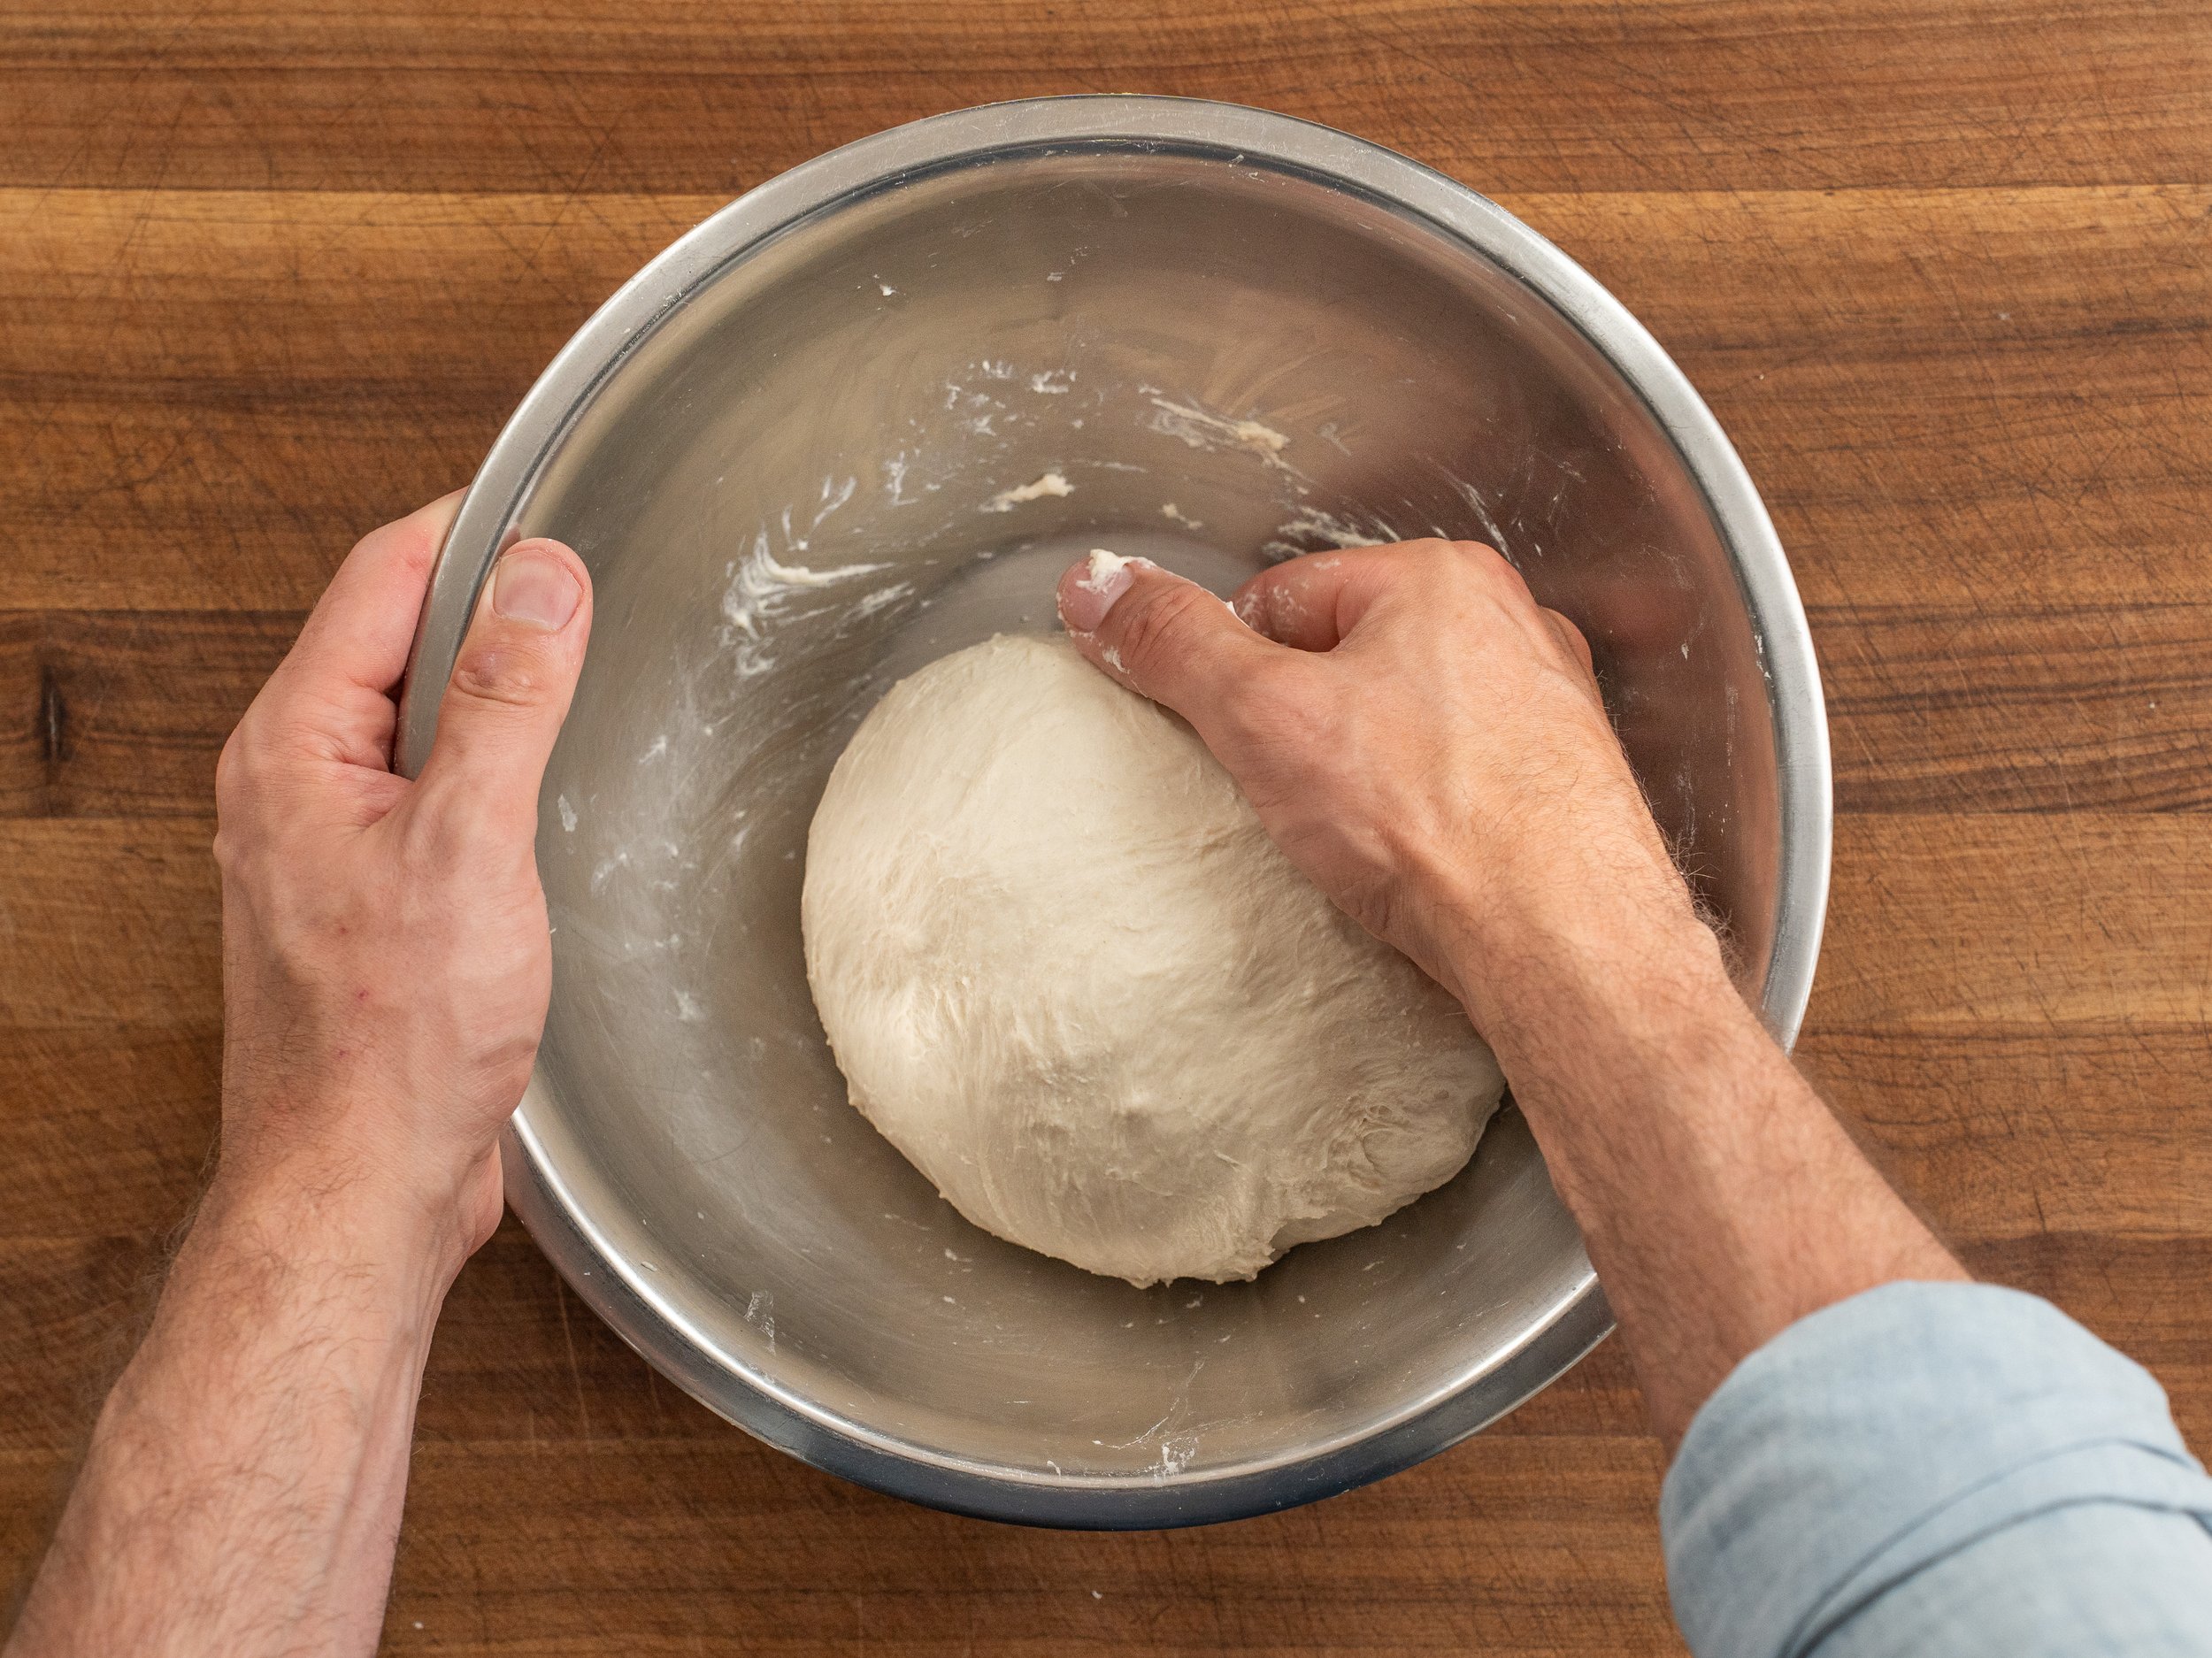
4.Wet your hand and grab one edge of the dough. Stretch it up until you feel resistance, then fold it over the center toward the other side of the dough ball. Rotate the bowl and repeat for four to six folds, or until the dough starts to tighten. Flip the dough over so the folded side is down and round and tuck it under itself to create a ball.
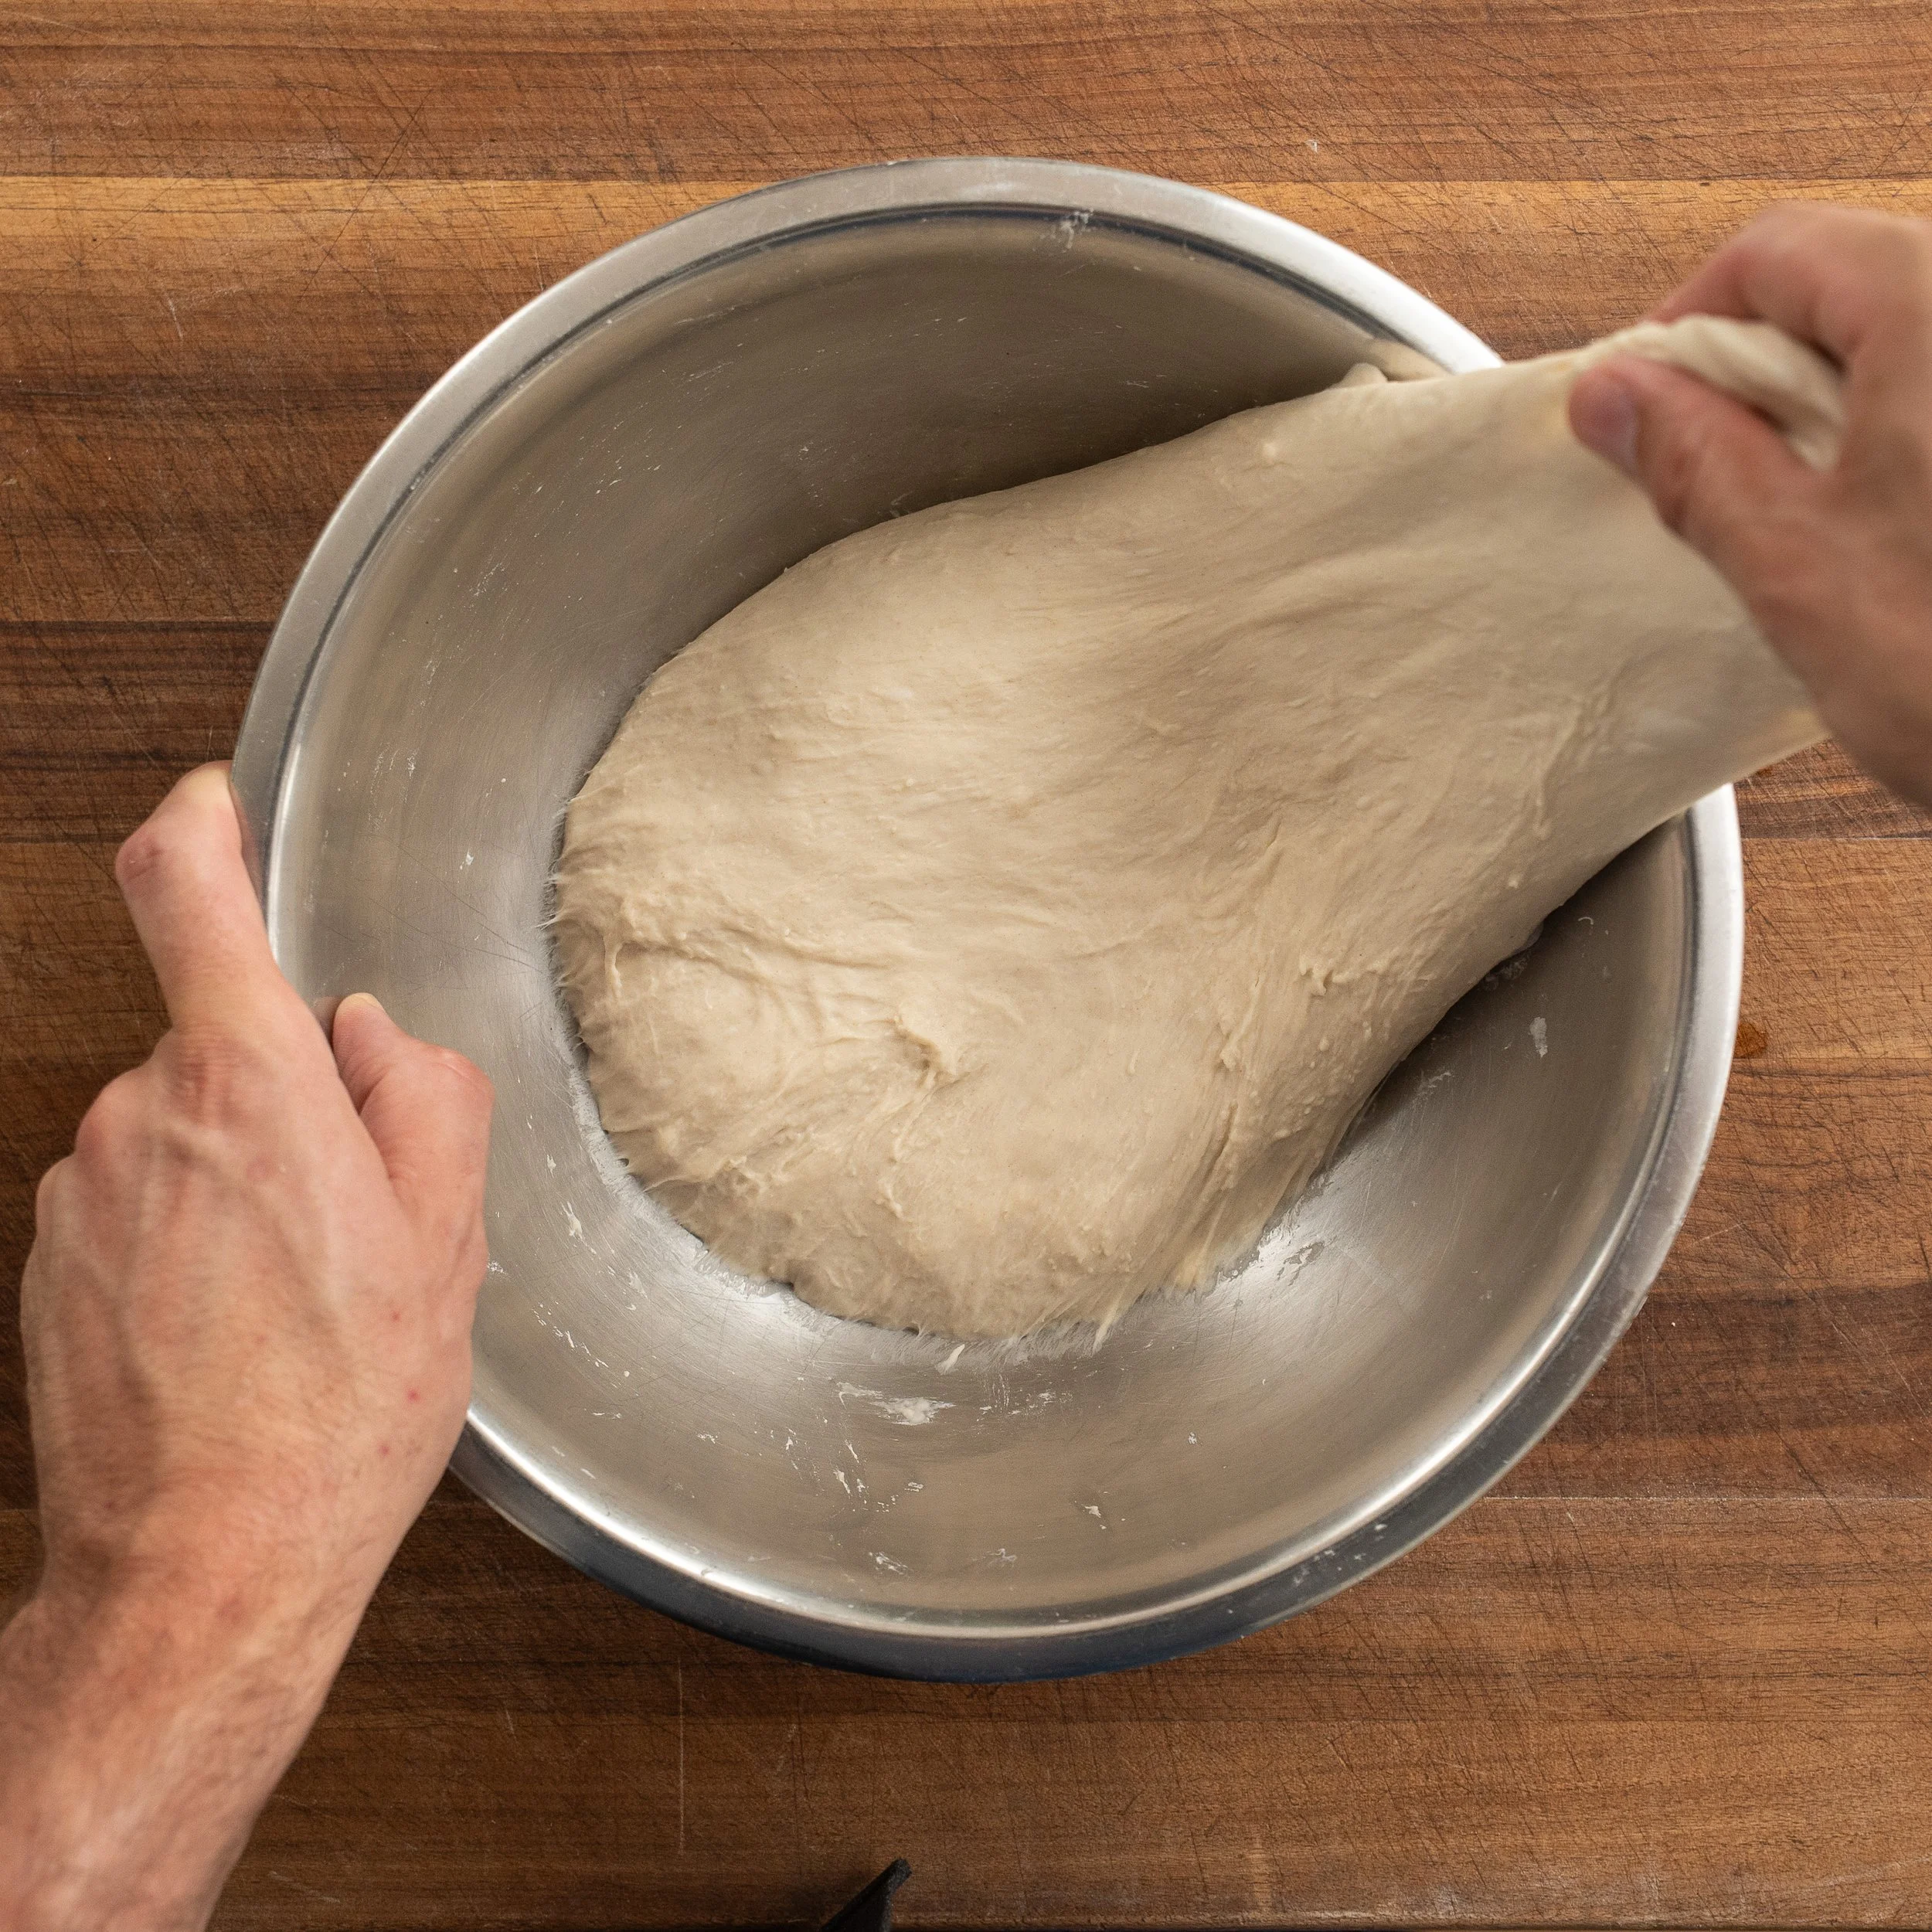
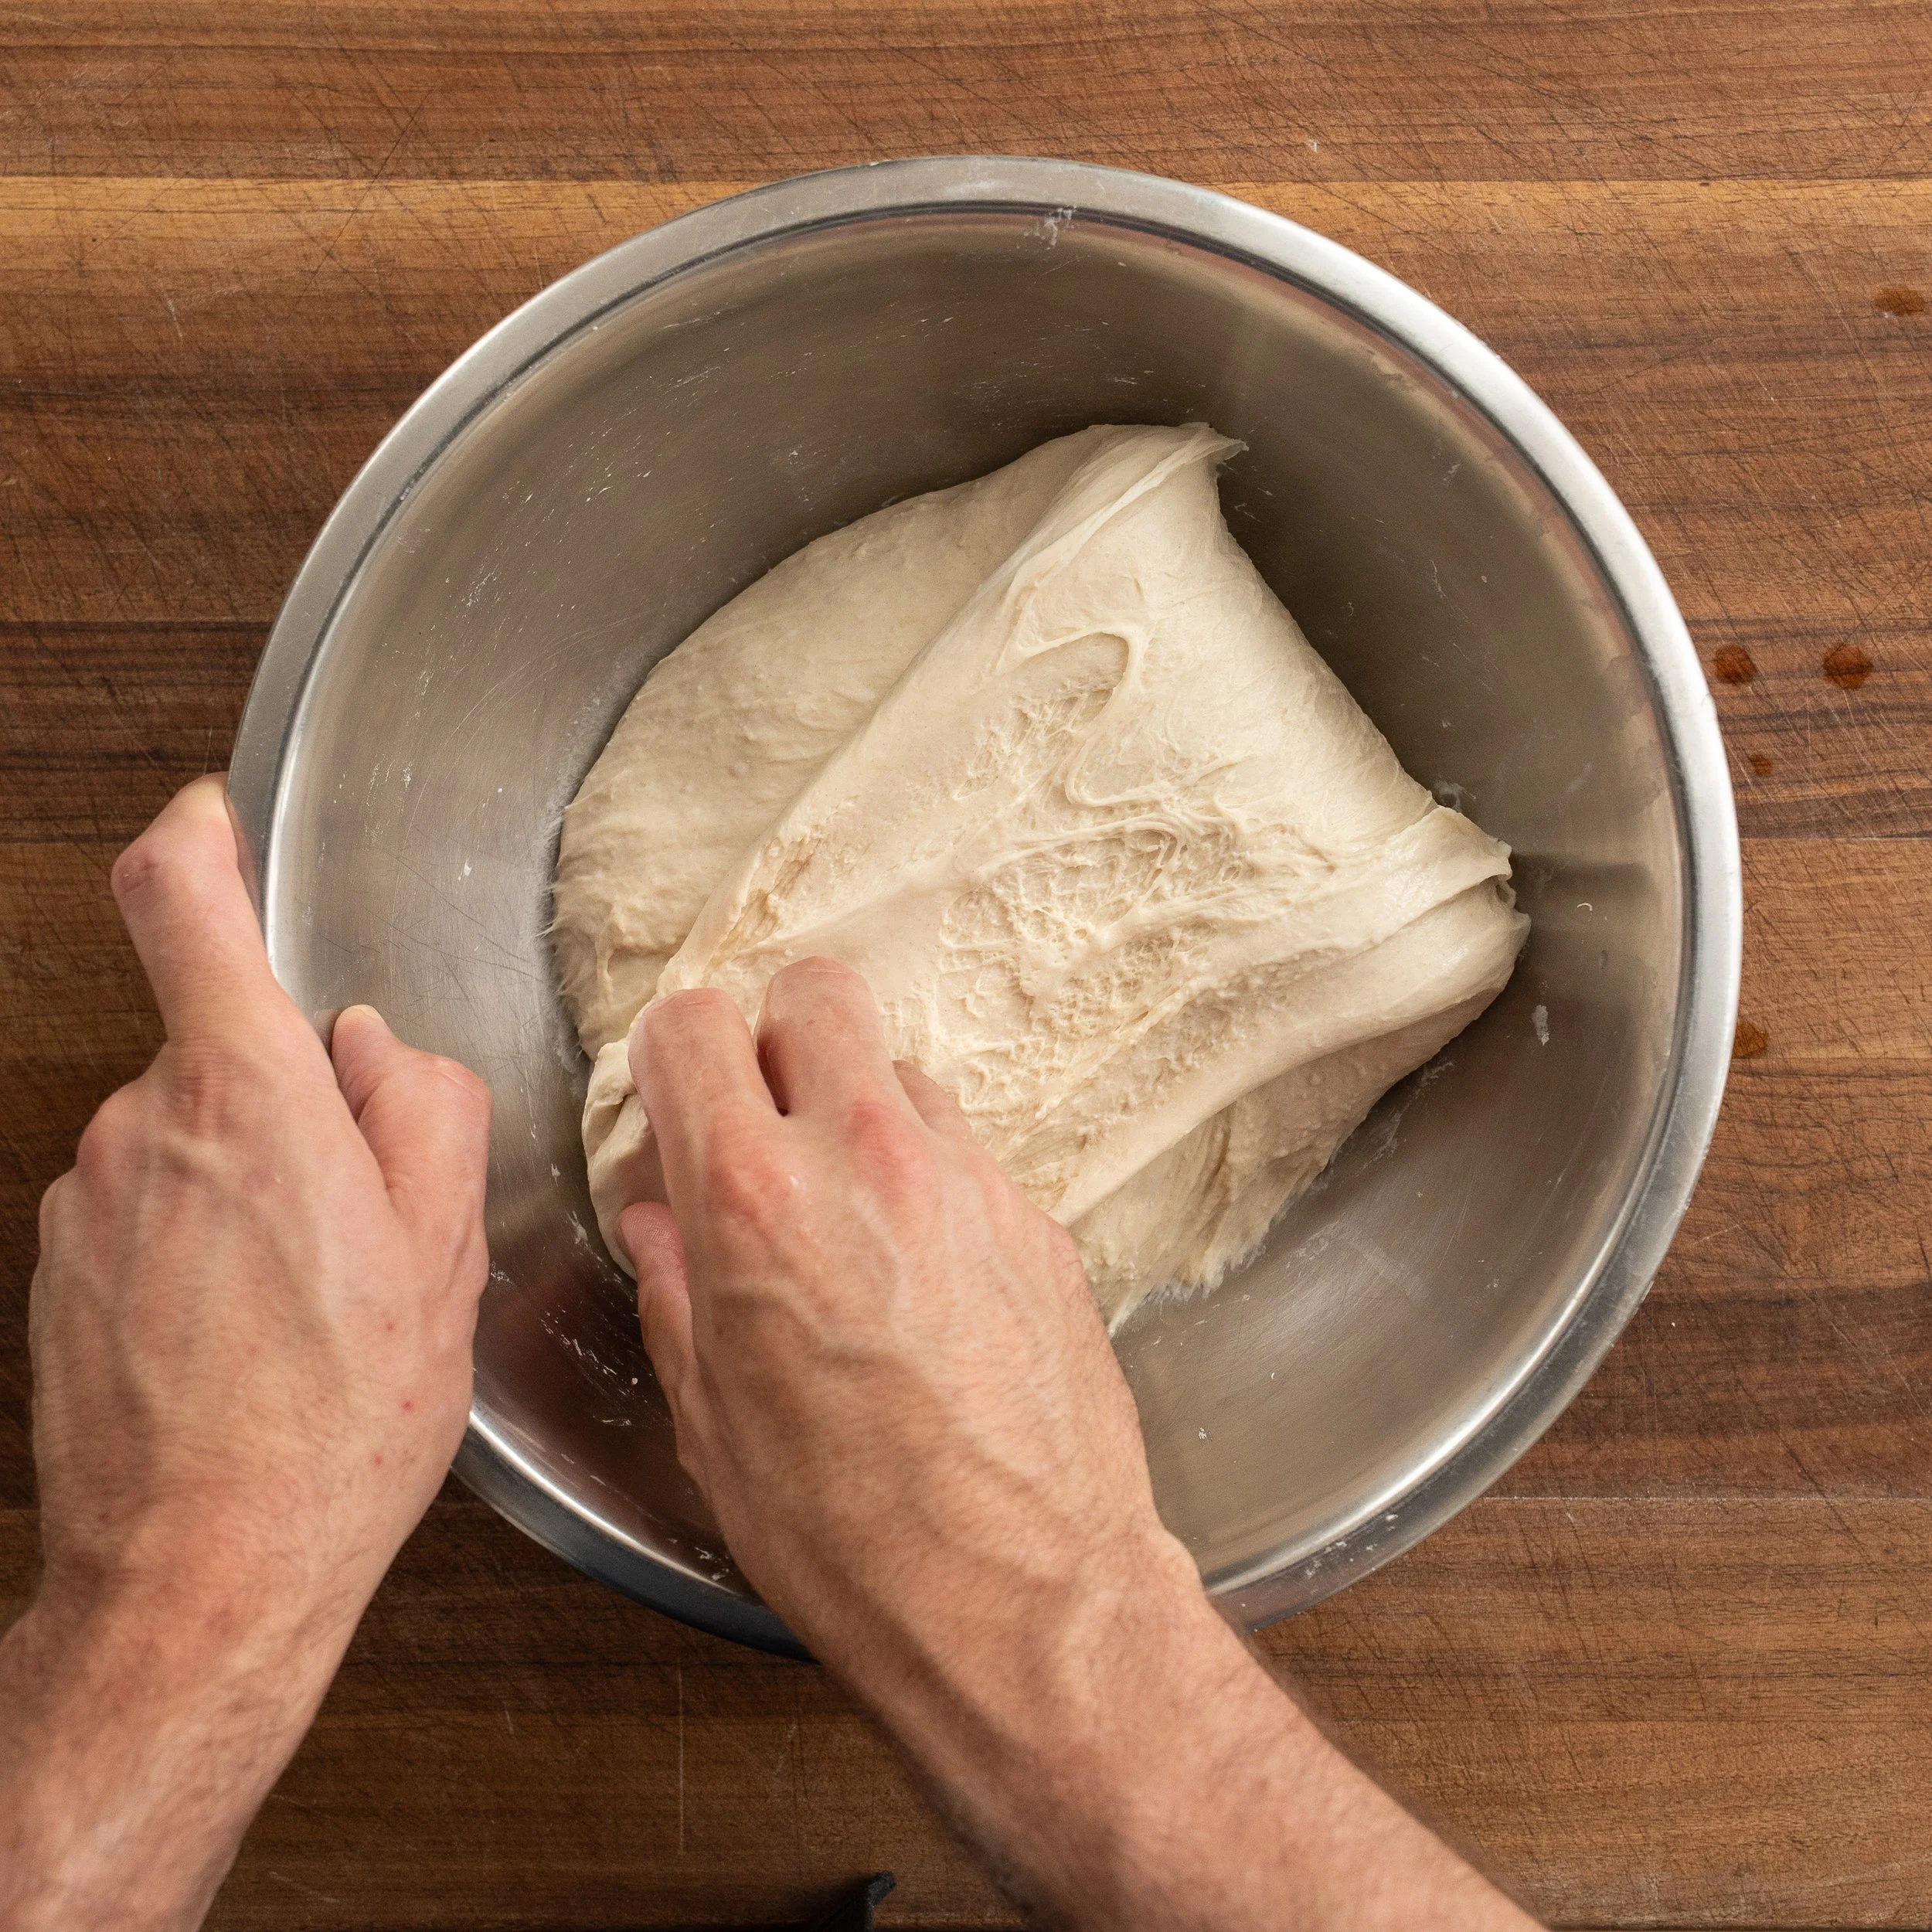
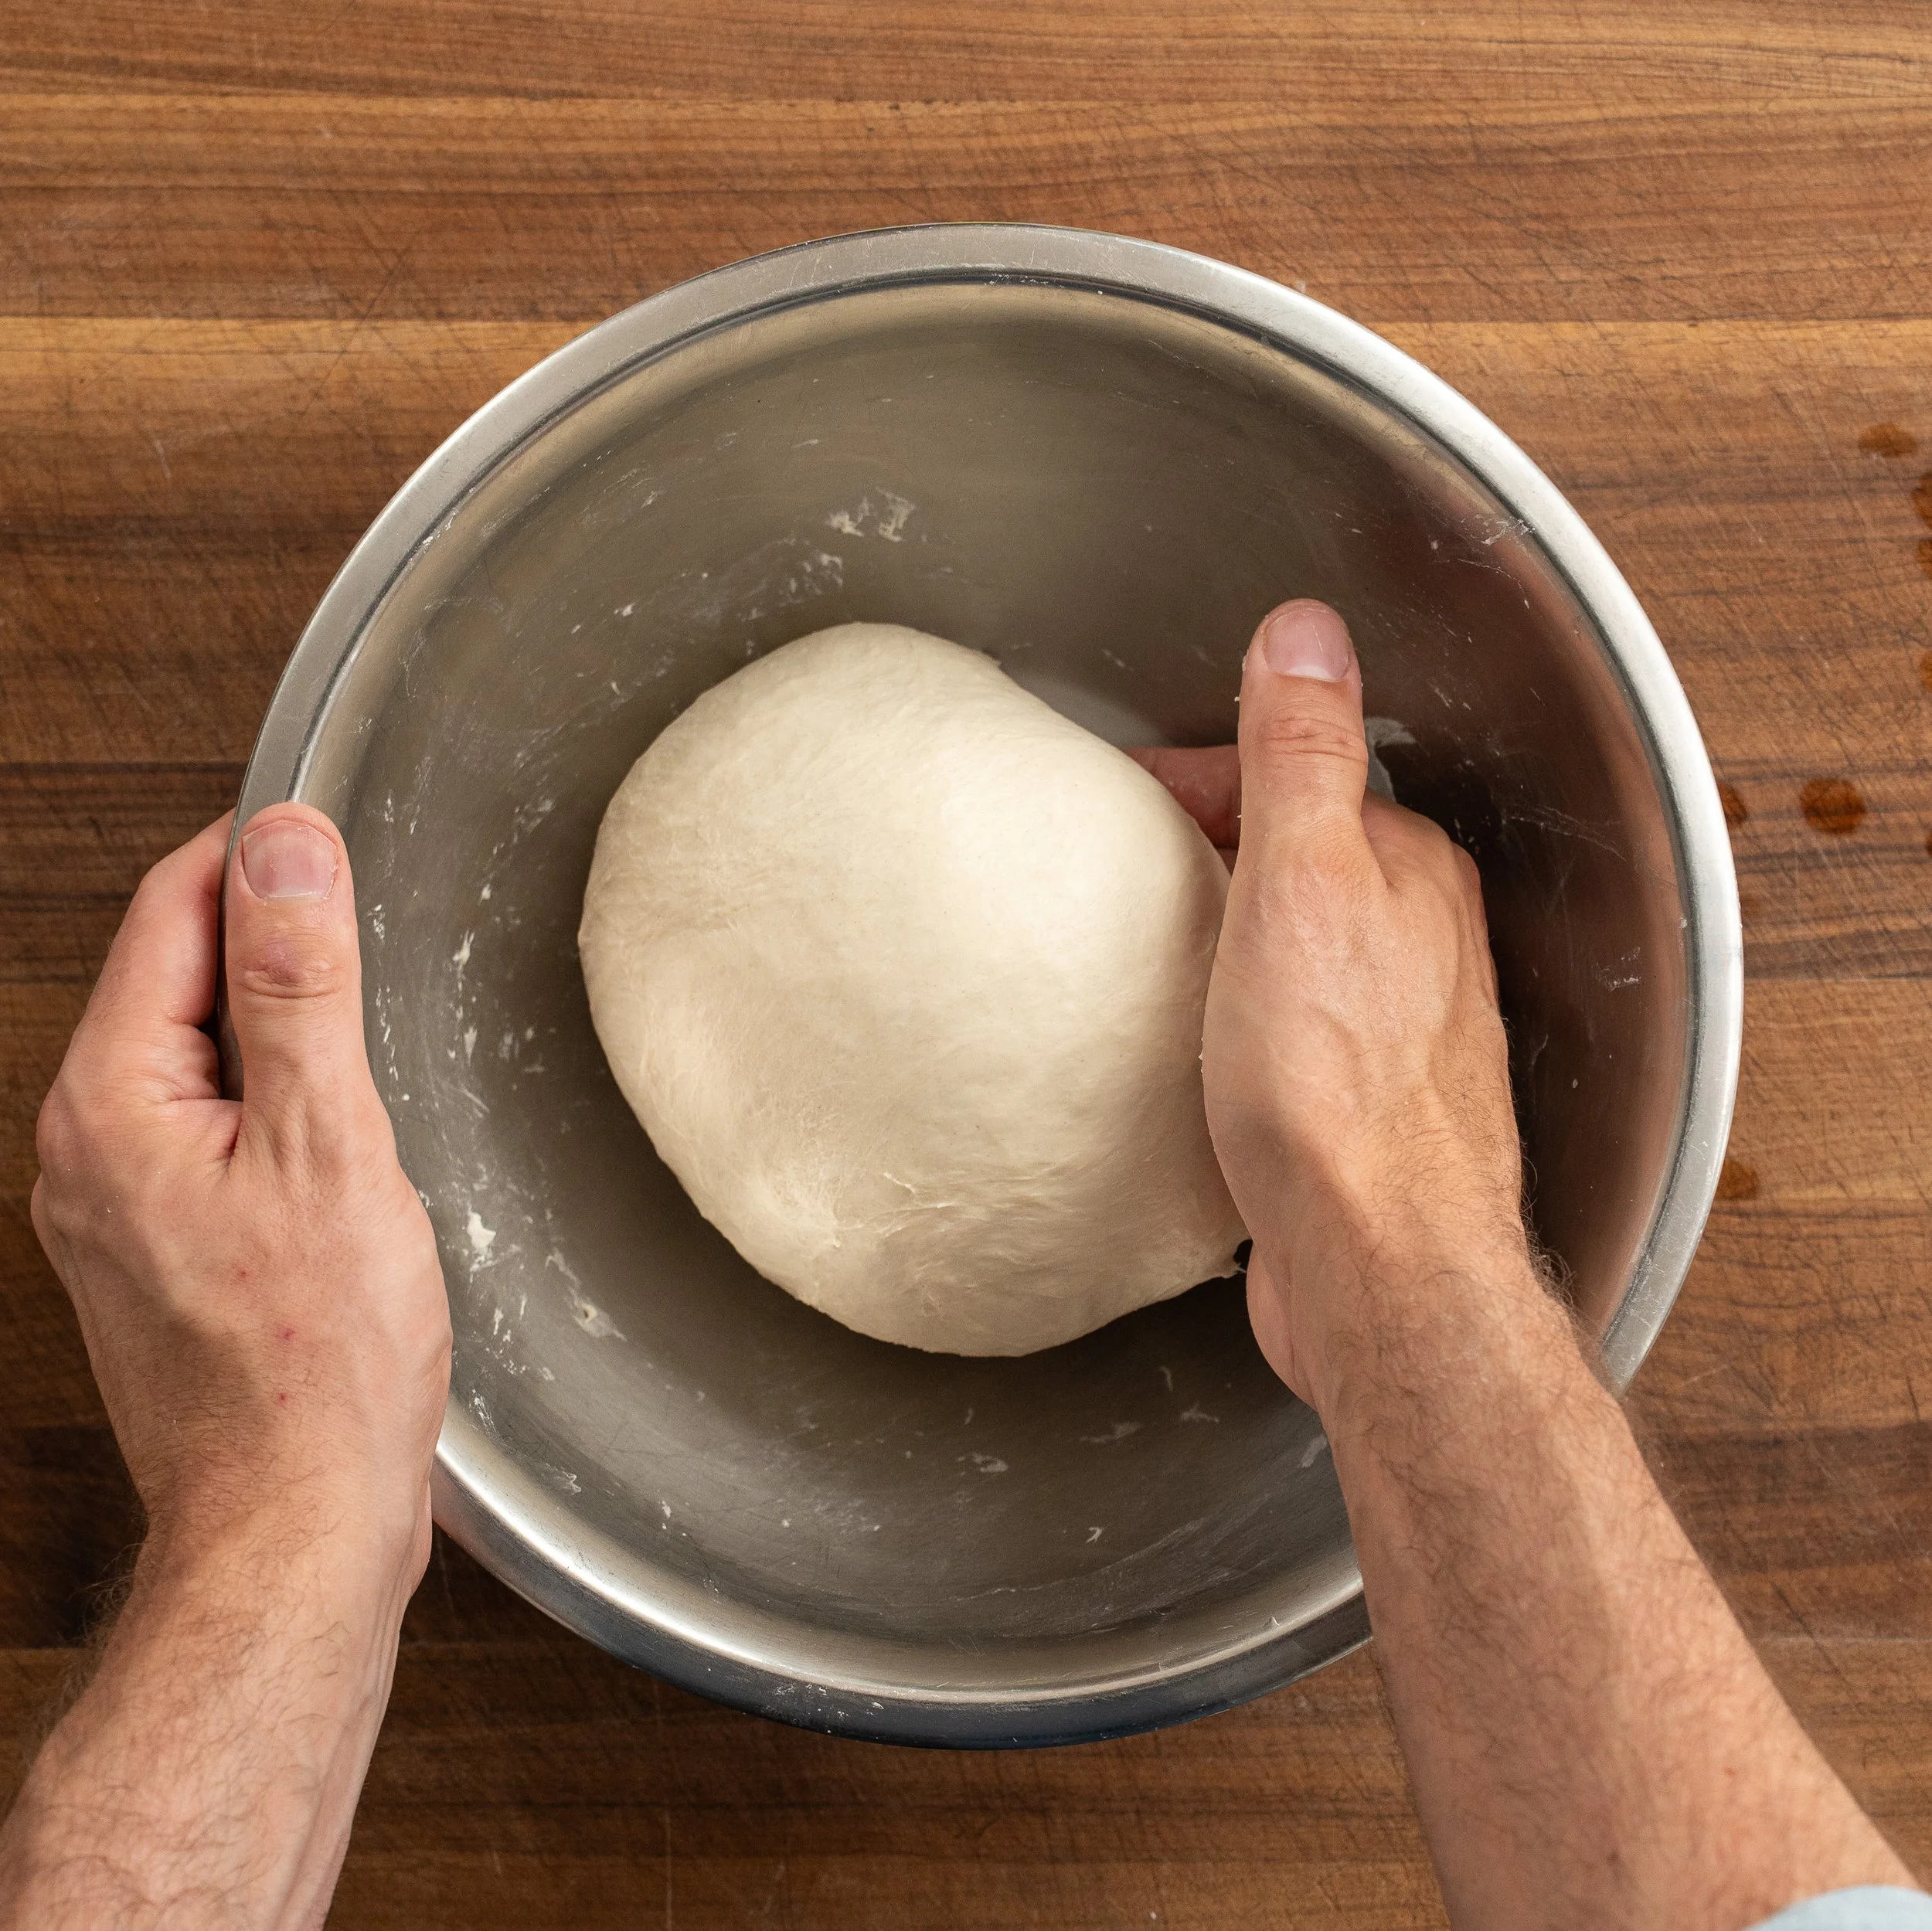
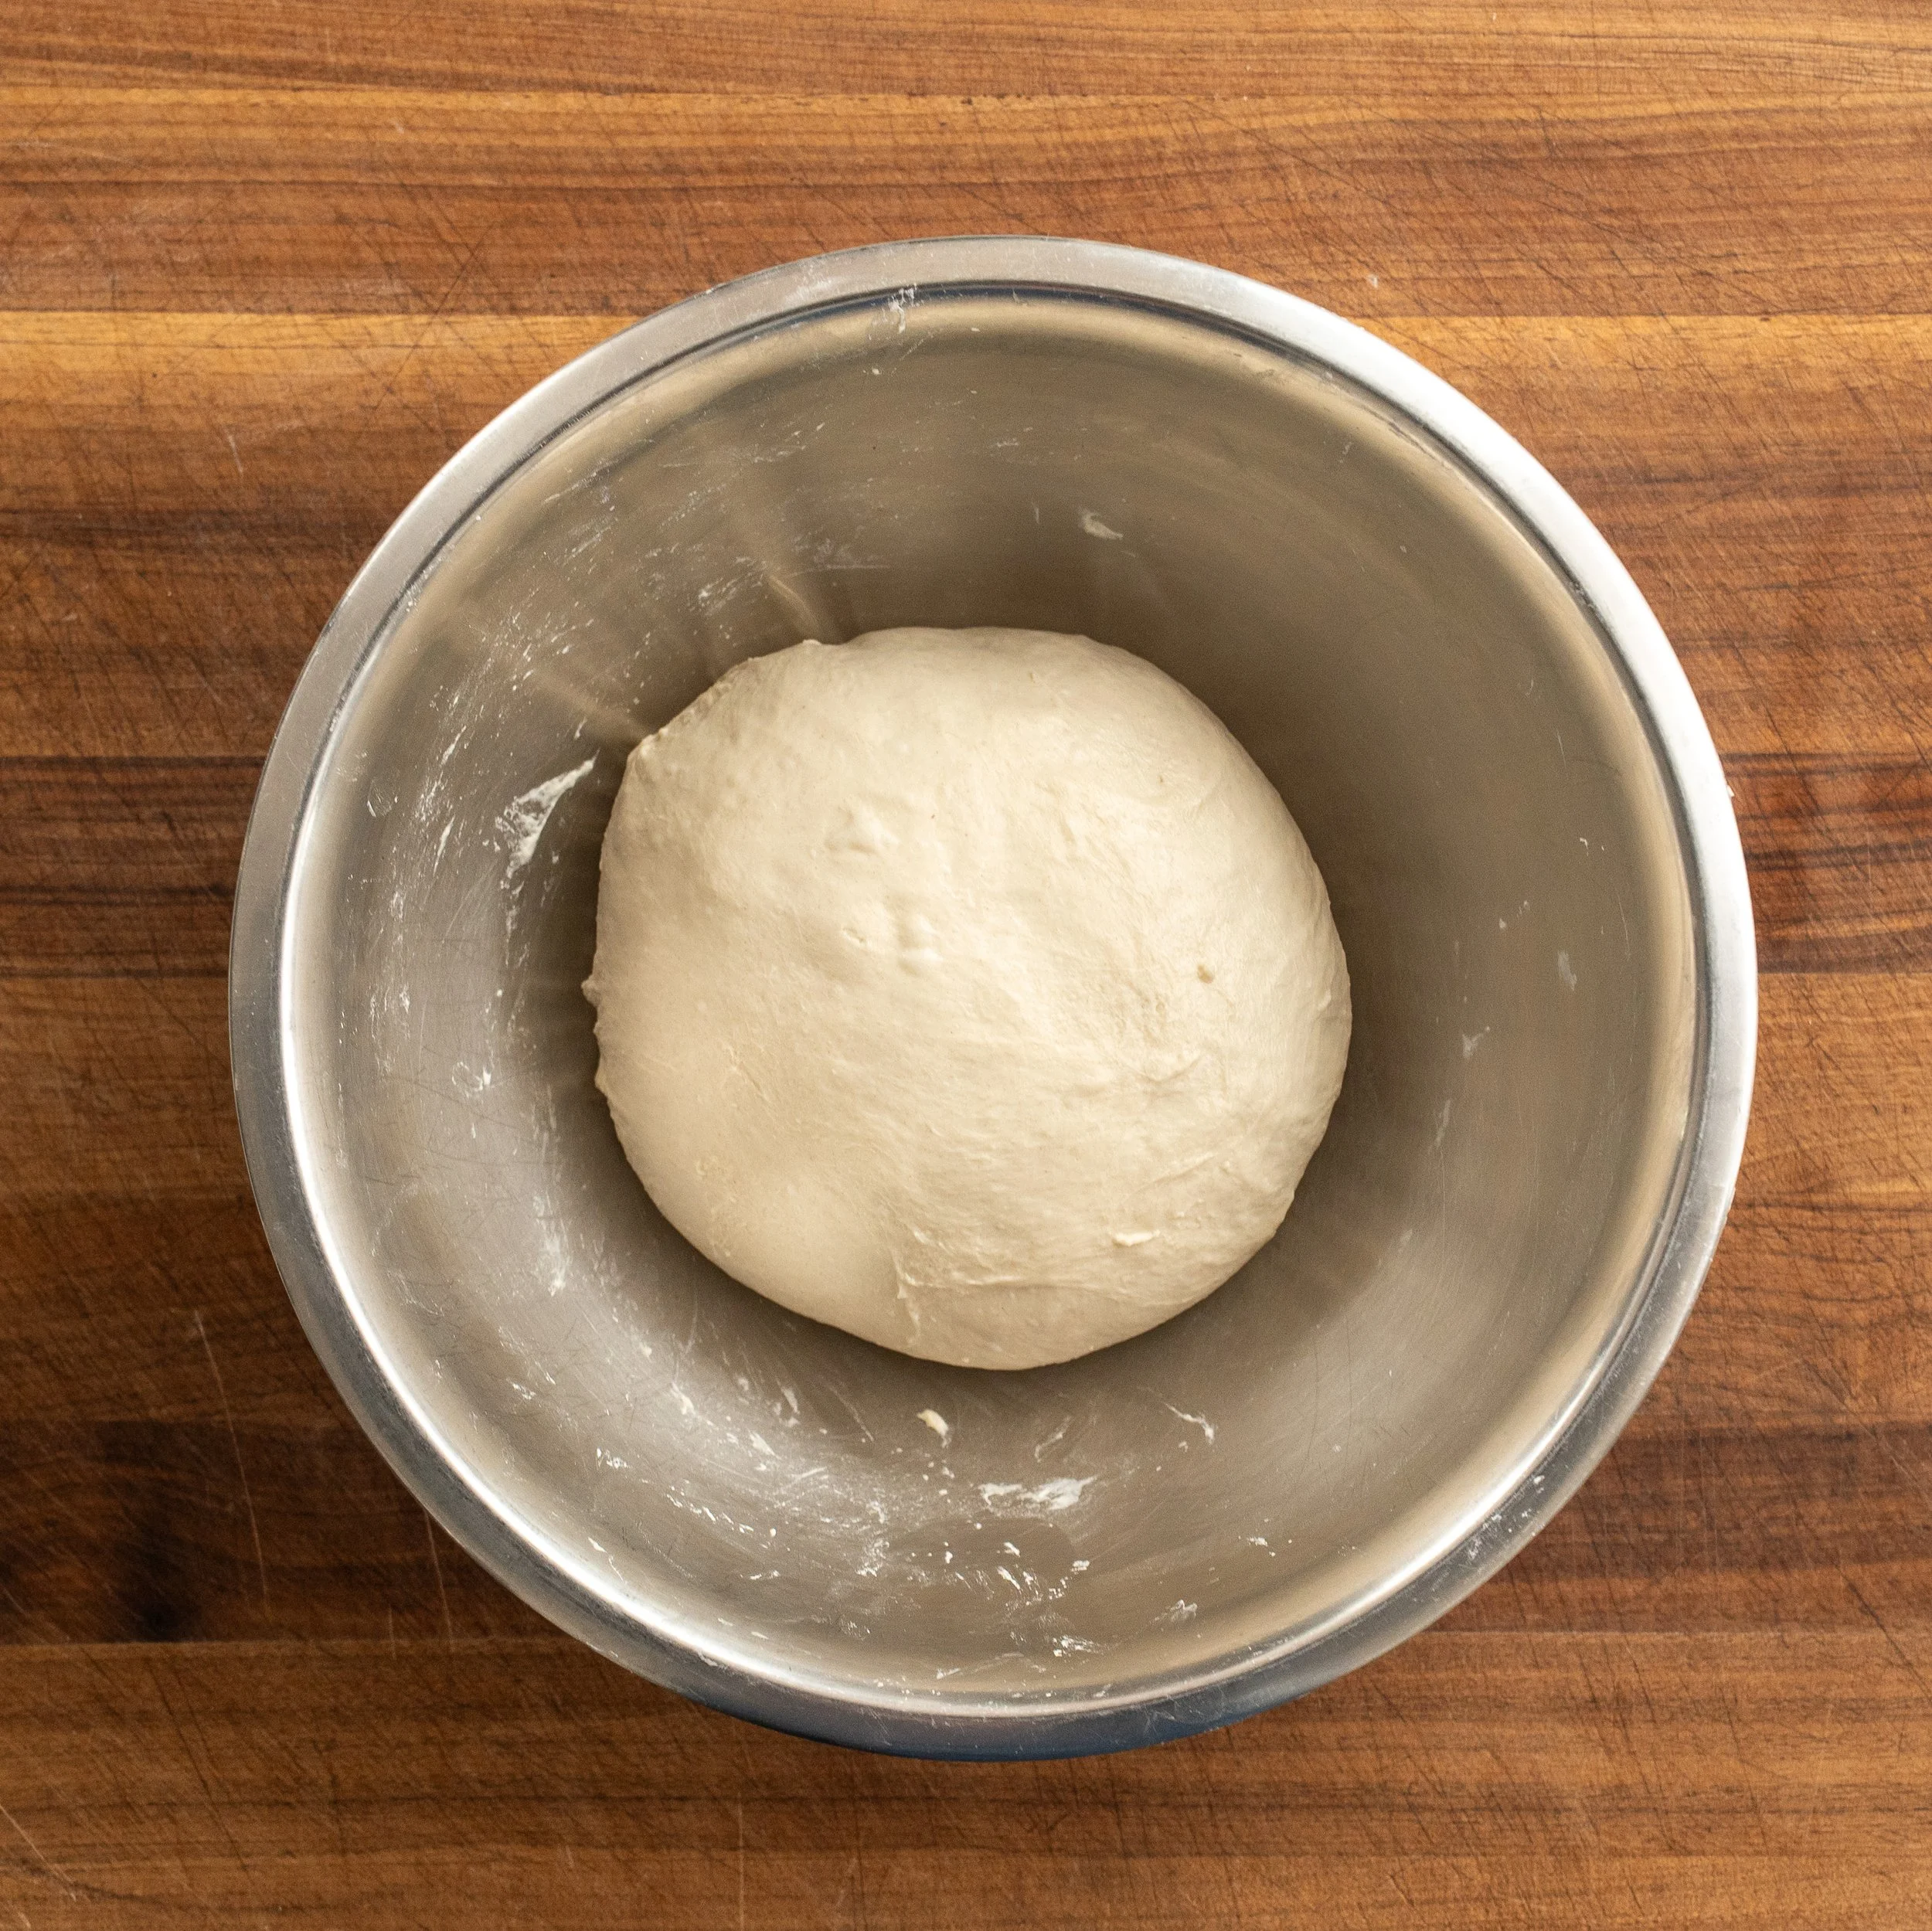
5.Cover and rest for 30 minutes, then repeat the same series of folds once more. After the second fold, it should look and feel like real dough, with a smooth, tight skin and very little stickiness.
Bulk Ferment Overnight
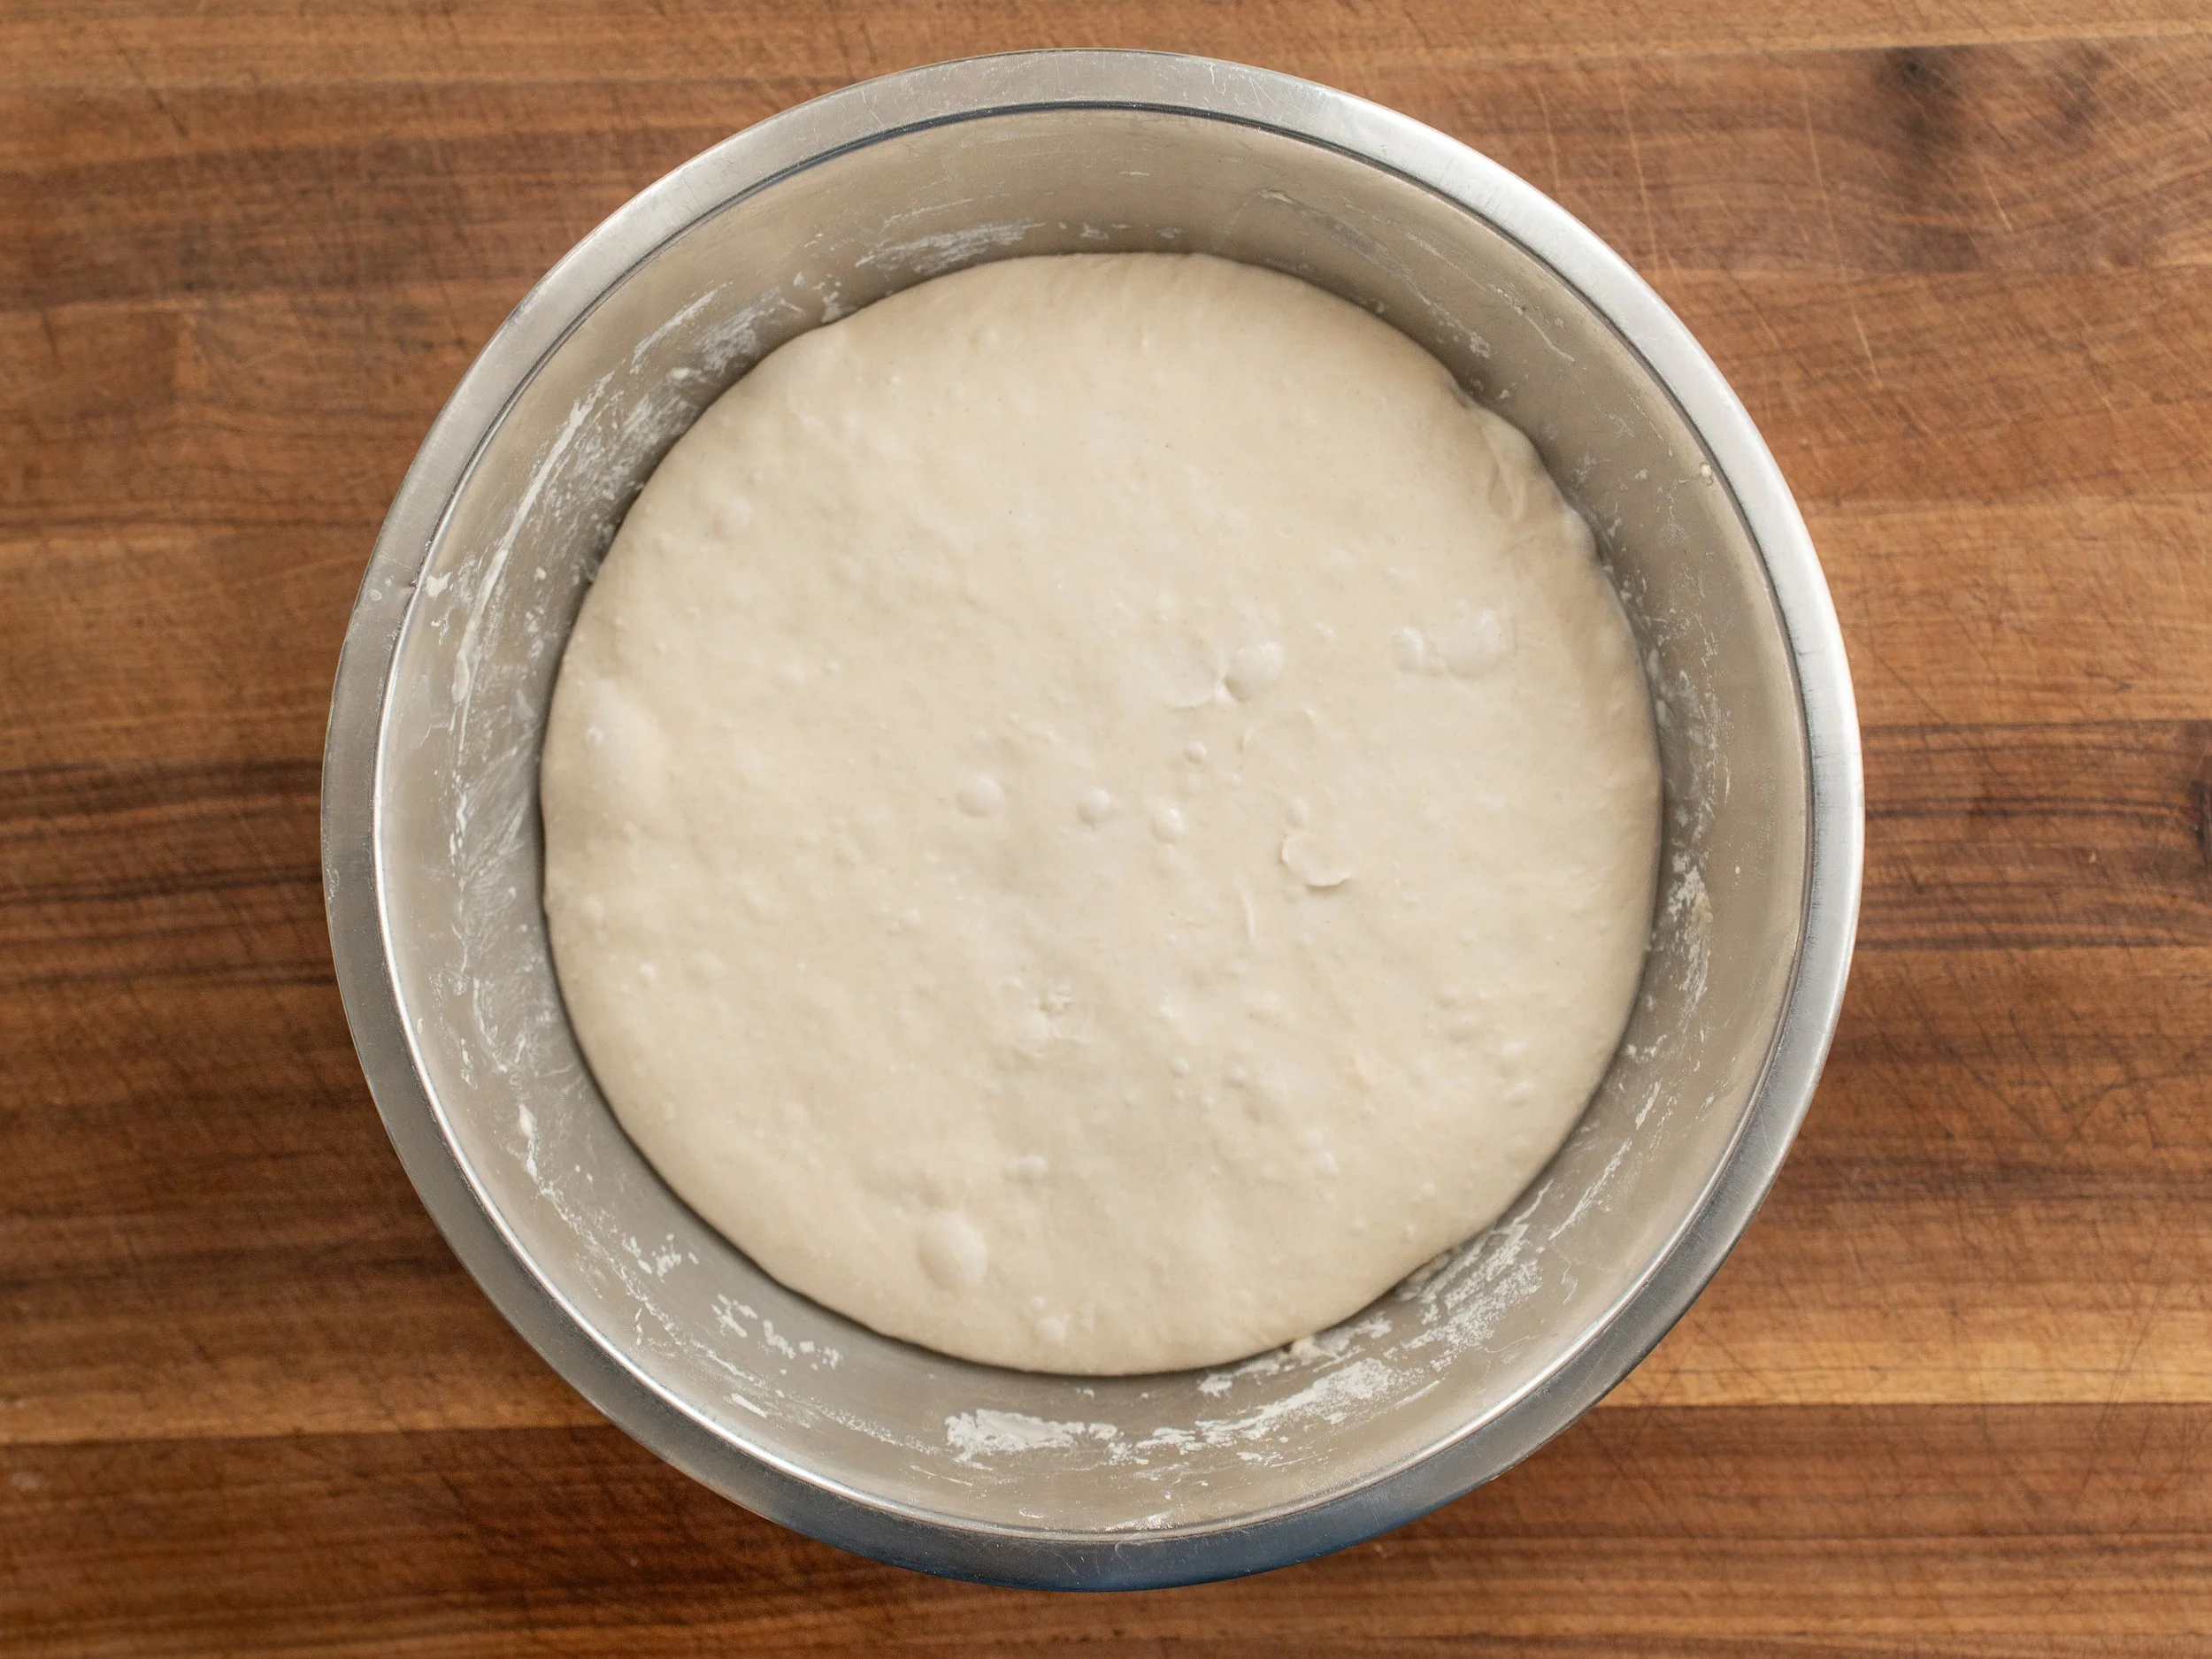
6.Cover the bowl and leave the dough at room temperature for 8 to 10 hours. It is ready when it has roughly doubled in size, the top is domed, and bubbles are visible across the surface and along the sides.
This timing assumes a room temperature of about 72°F. If your kitchen is warmer, start checking earlier. If it is colder, the dough may take longer. Try not to let the room drop much below 70°F (21°C), since fermentation slows dramatically at that point.
Divide, Ball, and Refrigerate
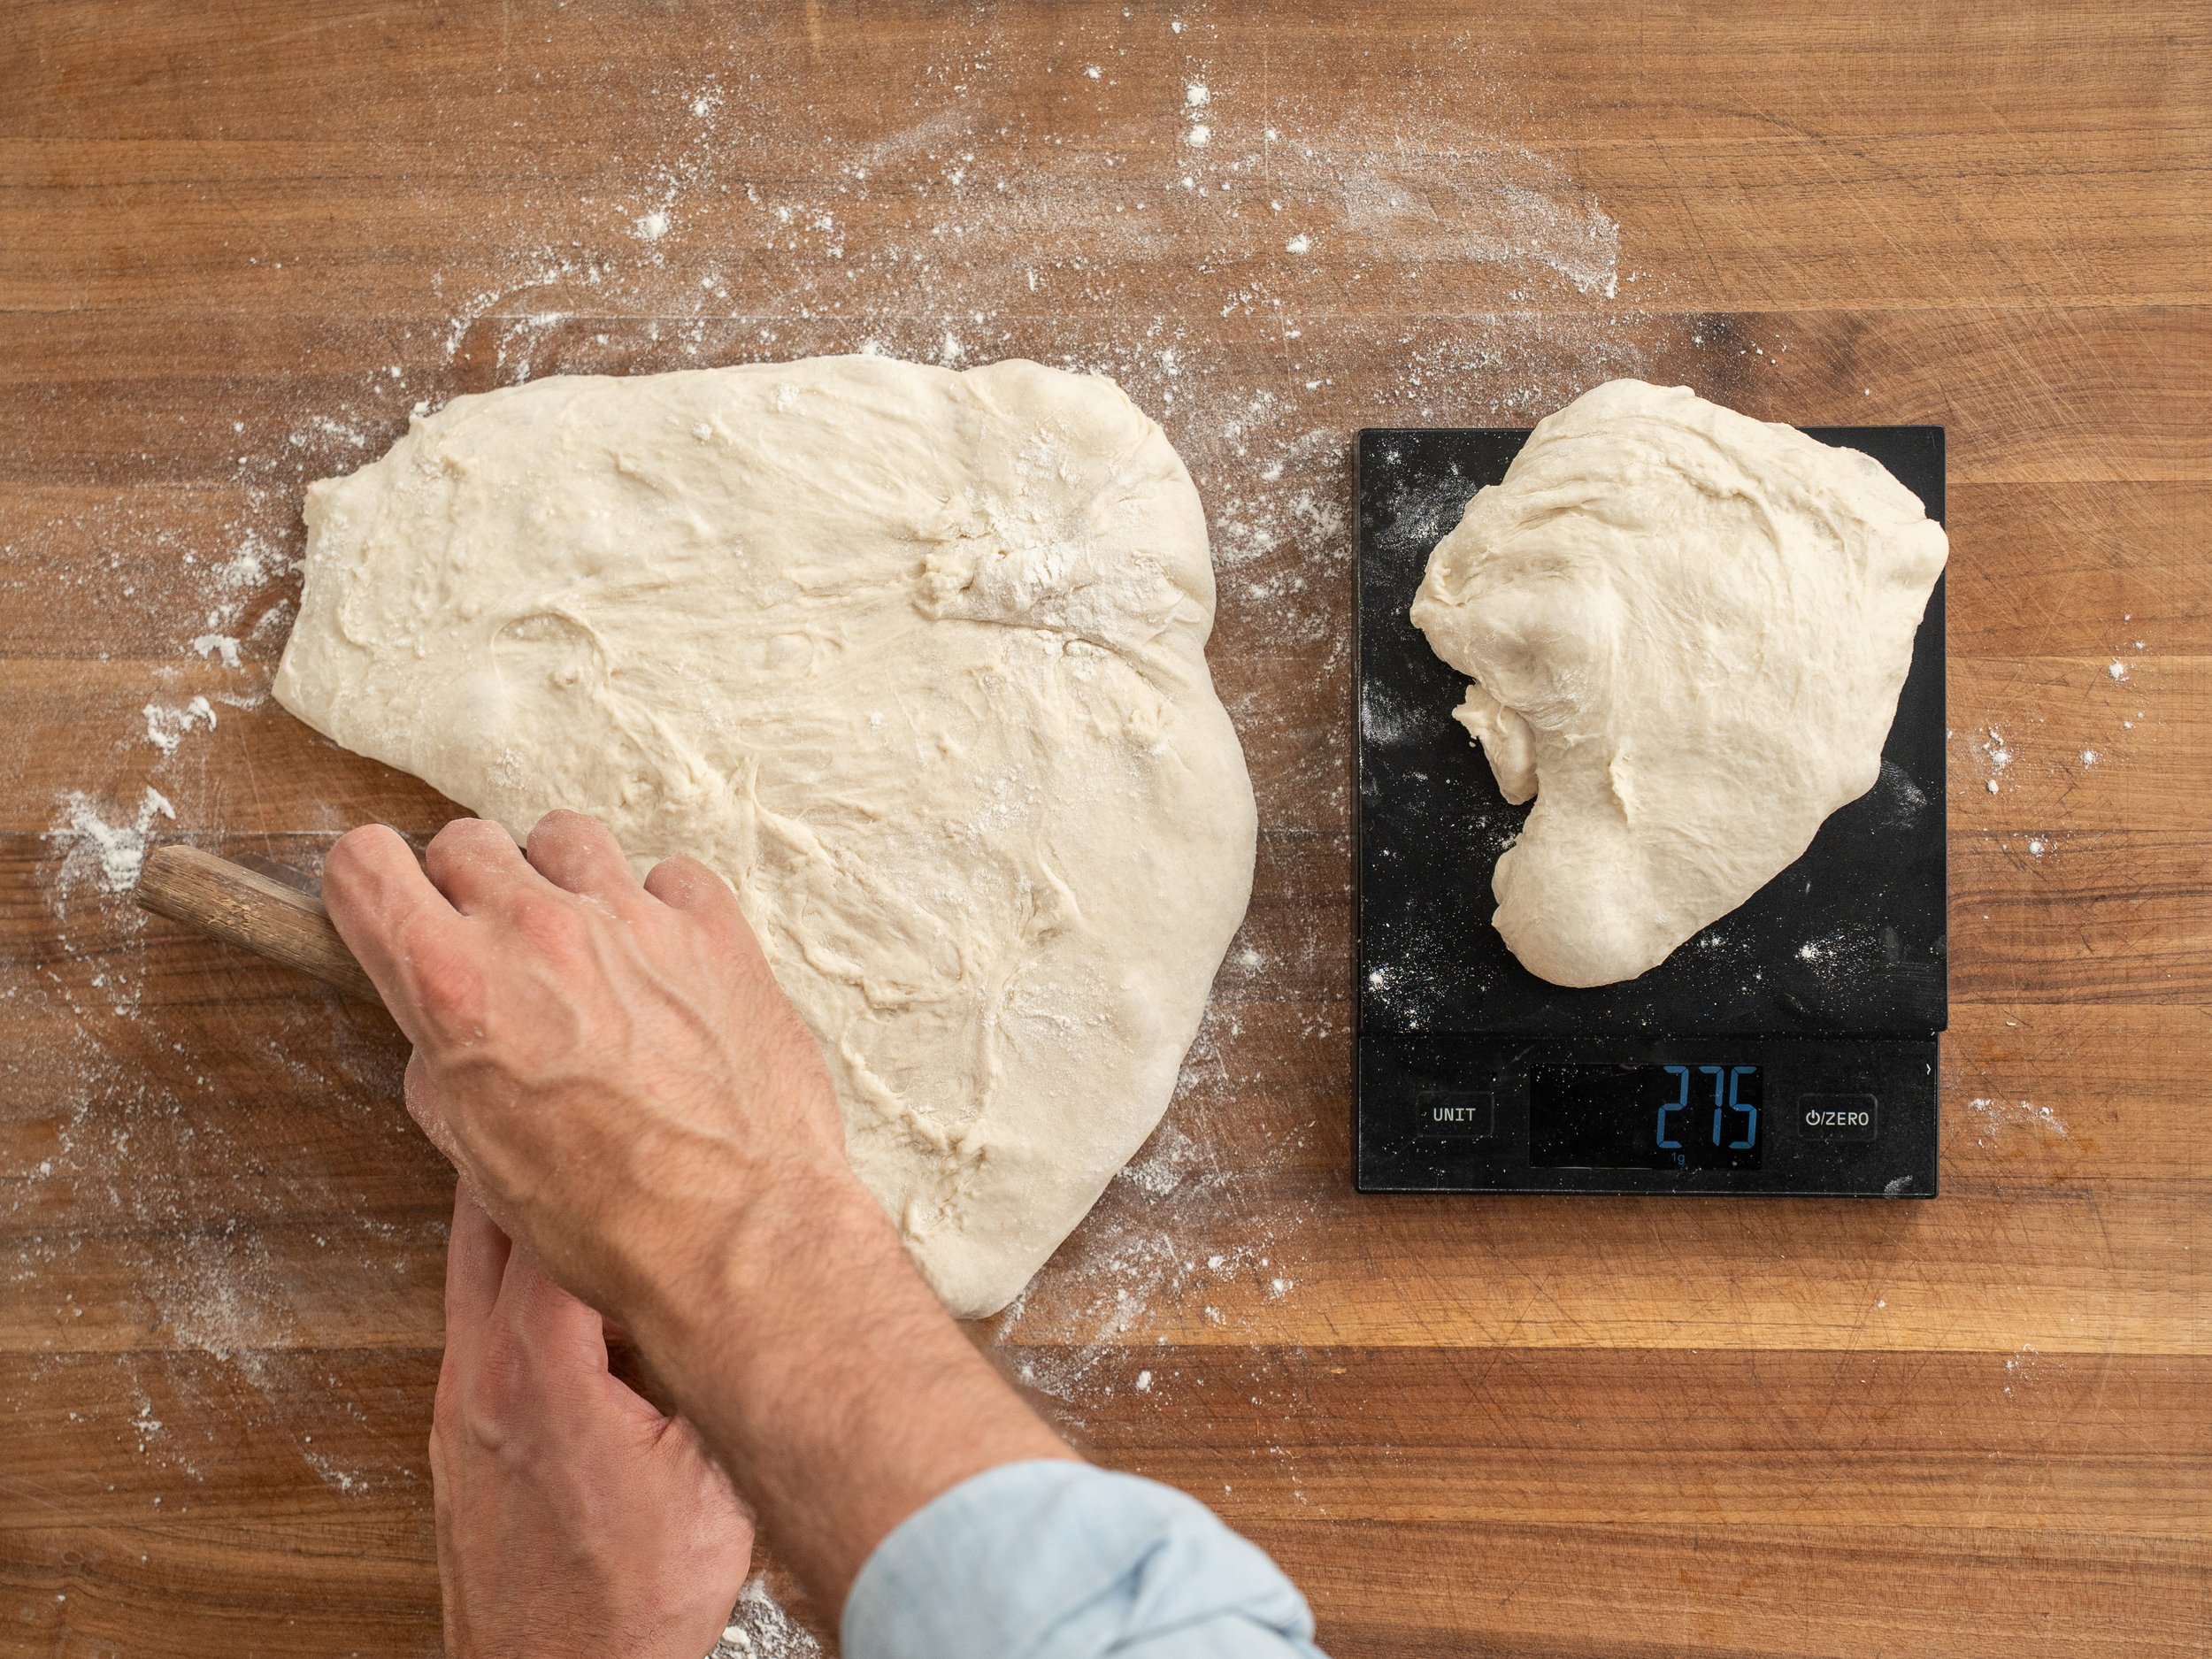
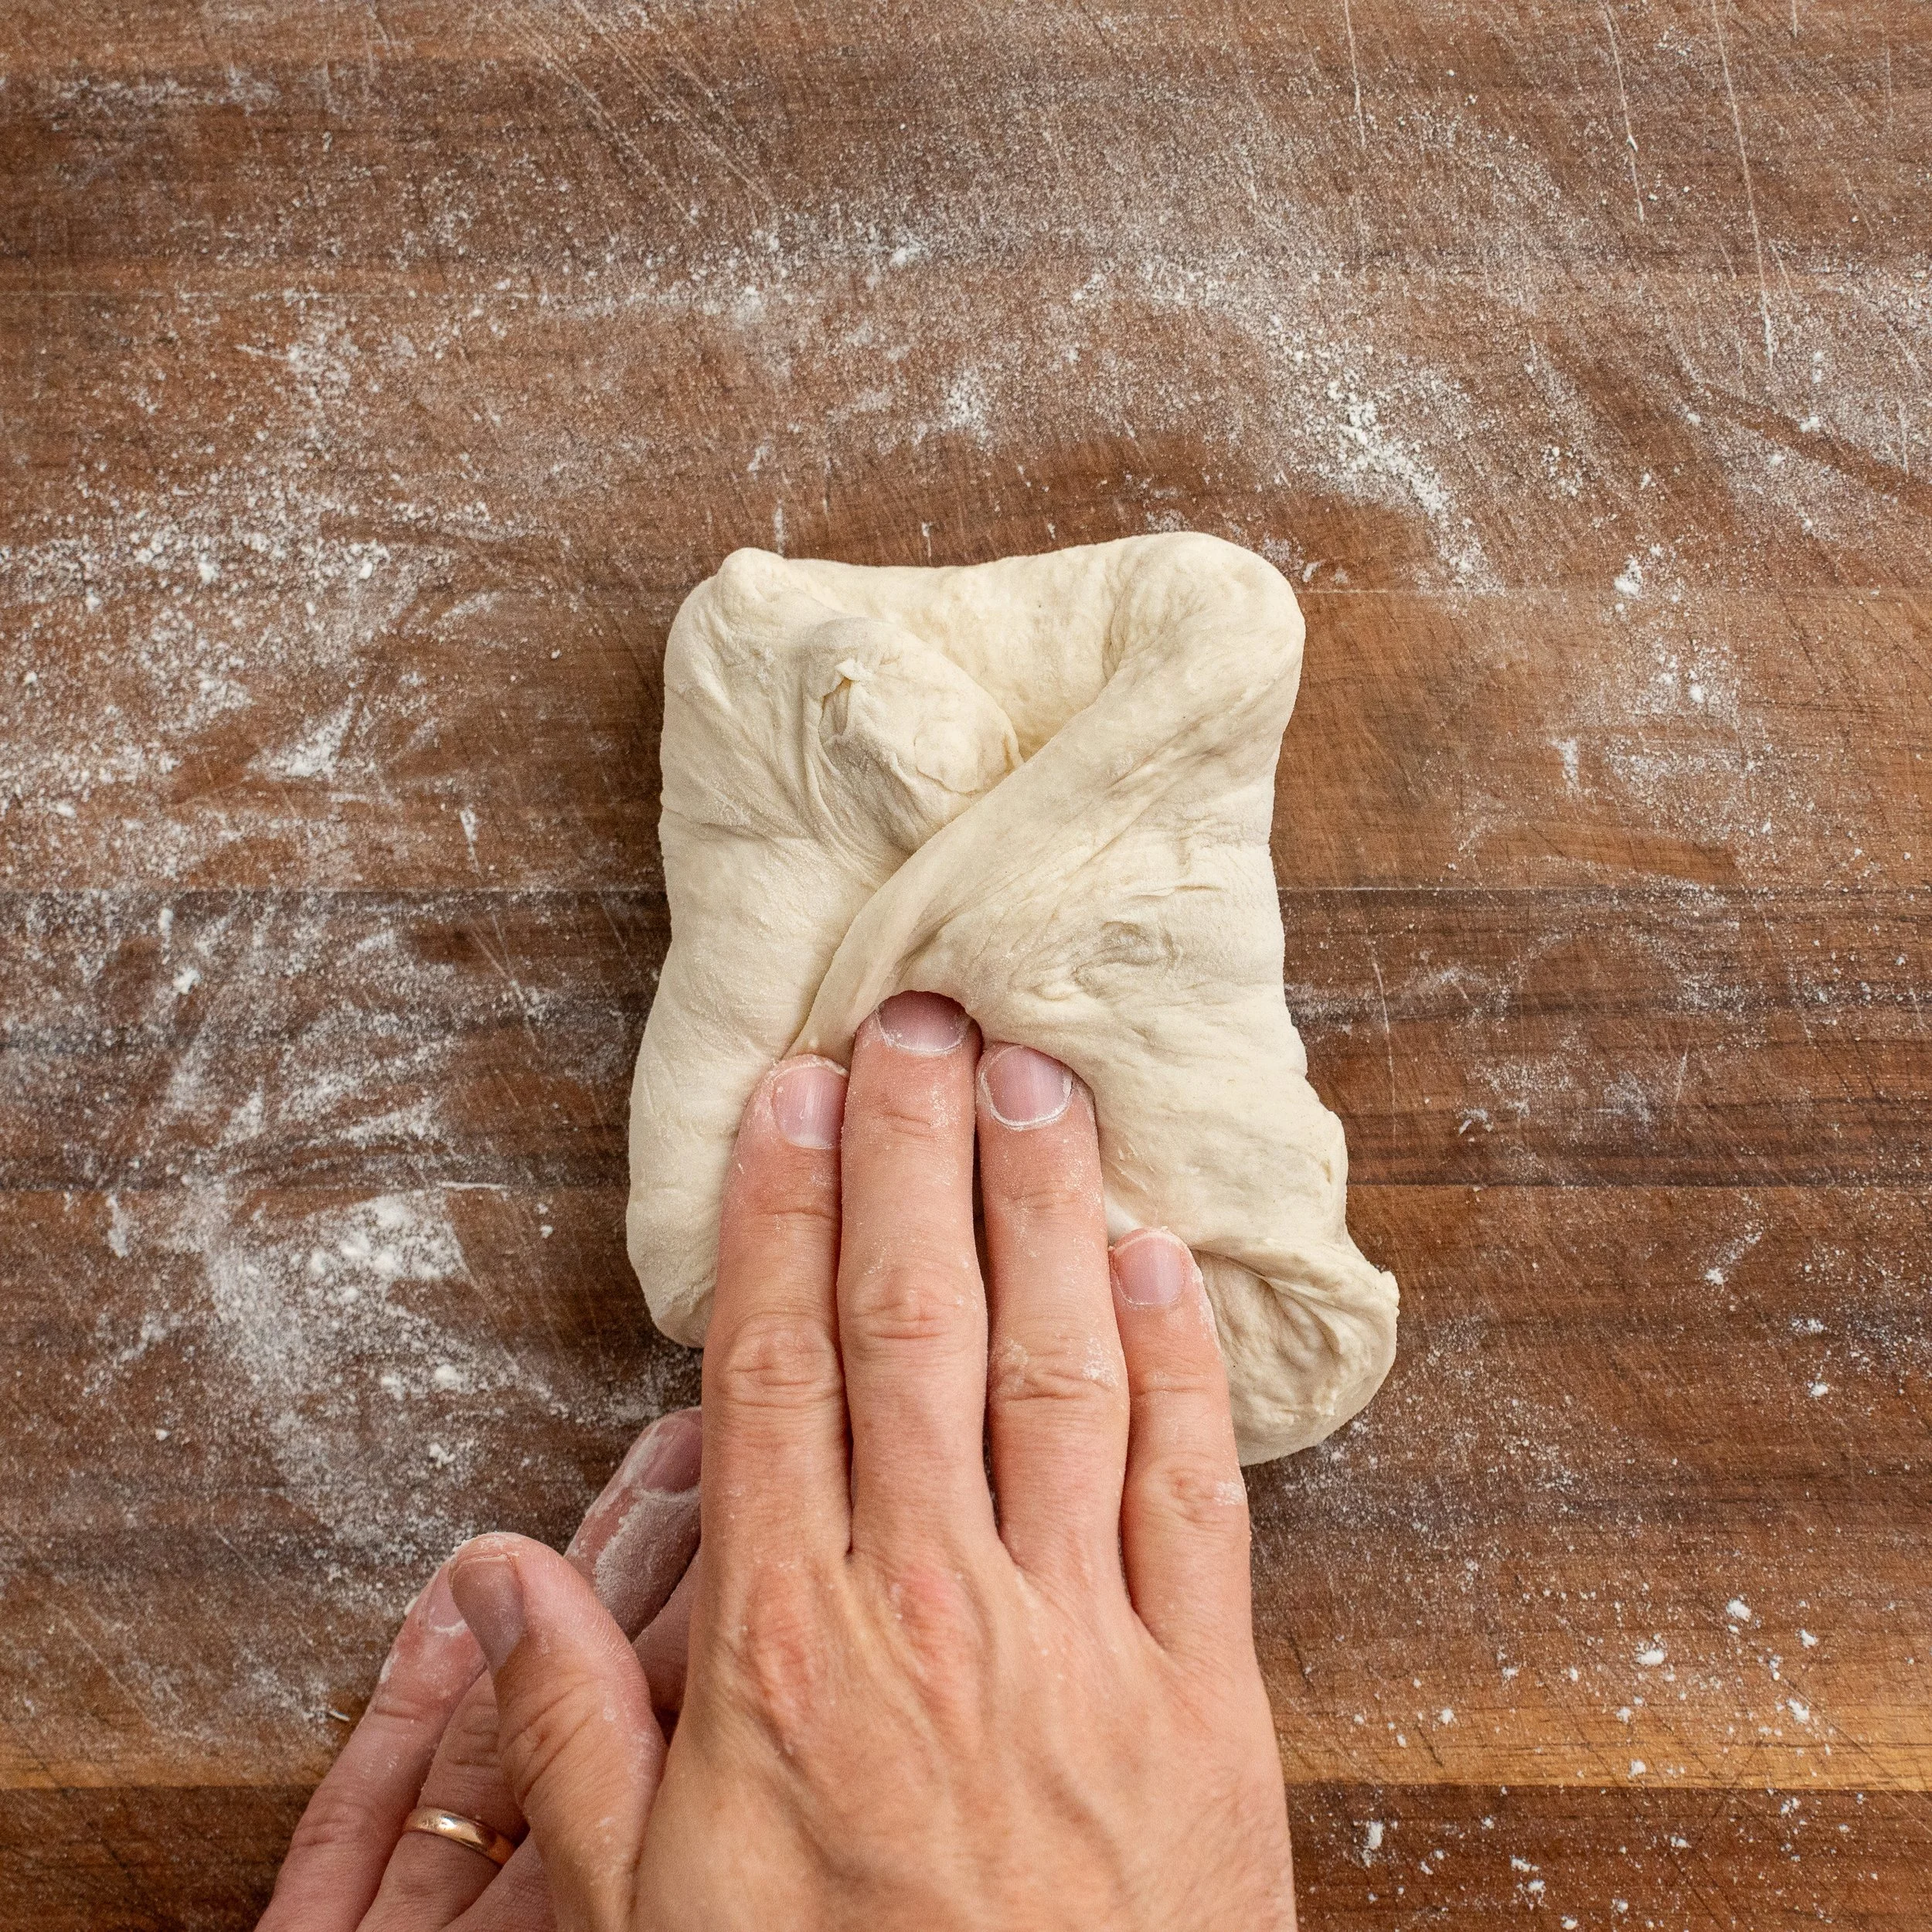
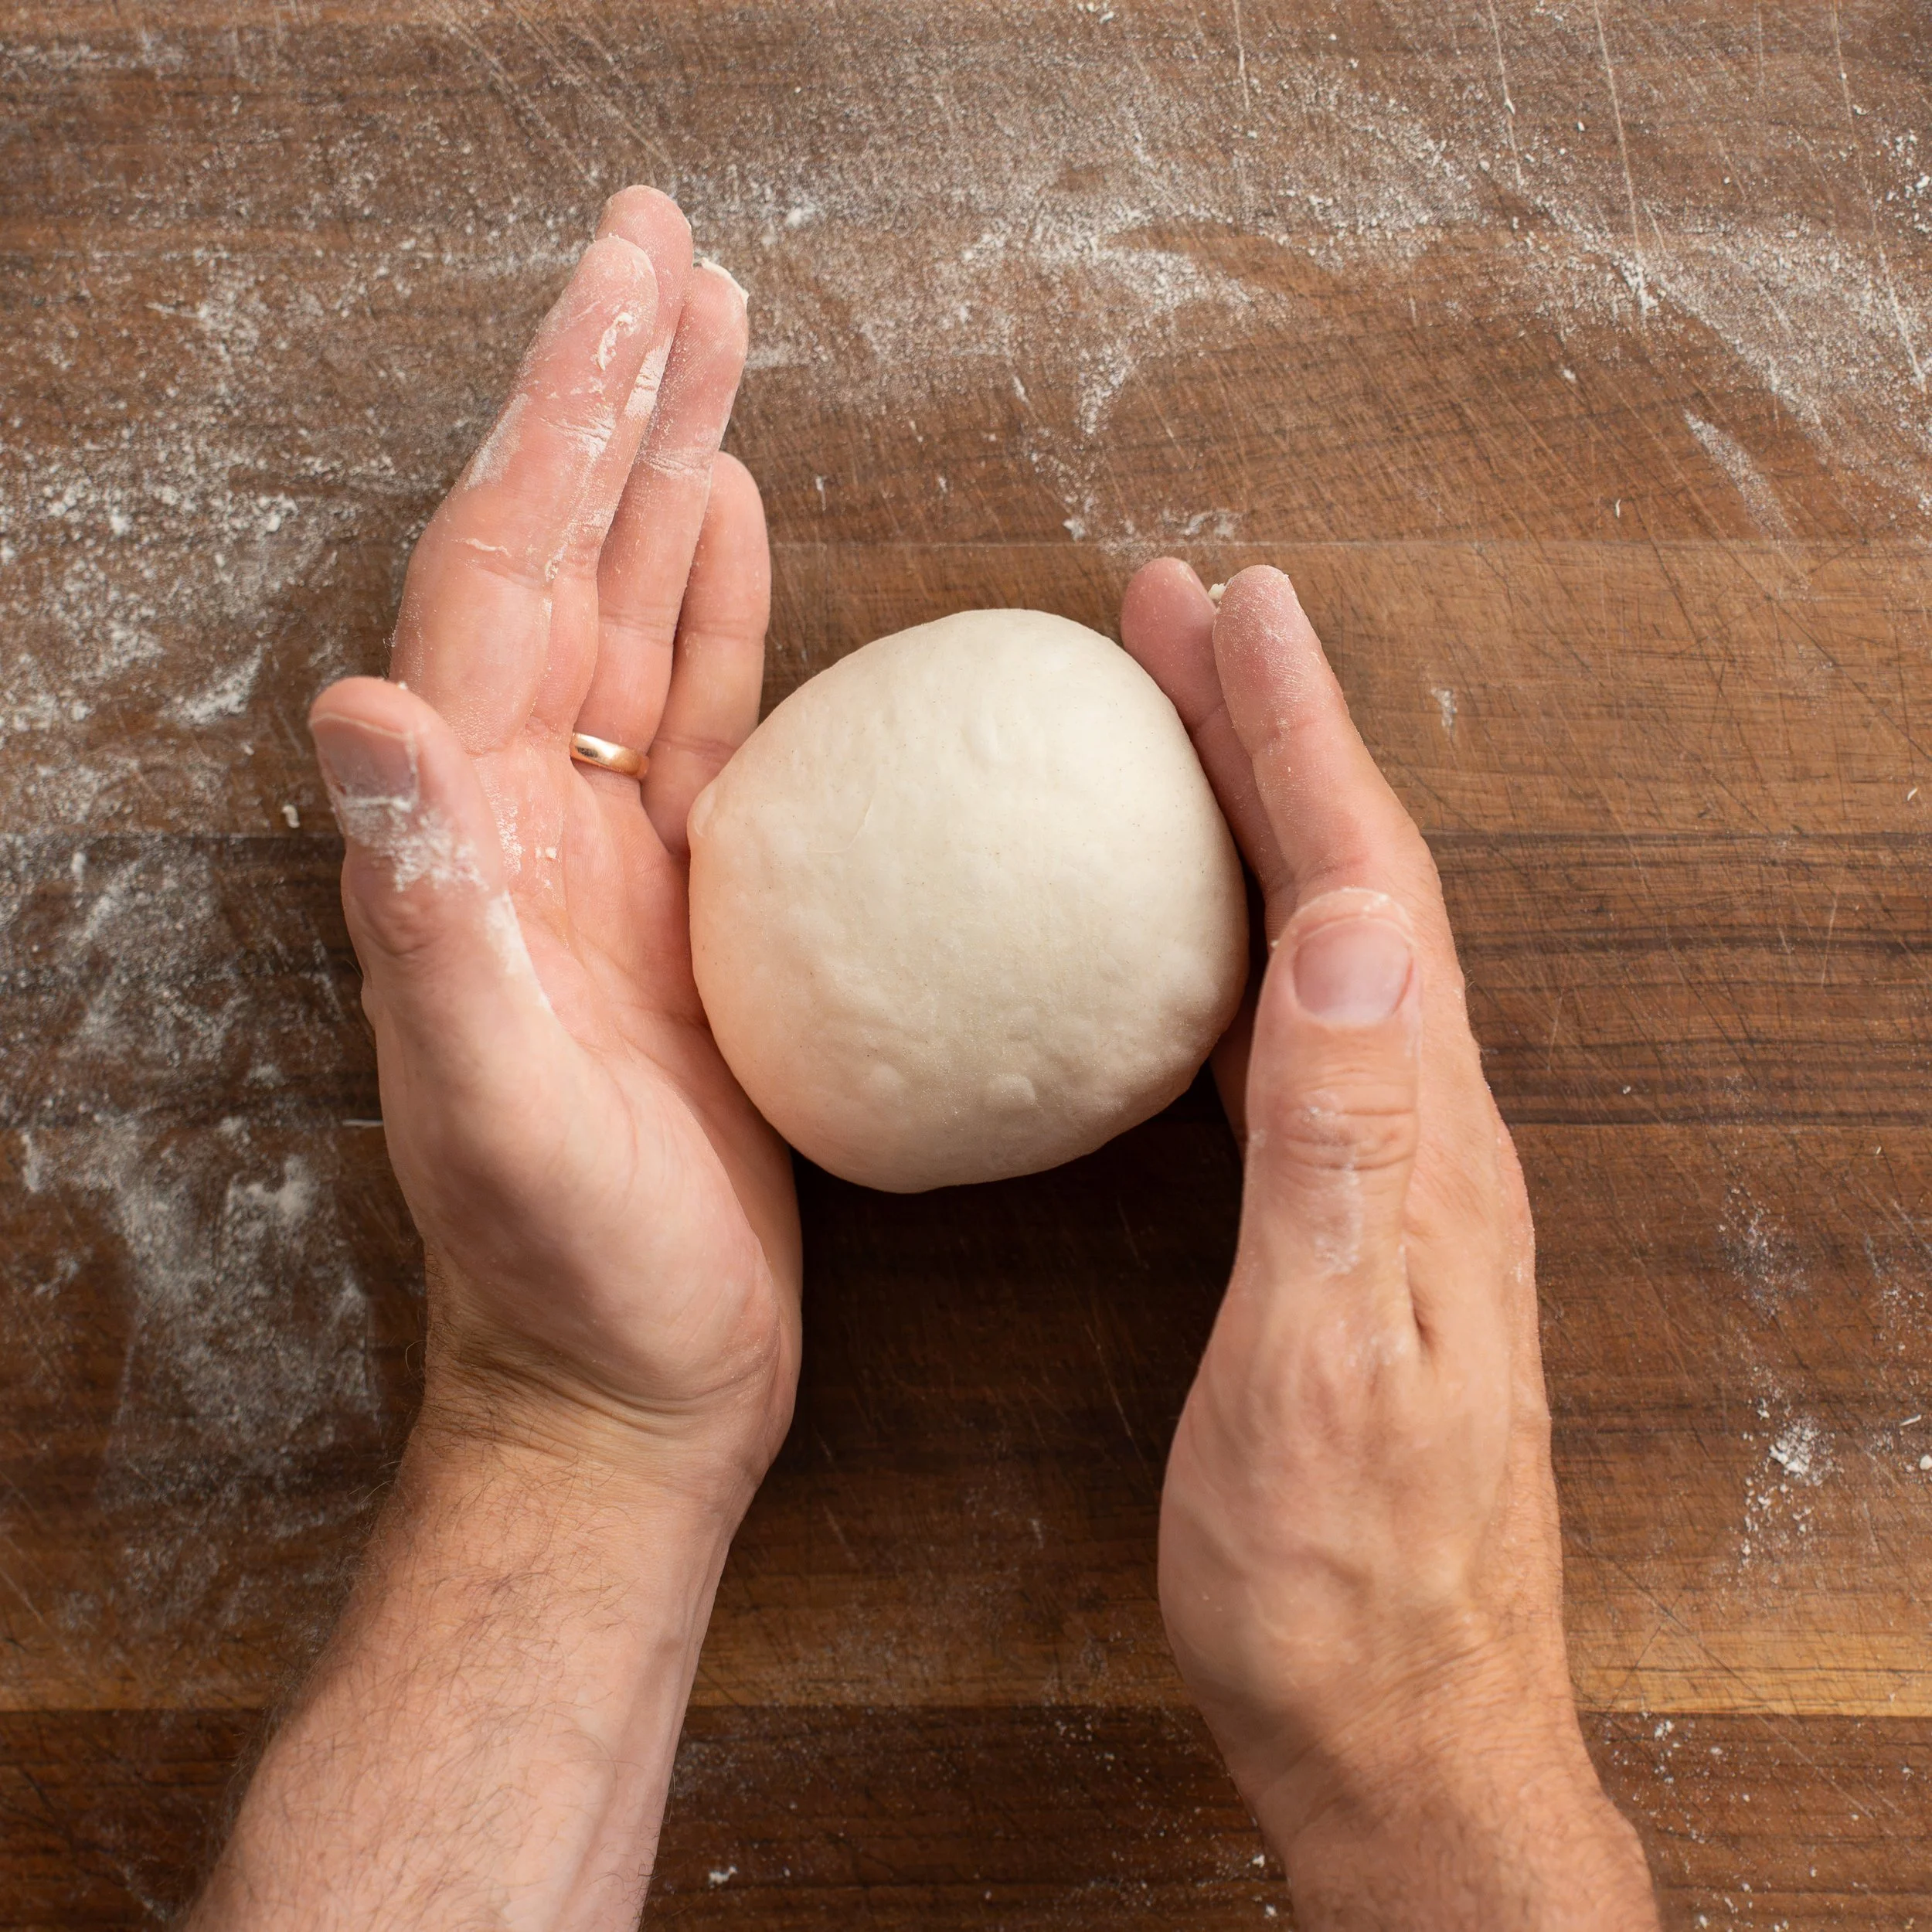
7.Place the dough onto your counter or work surface and divide it into four roughly 275-gram pieces. Gently degas the dough to eliminate excessive gas bubbles, then fold over the sides and roll it into a tidy, taut ball. The top should look smooth and stretched, almost like a small balloon.
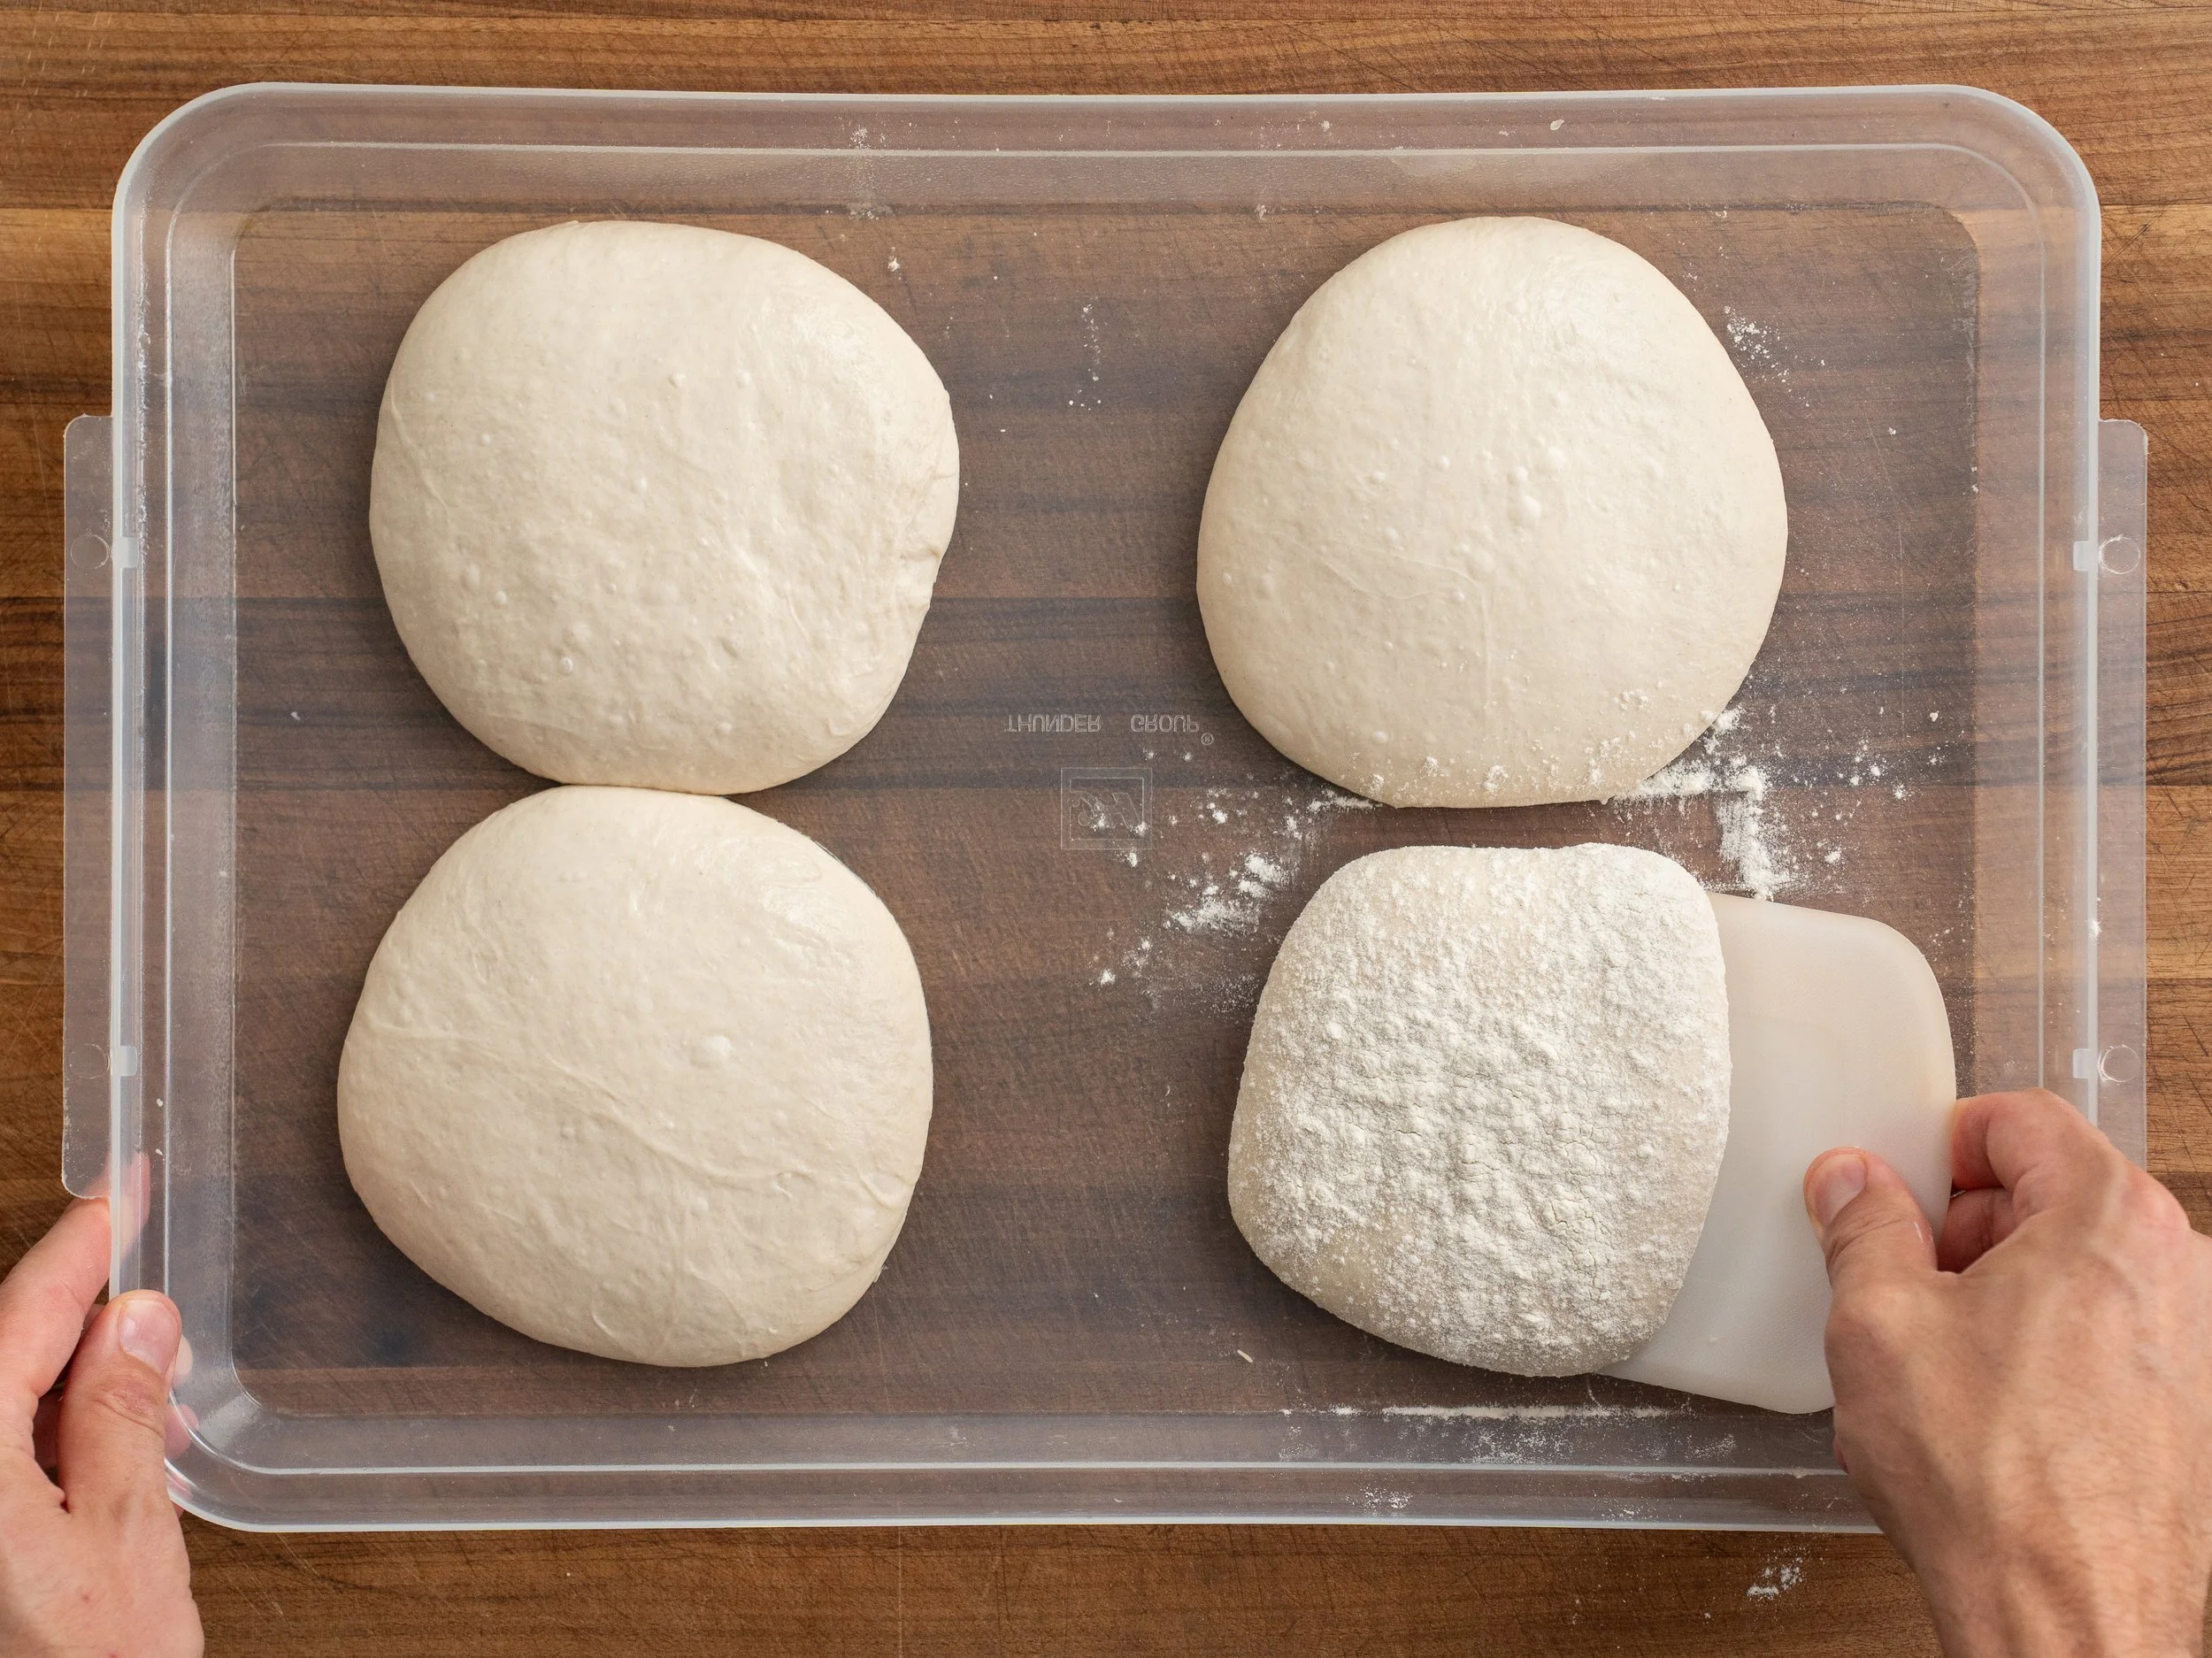
8.Lightly oil a plastic half sheet-tray cover and place the dough balls on it. Refrigerate them uncovered for five minutes so the warm dough can begin cooling without trapping that room temperature heat. Flip the metal sheet tray upside down over the dough as a lid.
Cold ferment for at least 2 hours, ideally 8 to 24 hours and up to 3 days. I prefer this dough on the younger side, when it still has the most energy in the oven.
Can I put the dough balls on a parchment lined tray or directly on a sheet tray? You CAN, but I don’t recommend it. From my experience, the dough stuck to both the metal sheet tray and the parchment paper a lot more than the plastic.
Temper the Dough and Preheat the Oven
9.Remove the dough from the refrigerator 60 minutes before baking. Cold dough straight from the fridge is very hard to shape and will snap back aggressively. The time on the counter also gives it a final bit of fermentation and rise.
10.Thoroughly preheat the pizza oven before you begin shaping. For my Gozney and all other pizza ovens I’ve used, that means run the oven at full heat for 1 hour, until the stone is ideally at 1000°F (535°C). If your oven gets this hot, time your pizza build so you can turn the flame way down or even off for 5- 10 minutes before baking (if needed) to let the oven floor temp cool to 900°F (485°C) before baking.
Make the Tomato Sauce
11.Combine one 28-ounce can of crushed tomatoes with 7 grams salt. Pulse briefly with an immersion blender, stopping while the sauce is still slightly coarse. A completely smooth sauce can feel pasty on the finished pizza. This makes enough sauce for about 8 pizzas, and any extra freezes perfectly.
Shape the Pizza
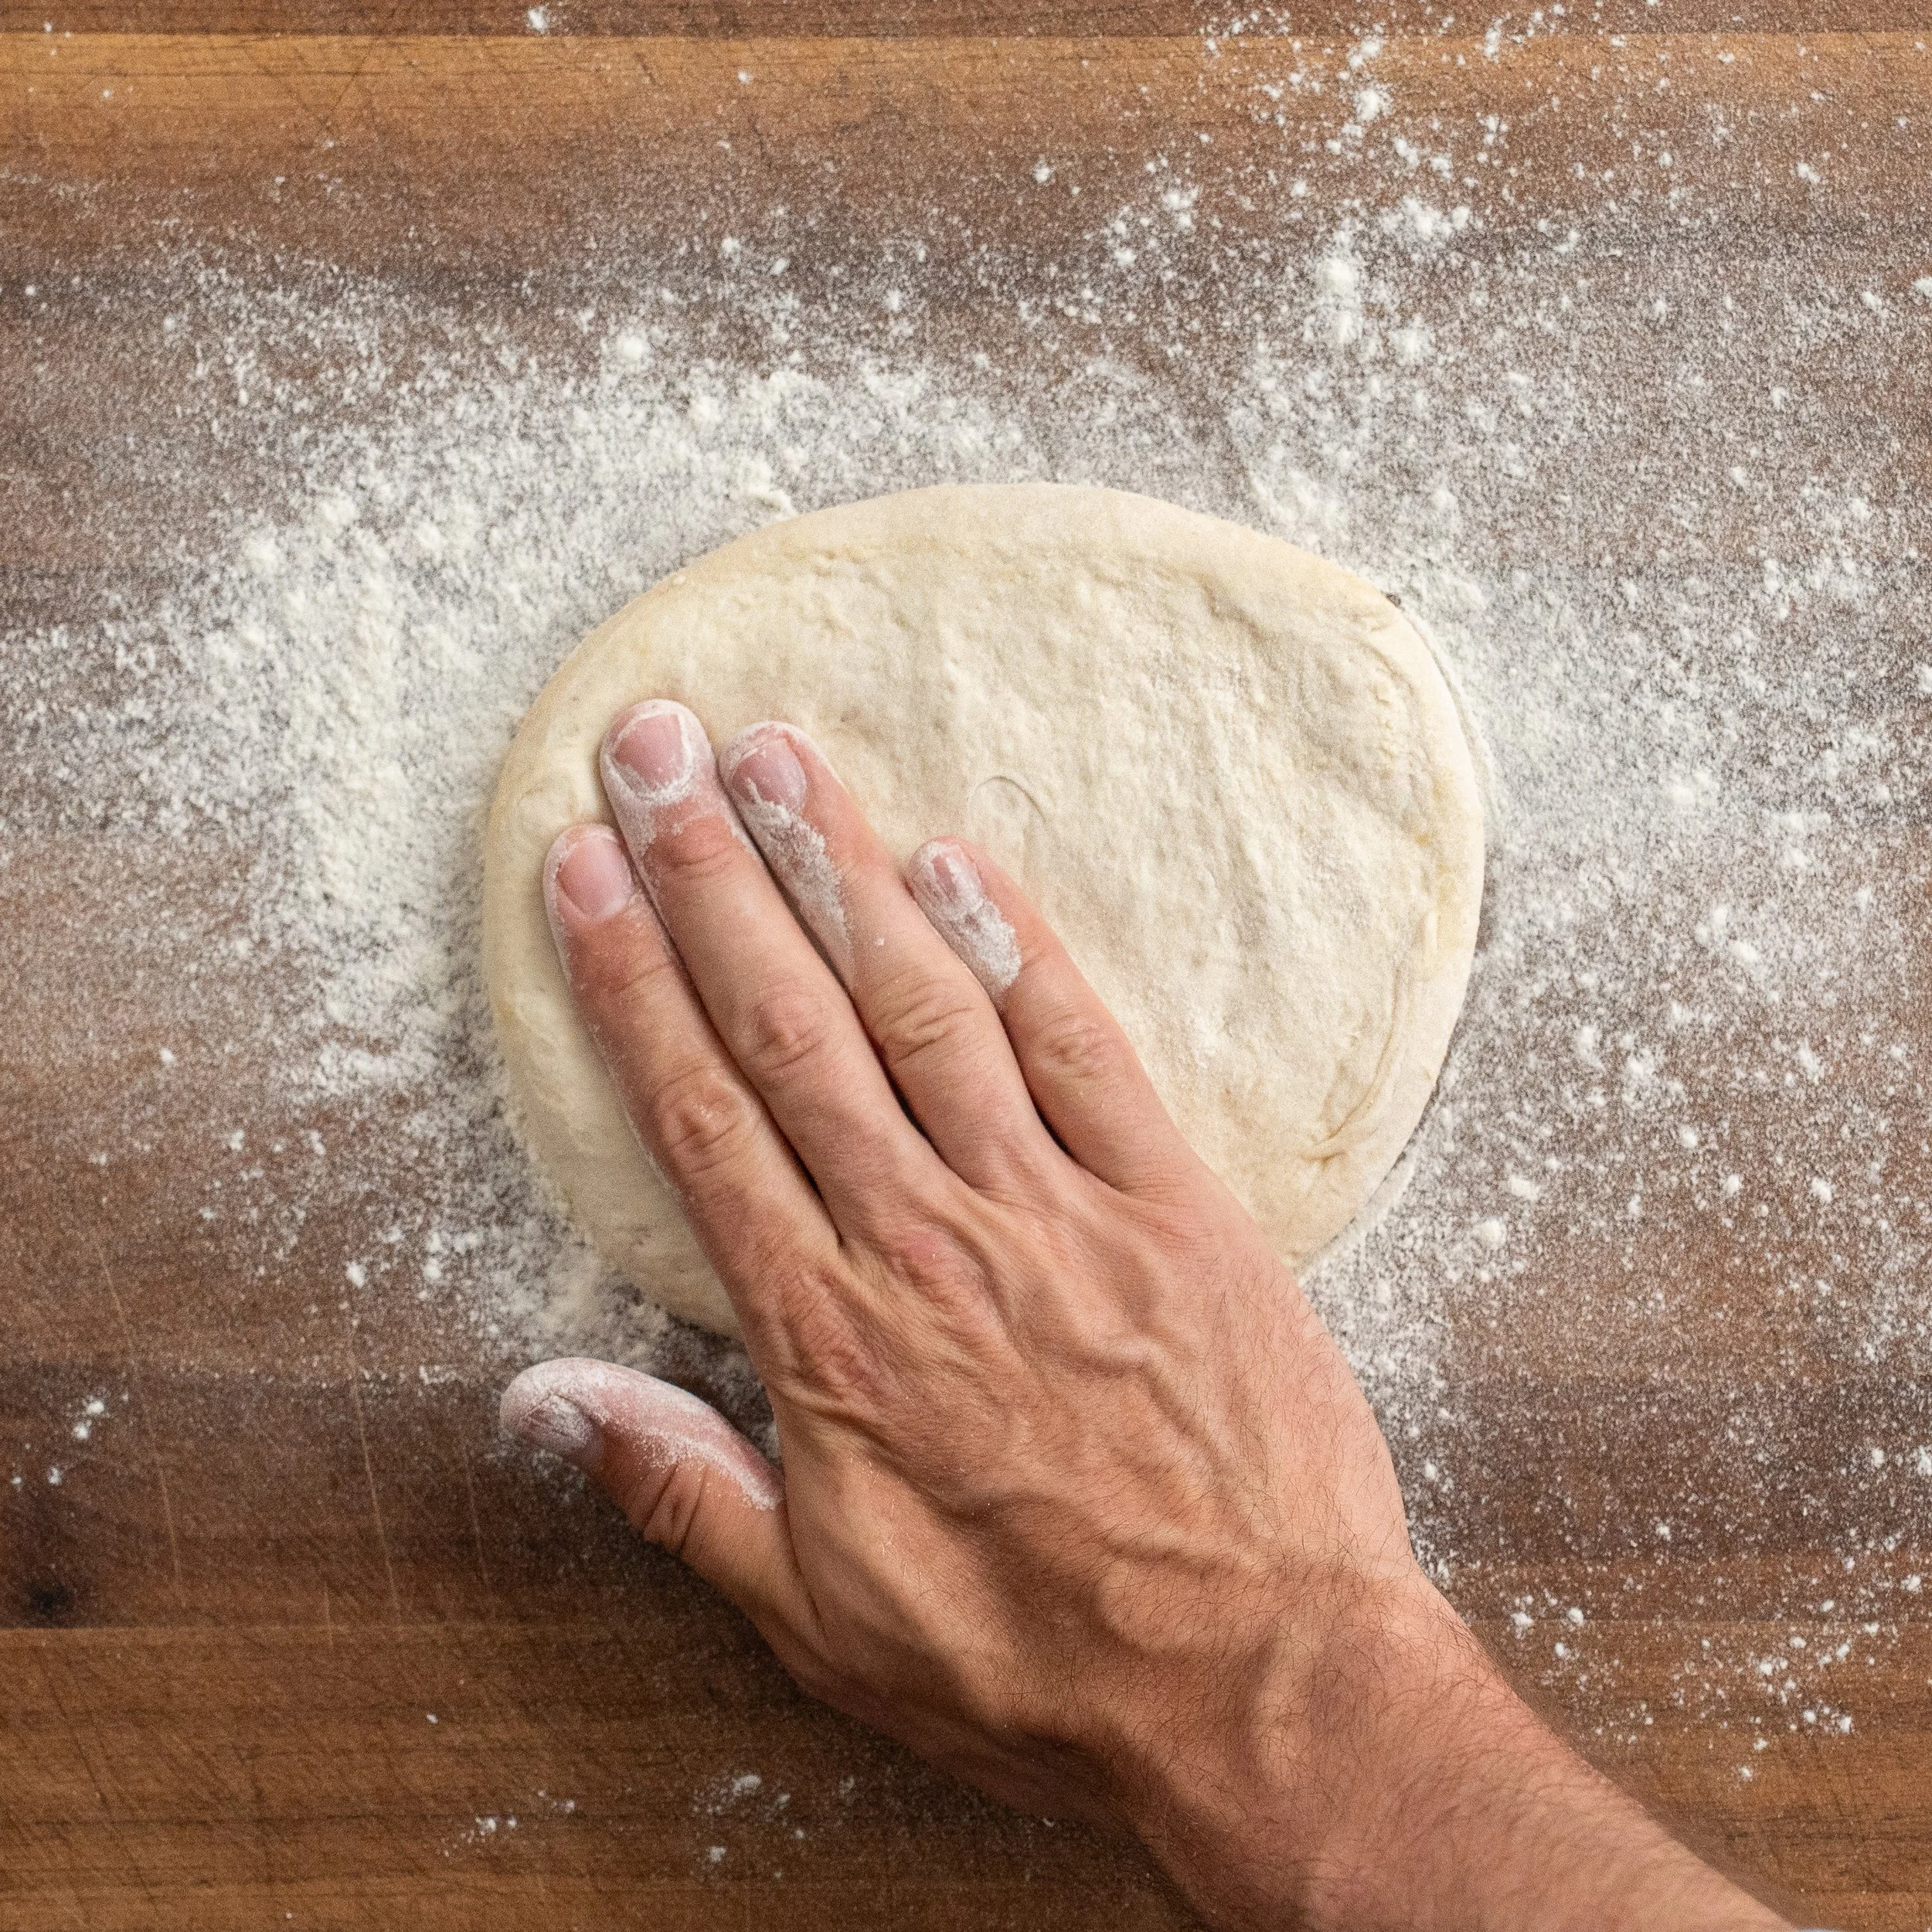
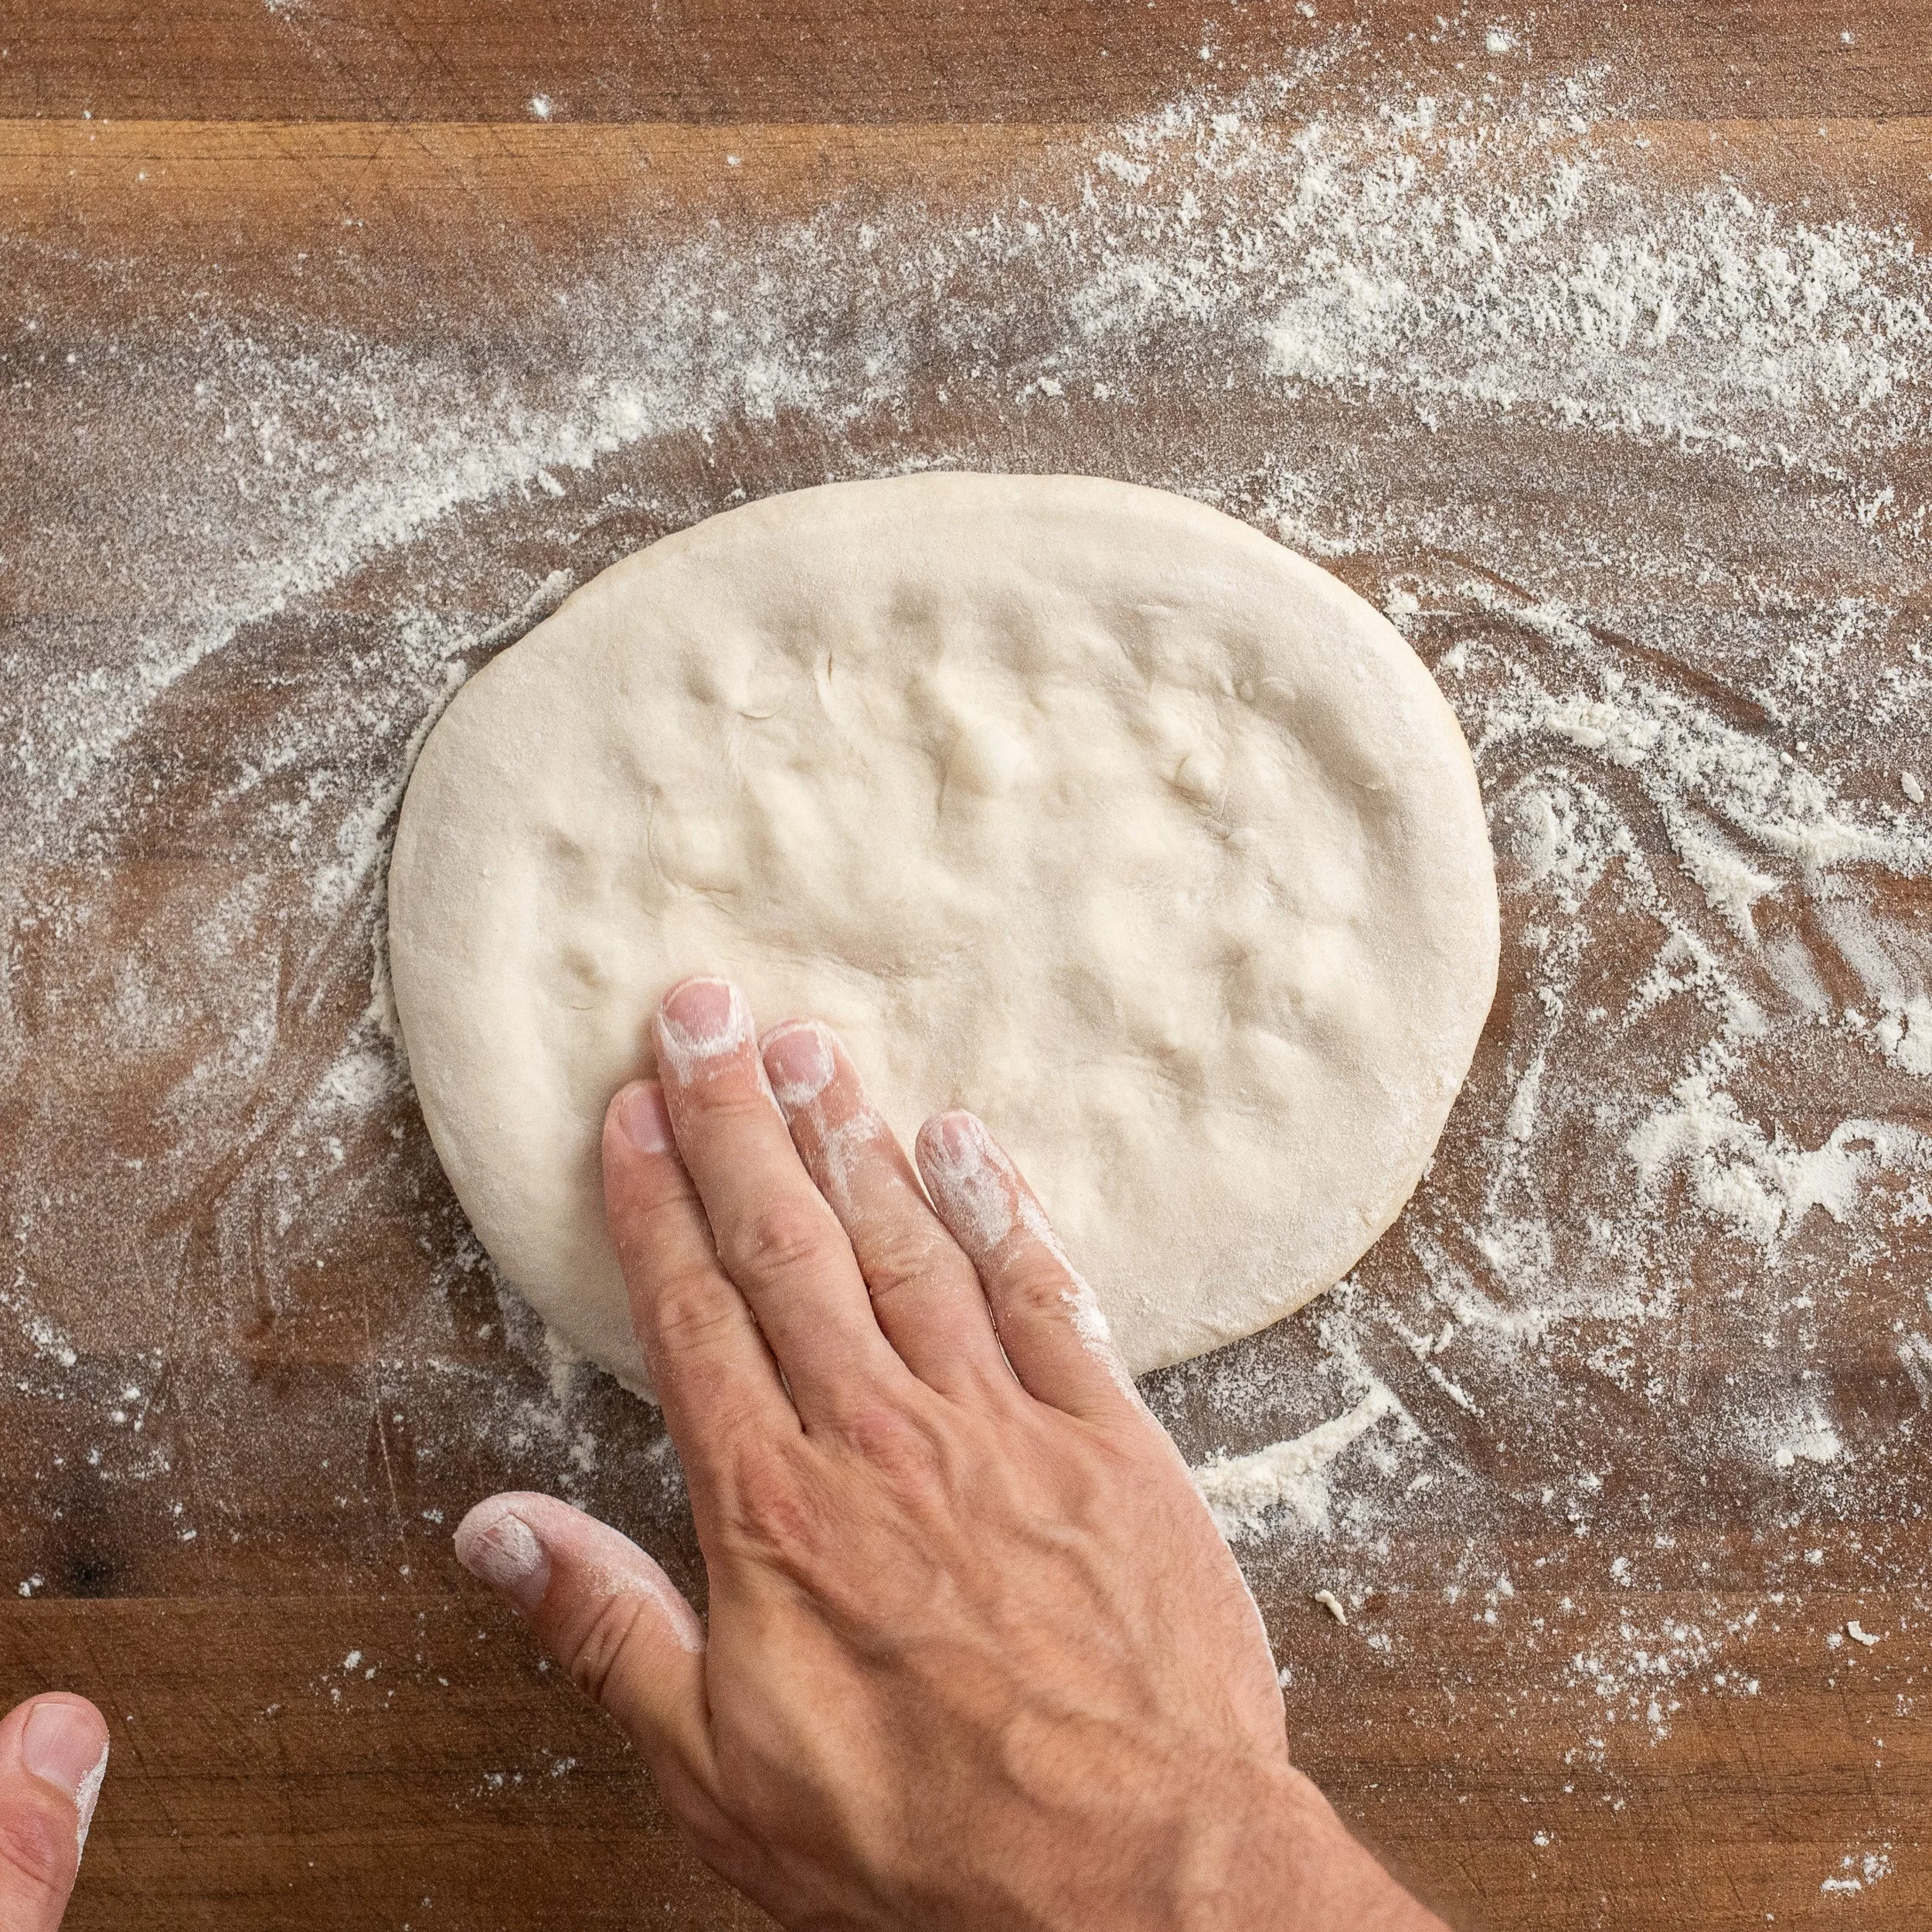
12.Flour the counter and turn one dough ball onto it. Lightly flour the top, then press from the center outward, leaving the outer inch untouched. That ring holds the gas that will become the puffy cornicione, or crust.
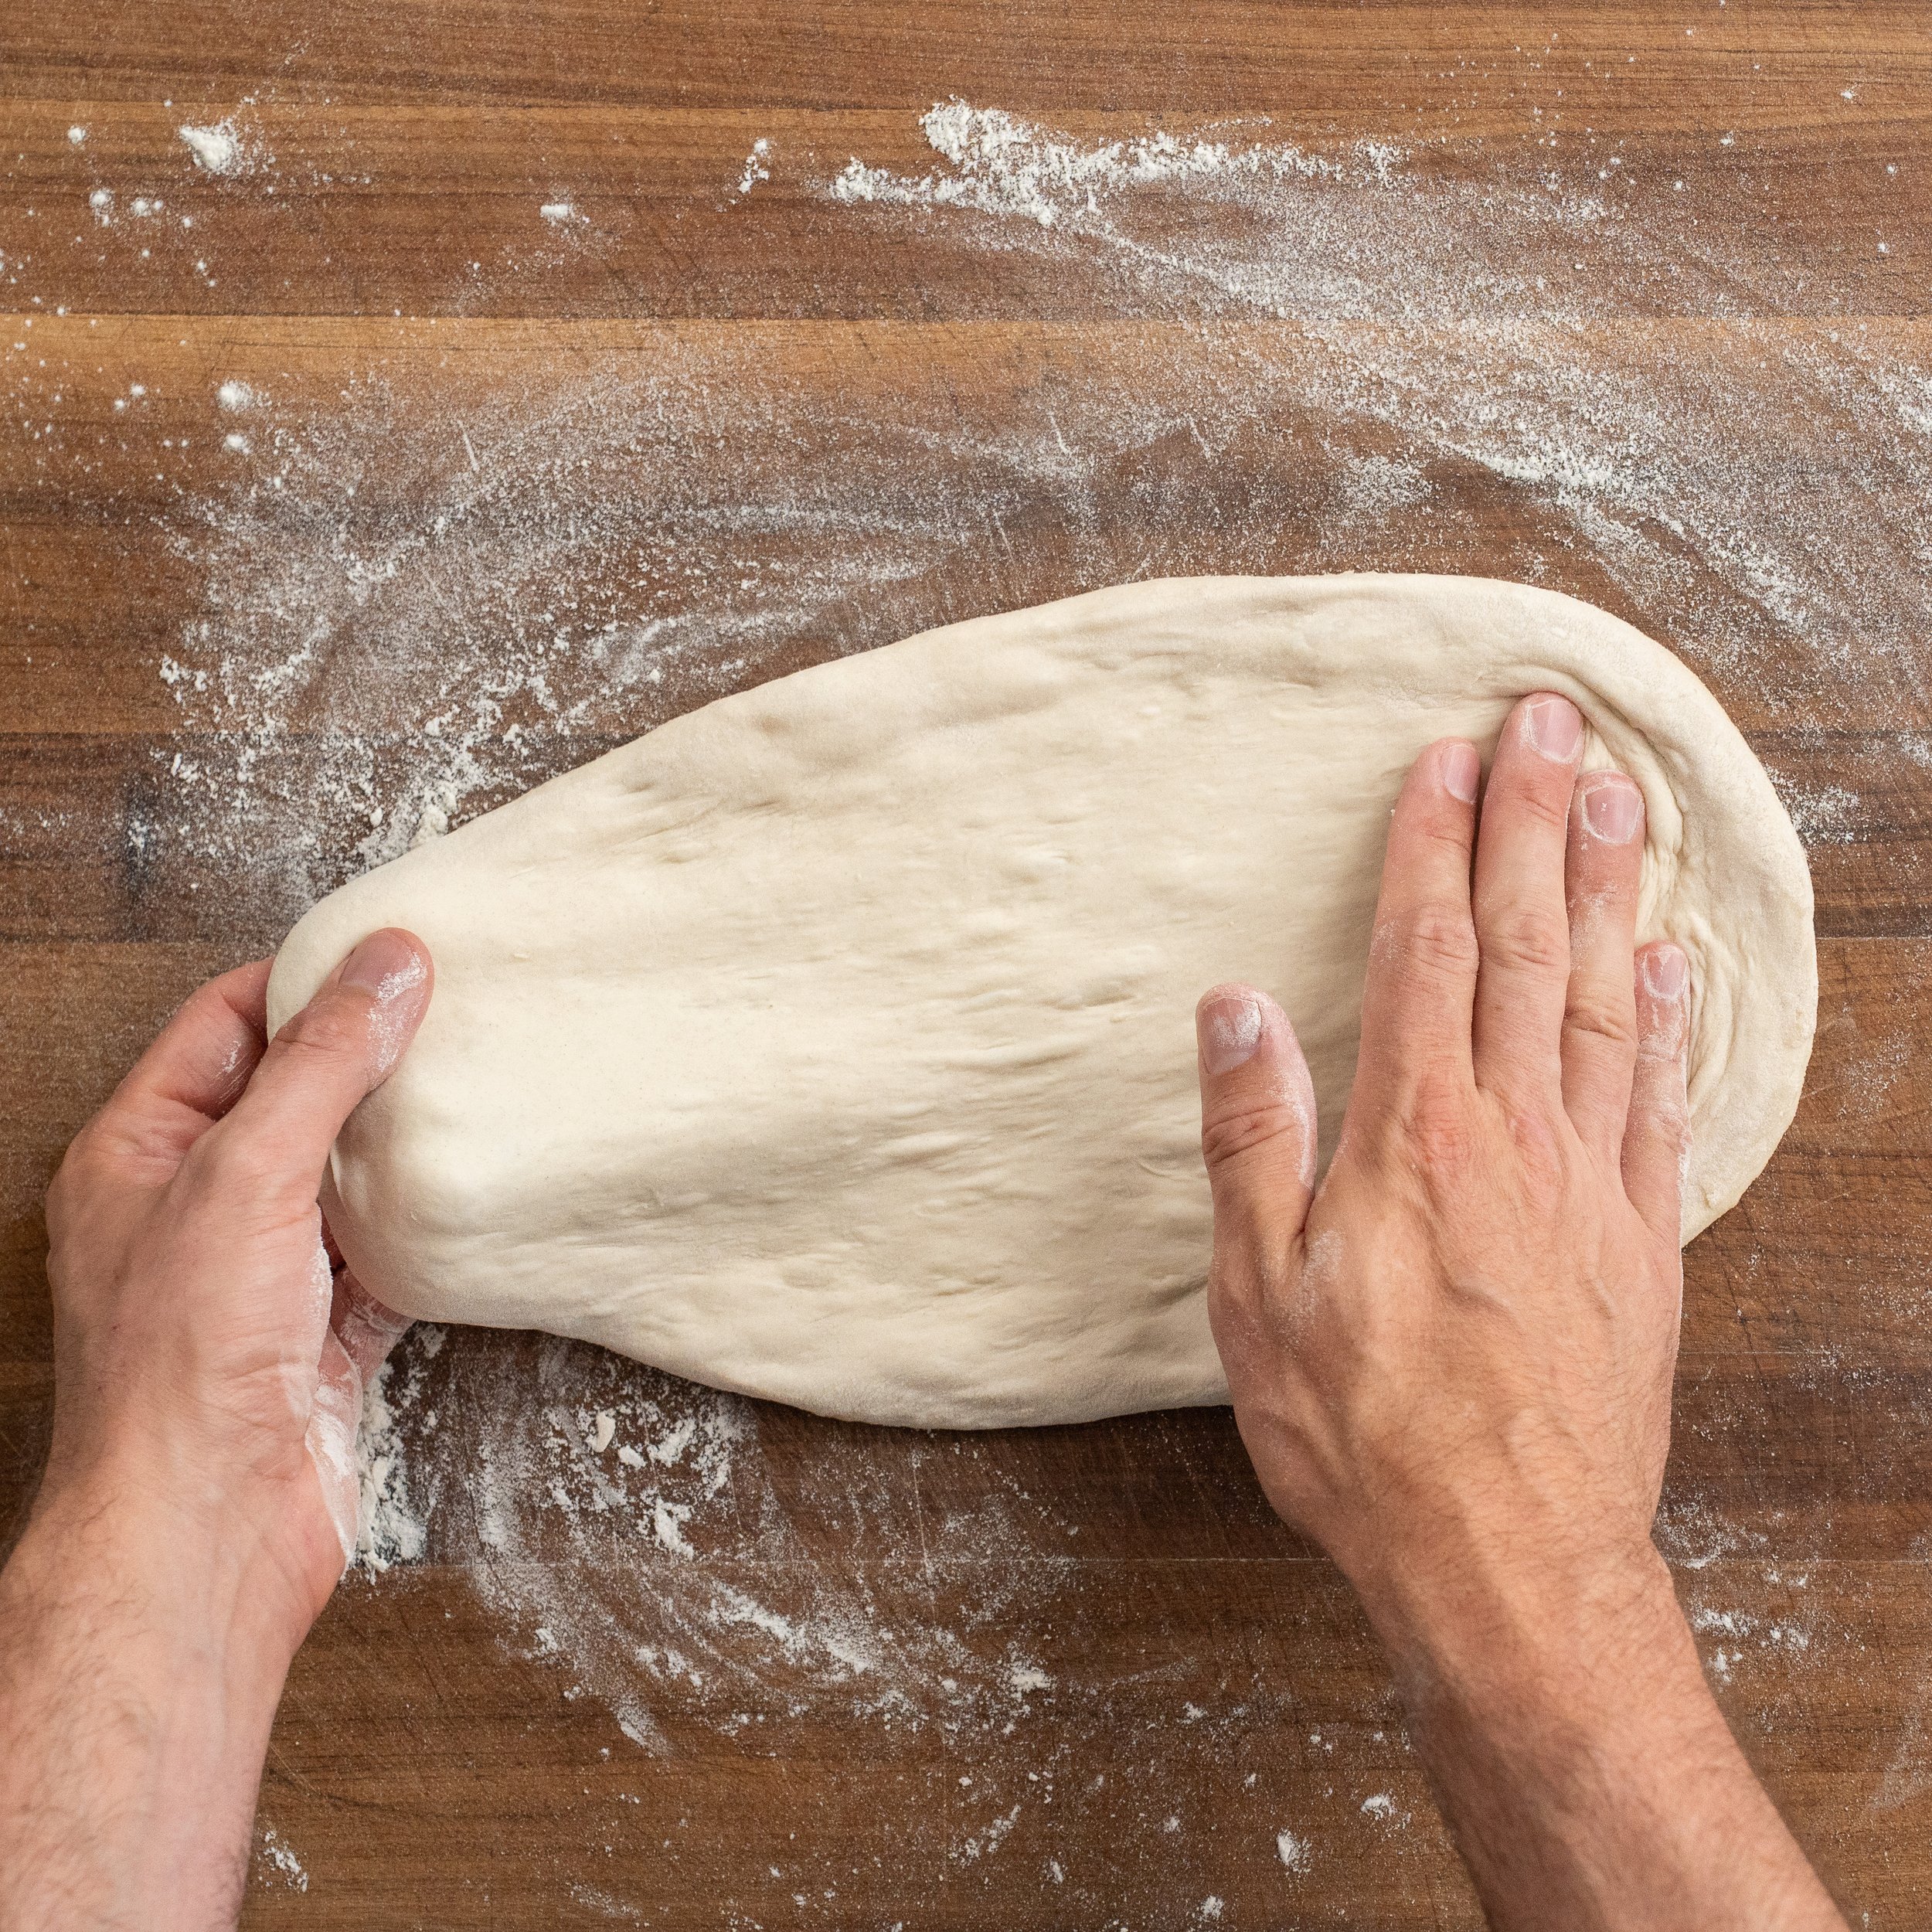
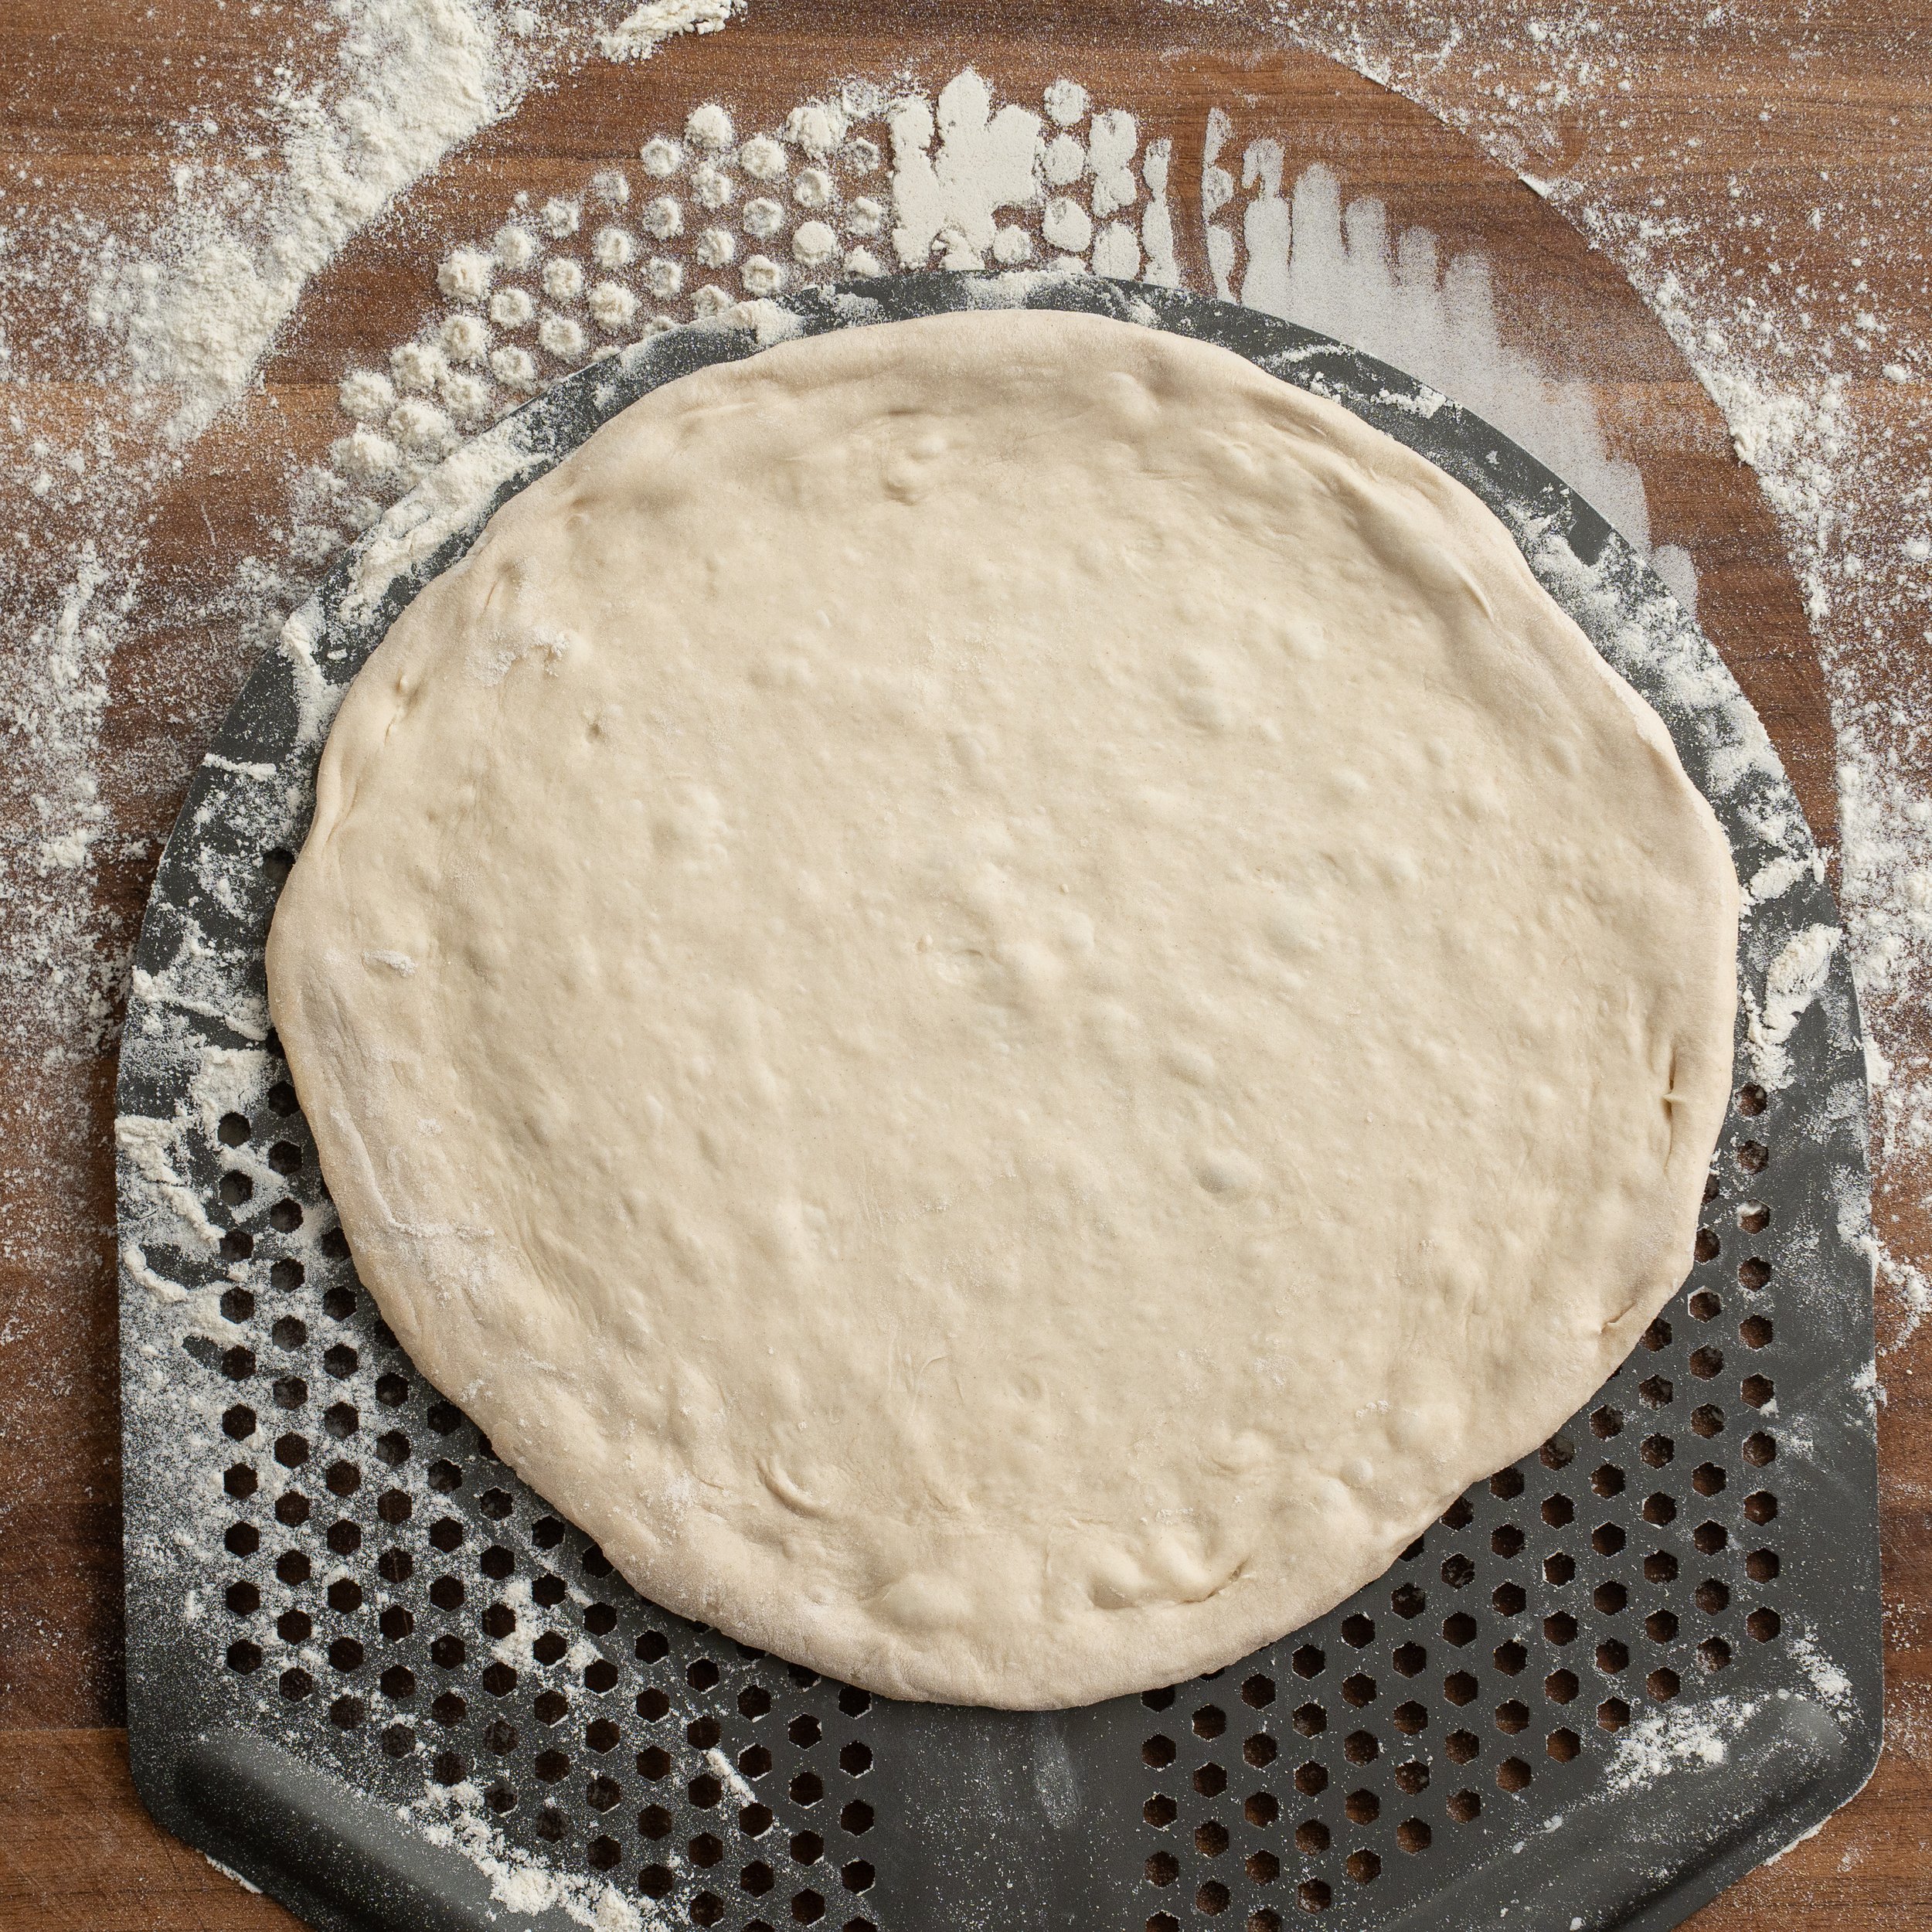
13.Pop any large, thin surface bubbles as you go, but avoid pressing down or generally degassing the outer rim. Once the dough is pressed into an 8-inch round, pull and stretch it as shown in the video until it is roughly 11 to 12 inches across. Watch the center for thin spots (and pinch them together thicken if there are any), then transfer the shaped dough to a perforated pizza peel dusted thoroughly with flour.
Top the Pizza
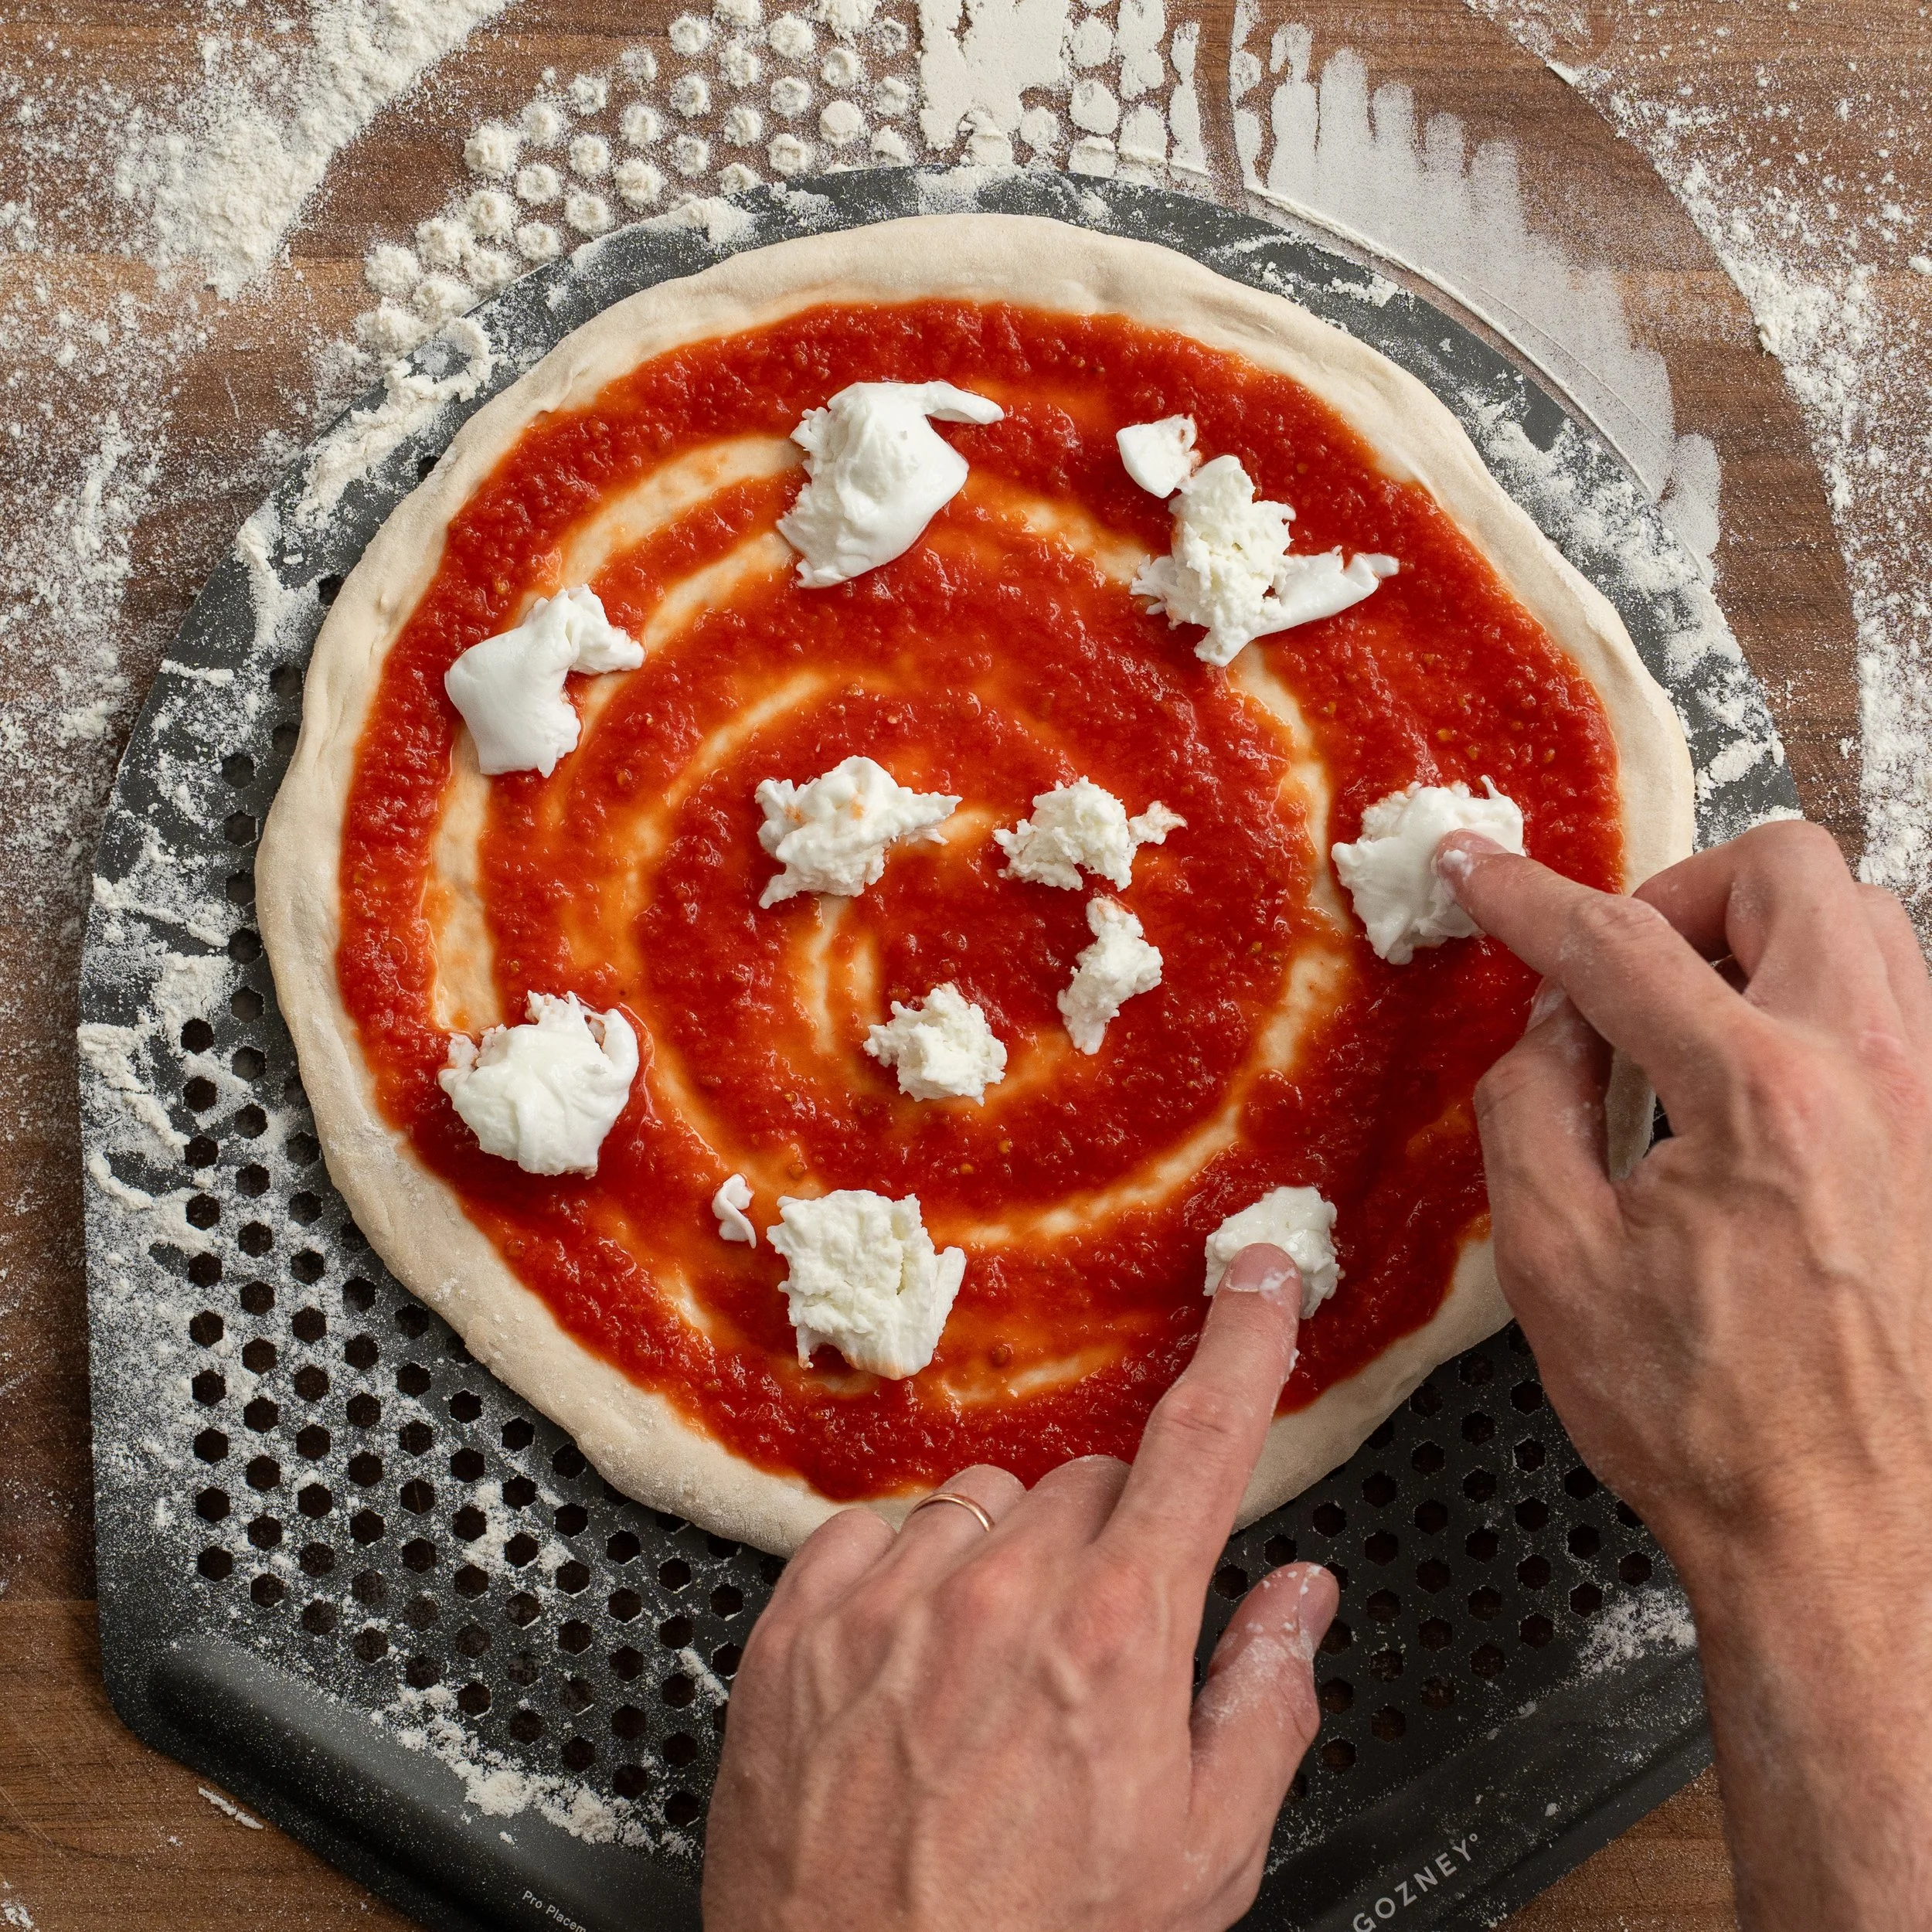
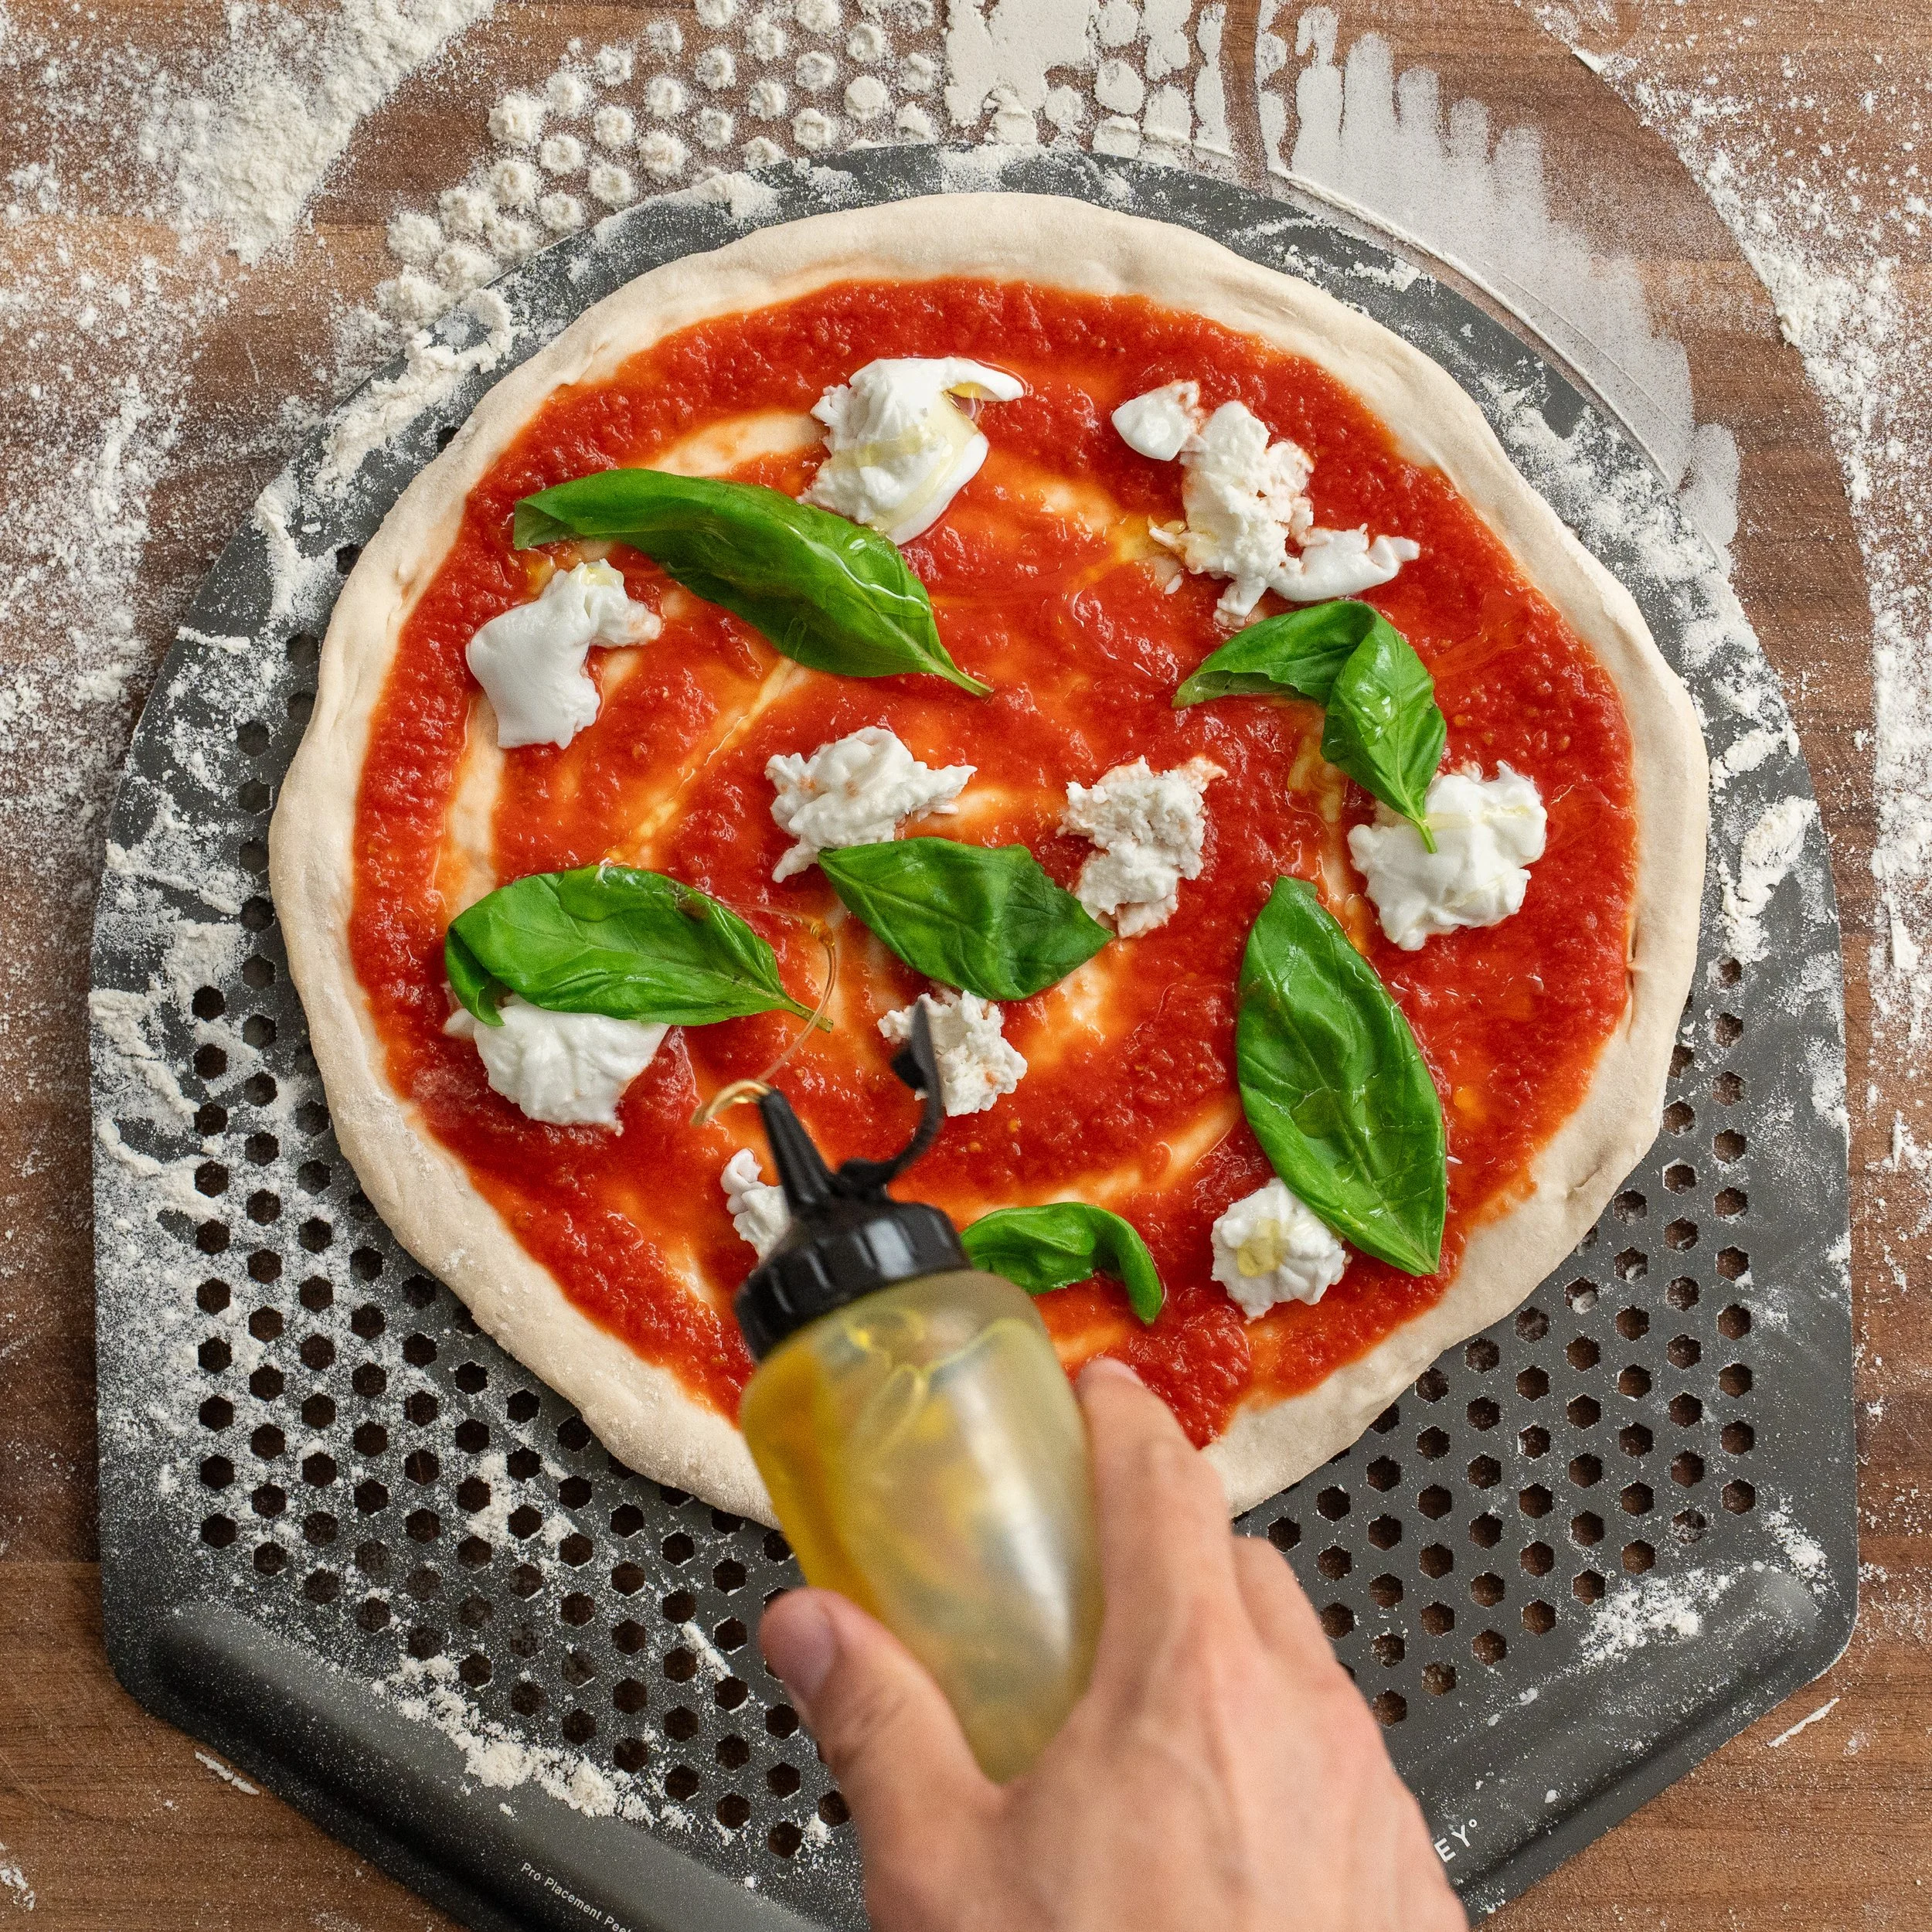
14.Spread 70 to 80 grams tomato sauce in a thin spiral, leaving about 1 inch of bare dough around the edge. Tear the fresh mozzarella into small pieces and space them evenly around the pizza. Add a few fresh basil leaves, a drizzle of extra-virgin olive oil, and a light sprinkle of flaky salt.
15.Give the peel a small test shimmy before walking to the oven. The entire pizza should move freely on the peel. If one spot sticks, lift that edge and flick a little flour underneath it. A perforated peel helps extra flour fall away, which means less burnt, bitter flour on the bottom of the pizza.
Bake and Rotate
16.Again, if needed, plan to turn your preheated oven temp down or off about 10 minutes before you’re ready to bake to let the floor cool to 900°F (485°C). When you’re ready to bake, turn the oven back up to medium-high heat (or to high if your oven struggles to reach 1000°F (538°C). The stone should be 900°F to 950°F (510°C) when the pizza goes in. If it climbs above 950°F, turn the flame off again for about 5 minutes.
How do I know when to turn down my oven? This will require you knowing your pizza oven and using a bit of intuition. If your oven struggles to get to 900°F, don’t turn it off before baking. Let it keep ripping so it’s the right temp when you drop the pizza. BUT if your oven CAN get to 1000°F (538°C)+, that’s when I’d advise you heat it up, then cool it to the appropriate temp (900-950°F) before baking.
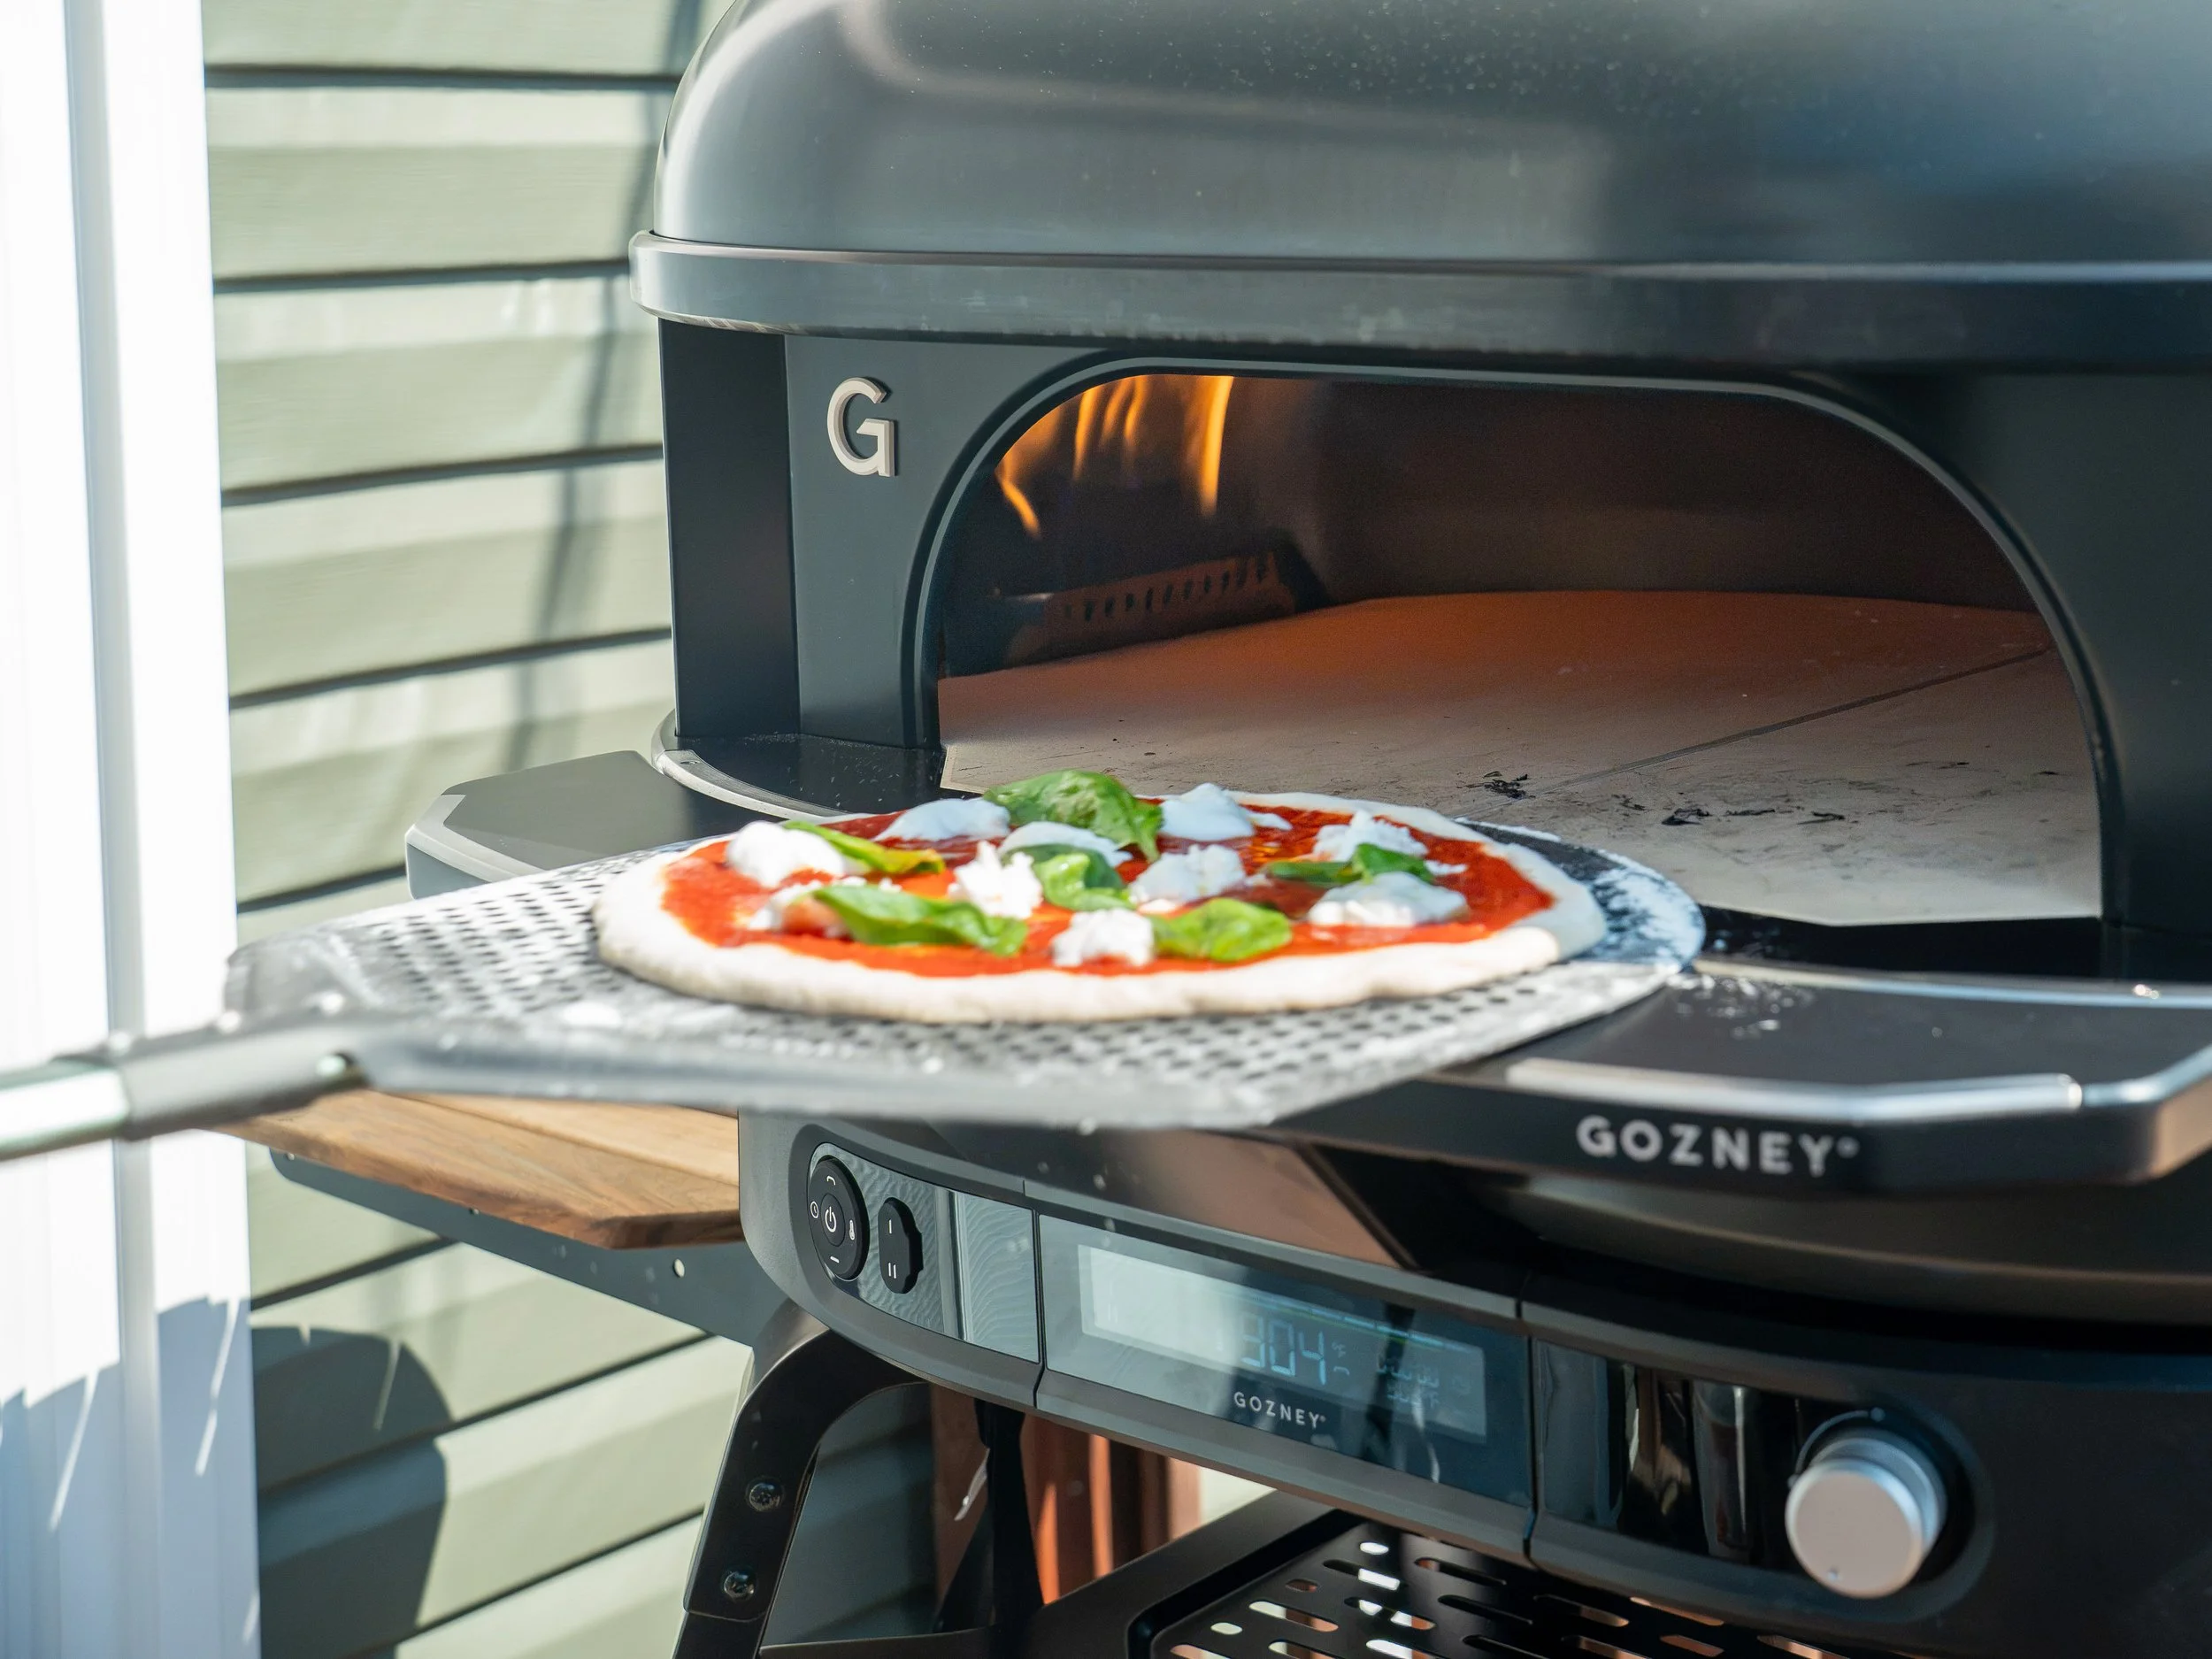
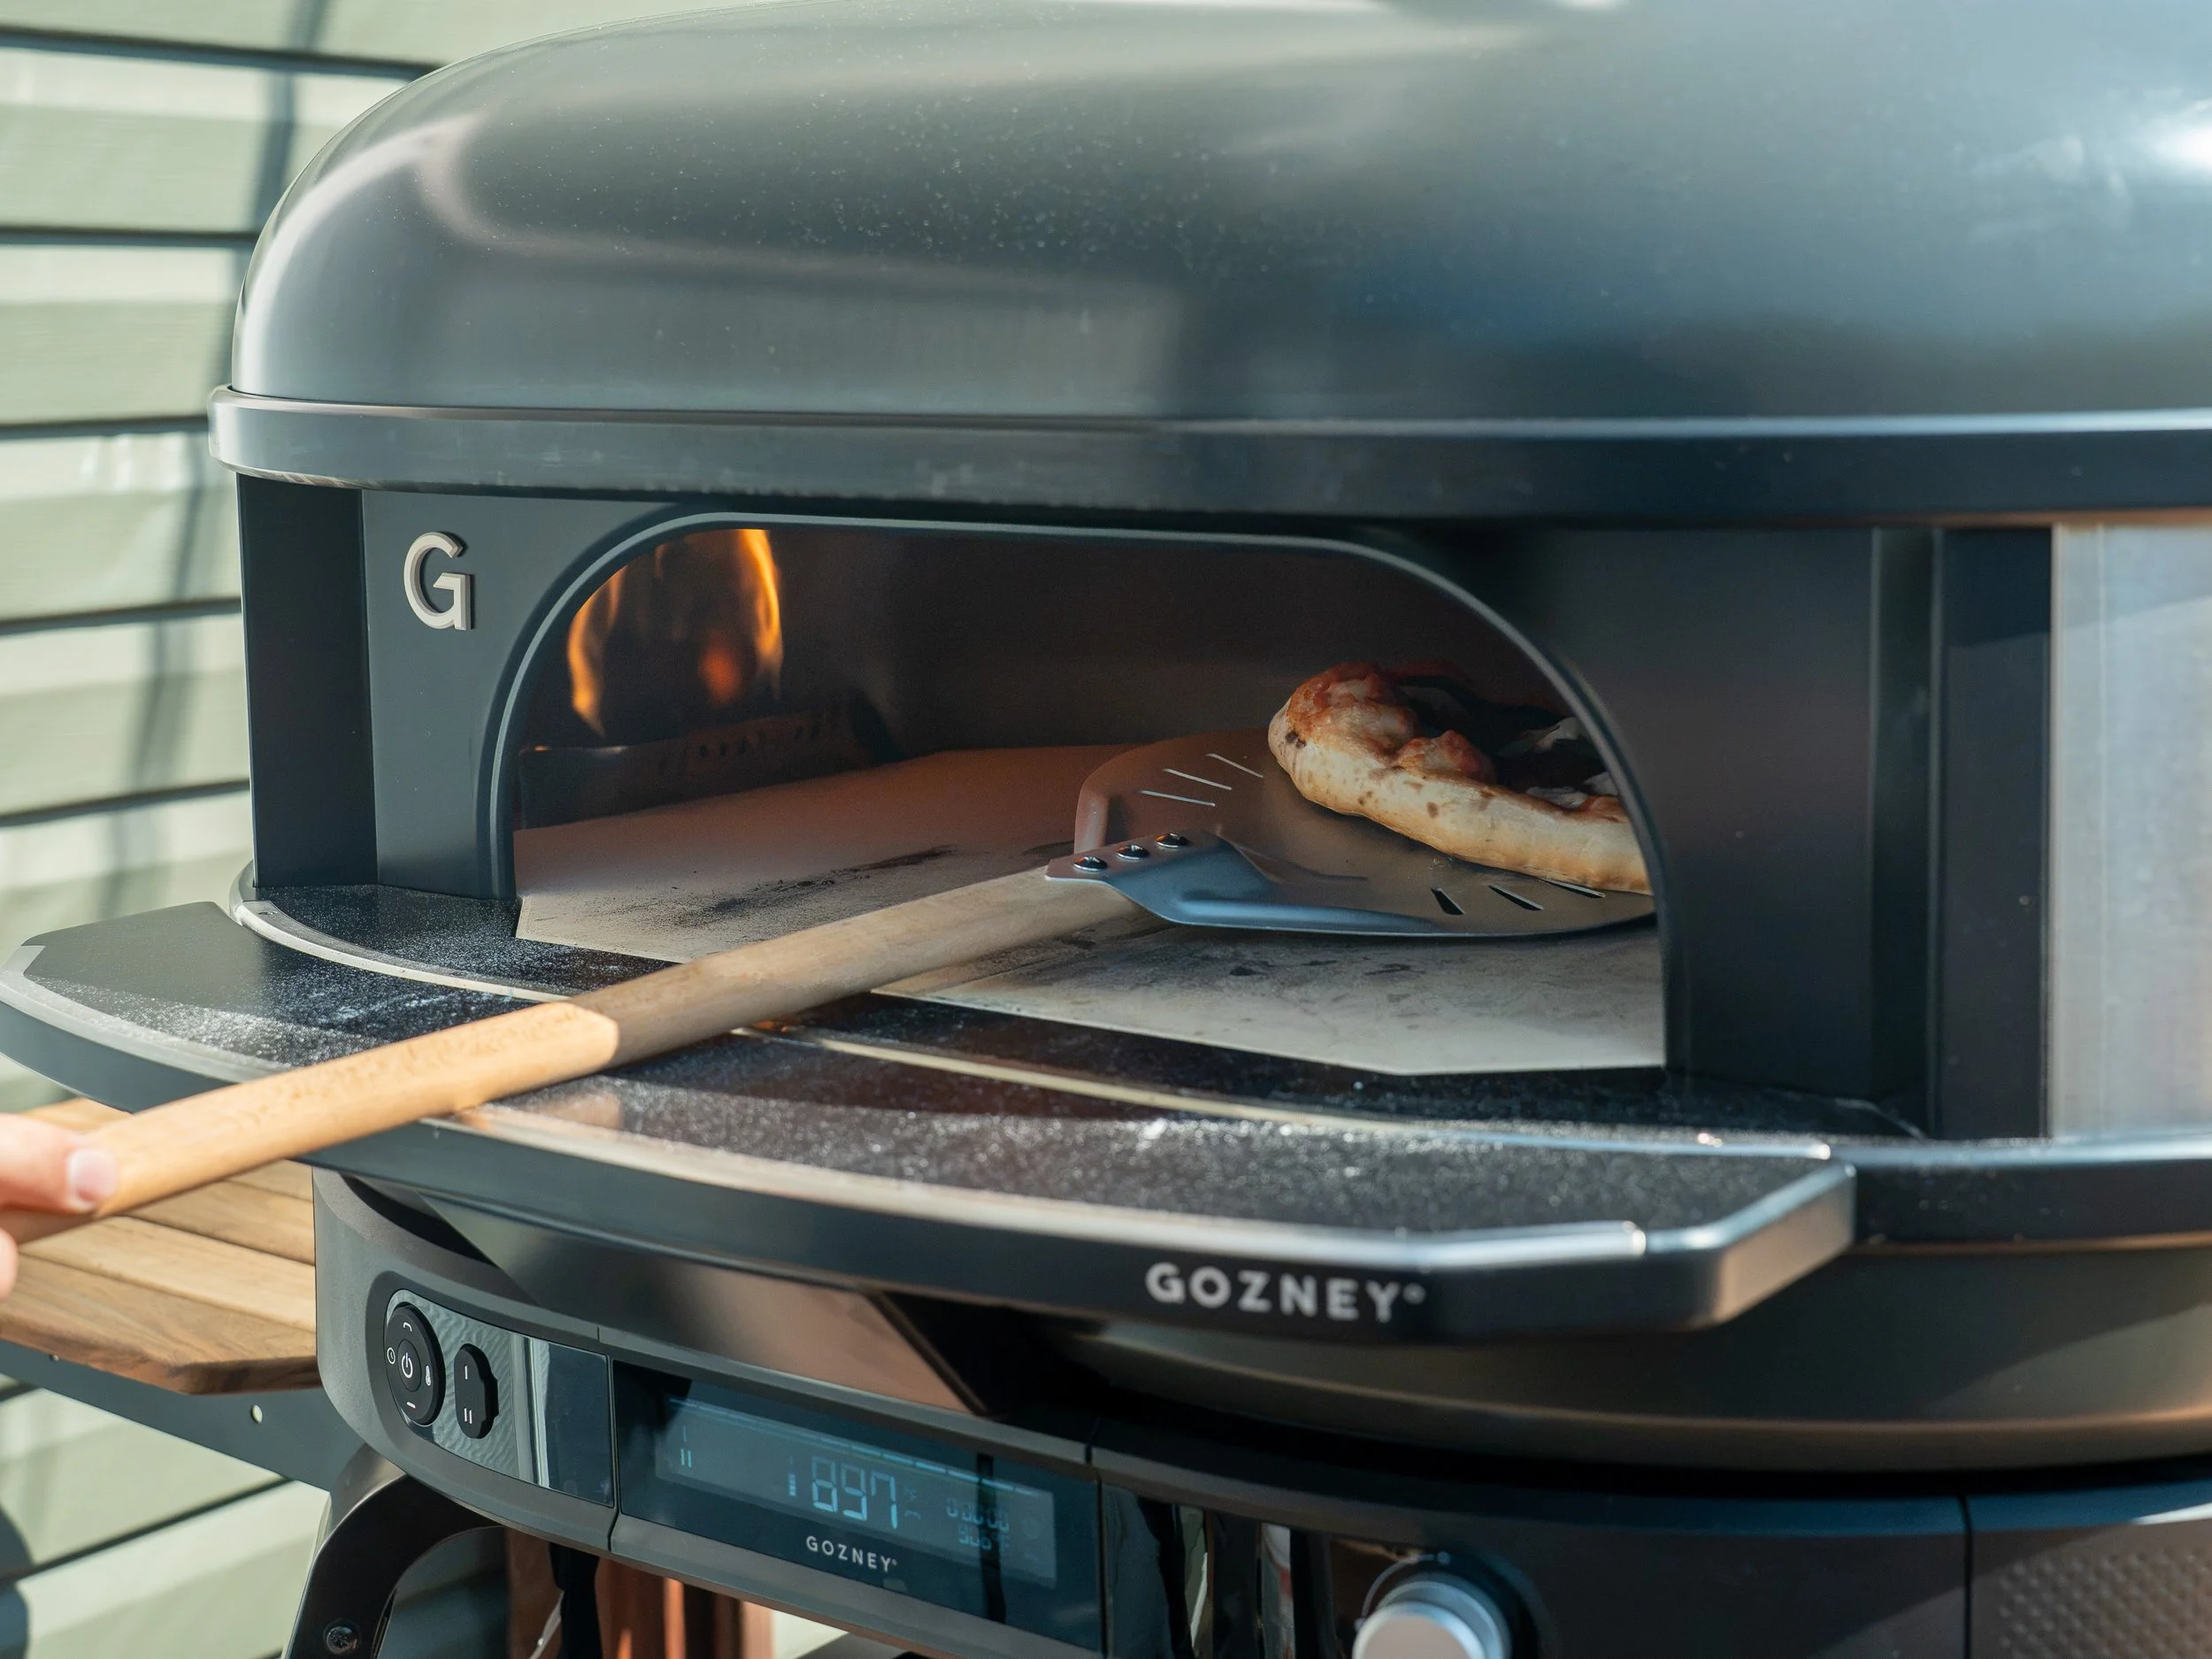
17.Launch the pizza into the oven and keep it on the spot it lands for most of the bake. Rotate it a quarter turn every 15 to 20 seconds using a turning peel so every edge gets an even blast of heat from the flame.
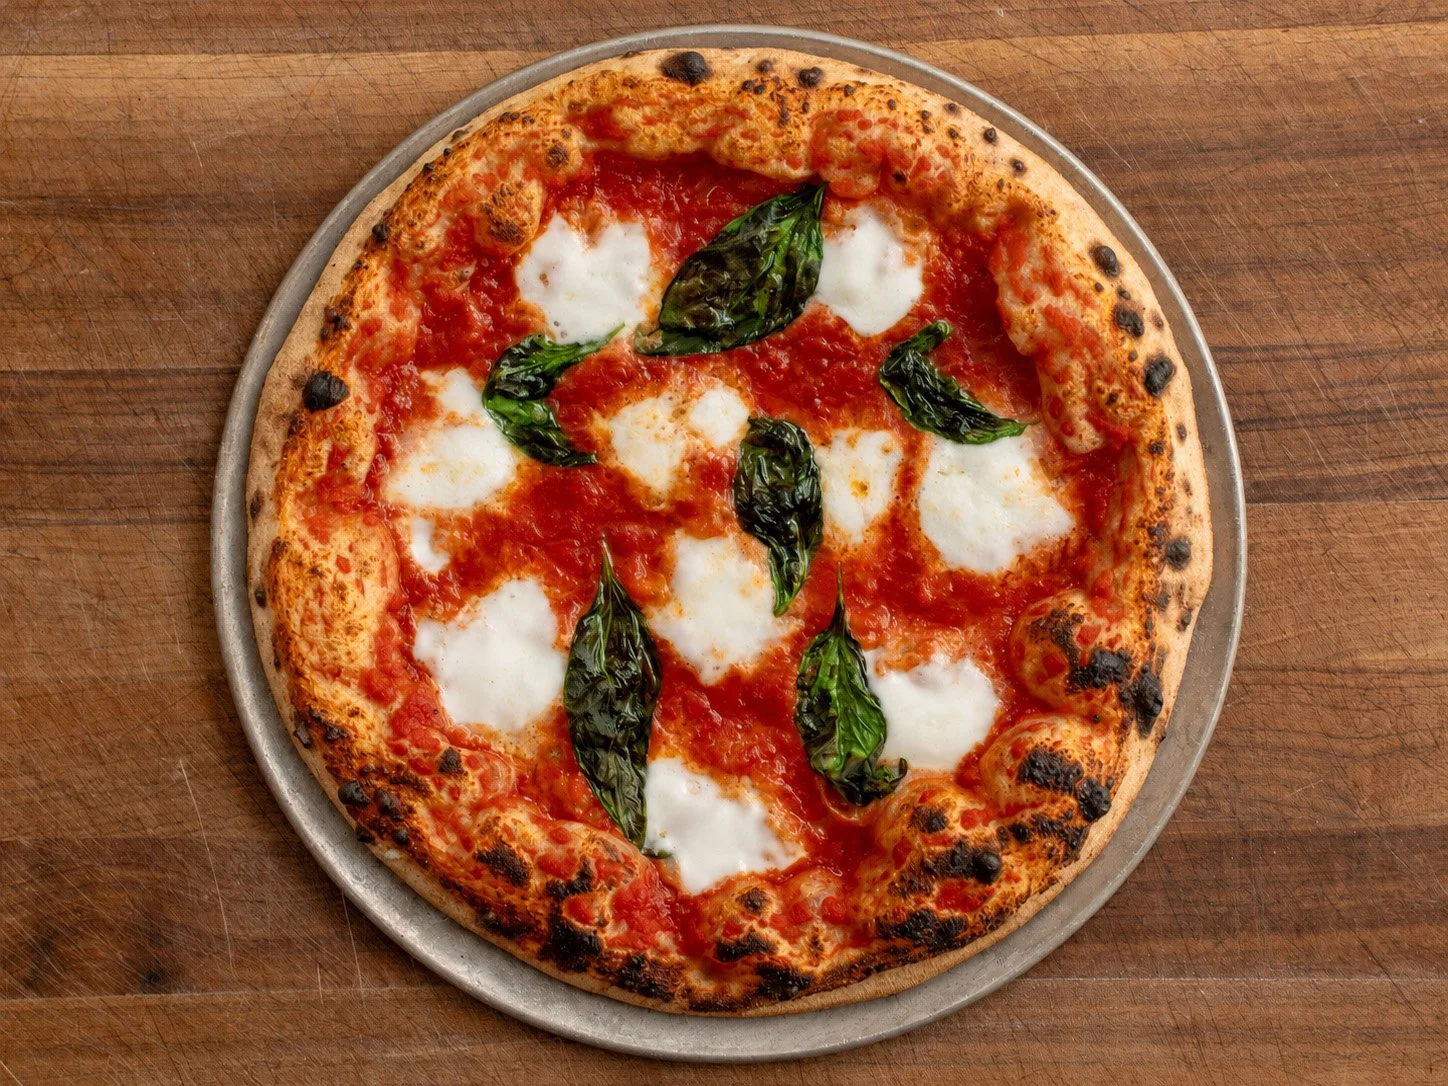
18.Bake for about 90 seconds total. Pull the pizza when the rim is puffed and spotted, the cheese is juicy and just melted, and the bottom has scattered char.
TIP 1: If the rim is burning before the cheese melts, drop on a basil leaf to cover that spot and keep baking. This is a pro move I learned from my pizza mentor Ted Wilson. It’s genius and works super well.
TIP 2 If the pizza stays pale and rises slowly, the stone was not fully preheated.
19. Rest, Cut, and Serve. Move the pizza to a wire rack for about one minute. The rack lets steam escape instead of trapping it against the bottom crust. Cut and serve immediately.
Storage & Make-Ahead
The dough balls can stay refrigerated for up to 3 days. After two nights, they will brown more deeply, but they will also start to lose some of their liveliness in the oven.
Once the pizzas are baked, do not hold them to serve as a group. They are best within a few minutes, so serve each one as it comes out.
As for freezing the dough, I am sure you can, but I have not tested it. Honestly, it’s probably not worth it.
My Go-To Gear
Below are the tools I actually use when making this recipe. Some of these are affiliate links, which means I may earn a small commission if you purchase through them...at no extra cost to you.
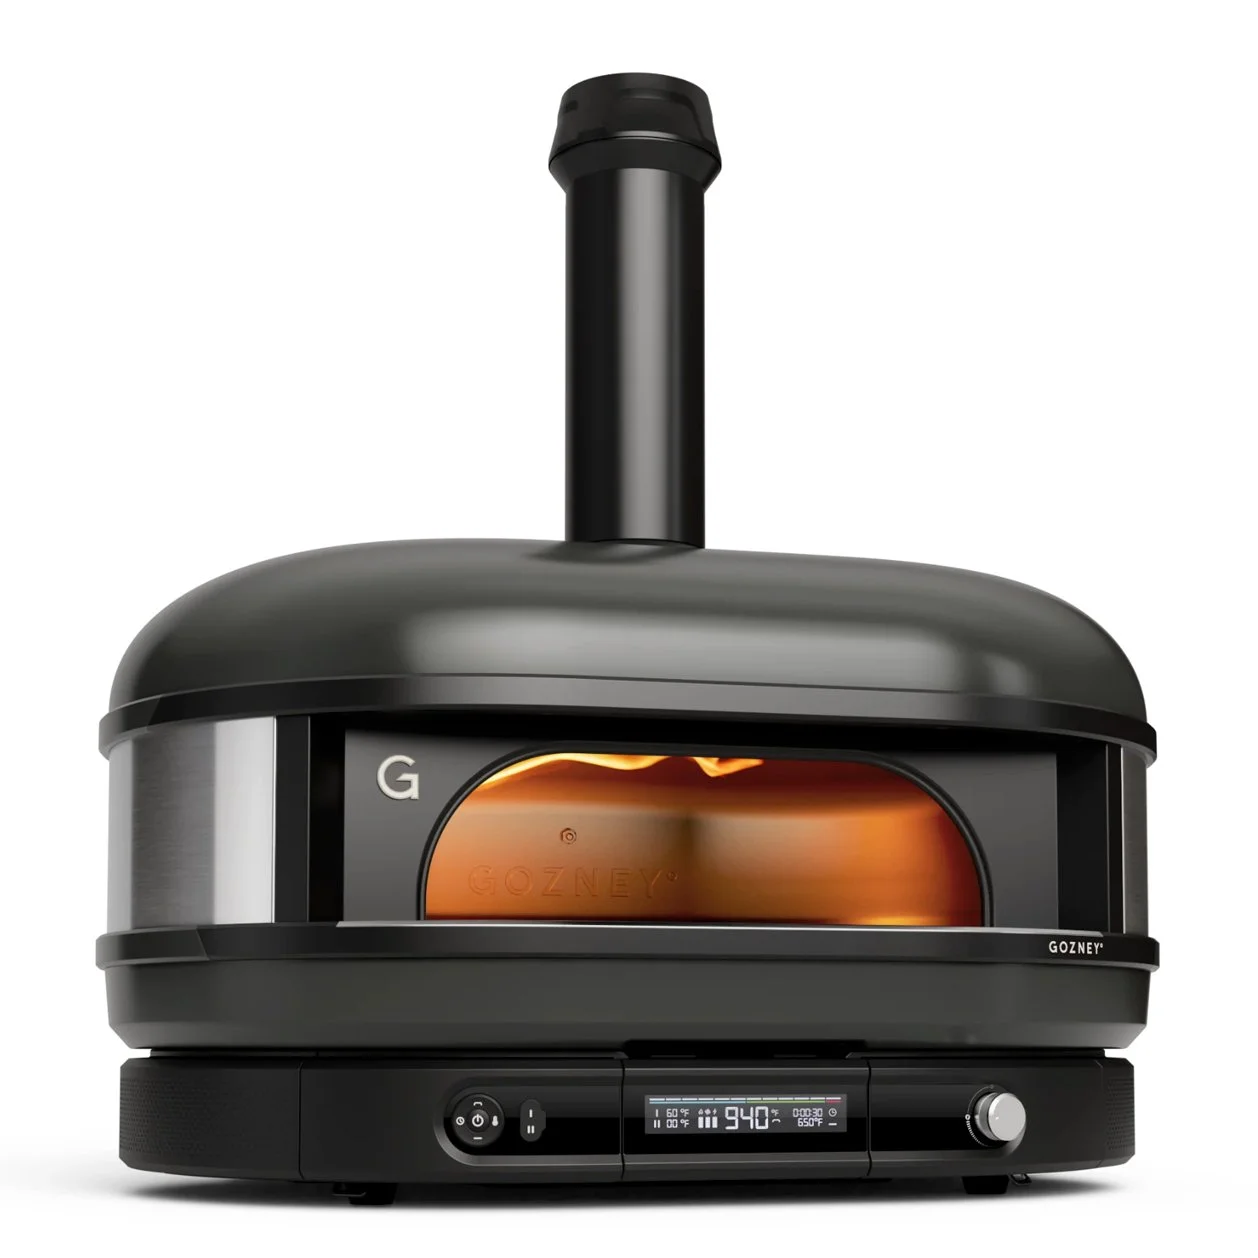
High-Heat Pizza Oven
A 90-second bake requires roughly 900°F. THIS is the Gozney Dome XL that I’m using. A slightly more affordable option that I’d also recommend is the Gozney Arc XL.
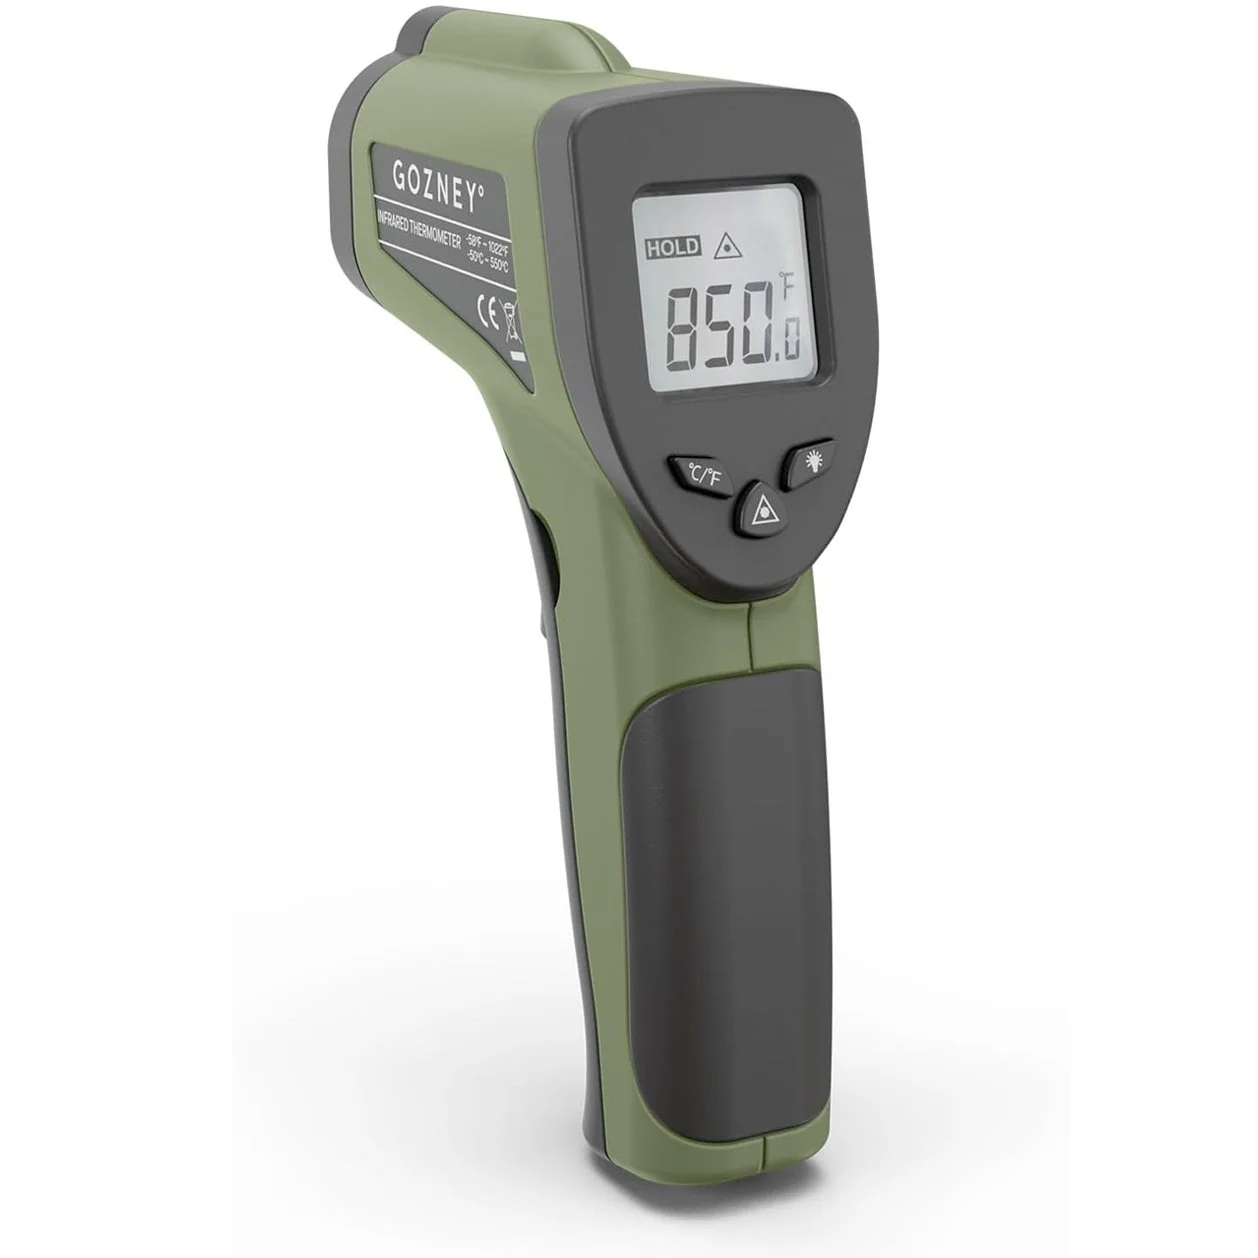
The flame setting does not tell you what the floor is doing. An infrared thermometer lets you confirm the stone is hot enough to bake the bottom but not so hot that it burns on contact.
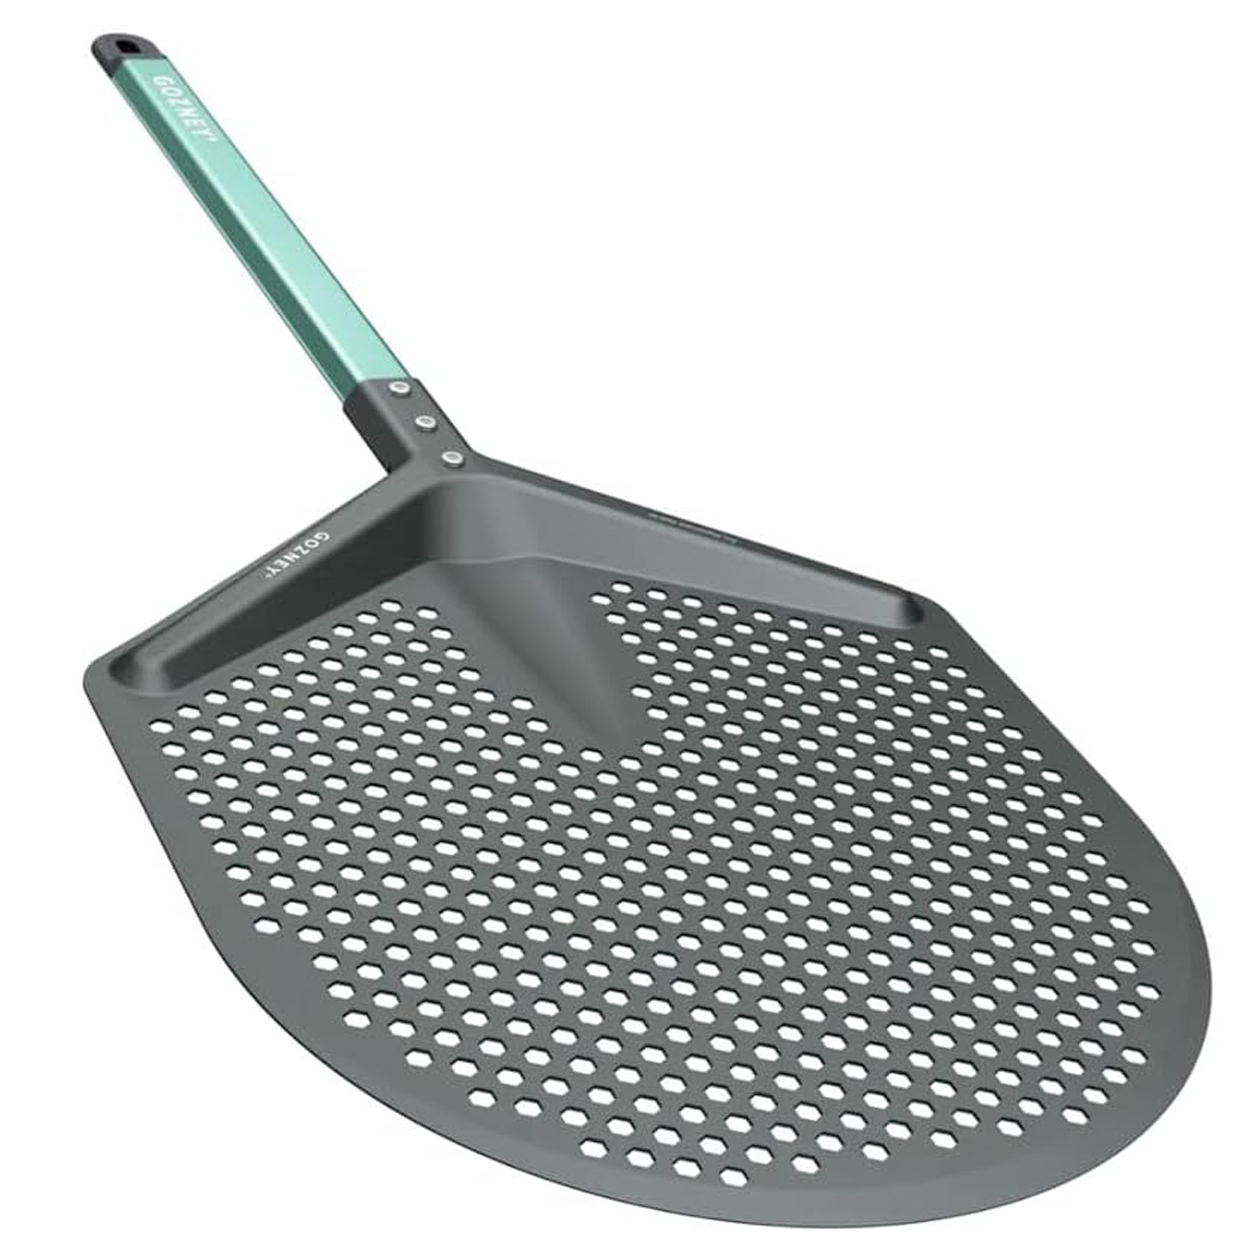
The perforations reduce friction and allow excess flour to fall away before launch. That makes the pizza easier to move and keeps loose flour from burning on the stone.
One minute on a rack lets steam escape from the bottom crust while the cheese and sauce settle.
Frequently Asked Questions
Do I need a pizza oven to bake Neapolitan Pizza?
For this exact 90-second Neapolitan-style result, yes. You need roughly 900°F. A home oven with a pizza steel and broiler can make very good pizza, but the longer bake will produce a very different outcome that is not Neapolitan style. The baking environment is what enables the style.
Can I use a rolling pin to stretch Neapolitan Pizza dough?
Yes, but it will press gas out of the outer rim, so do not expect the same puffy Neapolitan shape. If you are brand-new to pizza, it can still be a useful way to practice topping, launching and baking before you tackle hand shaping.
What should I do if the pizza dough tears?
Pinch a small hole closed and keep going. If the whole dough skin has become too thin or badly torn, bake it as a flatbread with olive oil and Parmesan. Launching a pizza that is leaking sauce can cover the stone in burnt tomato and end the pizza party in a hurry.
Why is the rim burning before the cheese melts?
The flame is probably too high or an unpopped crust bubble is catching all the heat. Lower the flame, turn the pizza faster, and pop any large, thin surface bubbles before topping the next one—but avoid generally degassing the rim. Cover any blisters that are getting away from you with a basil leaf.