
Perfect Carnitas
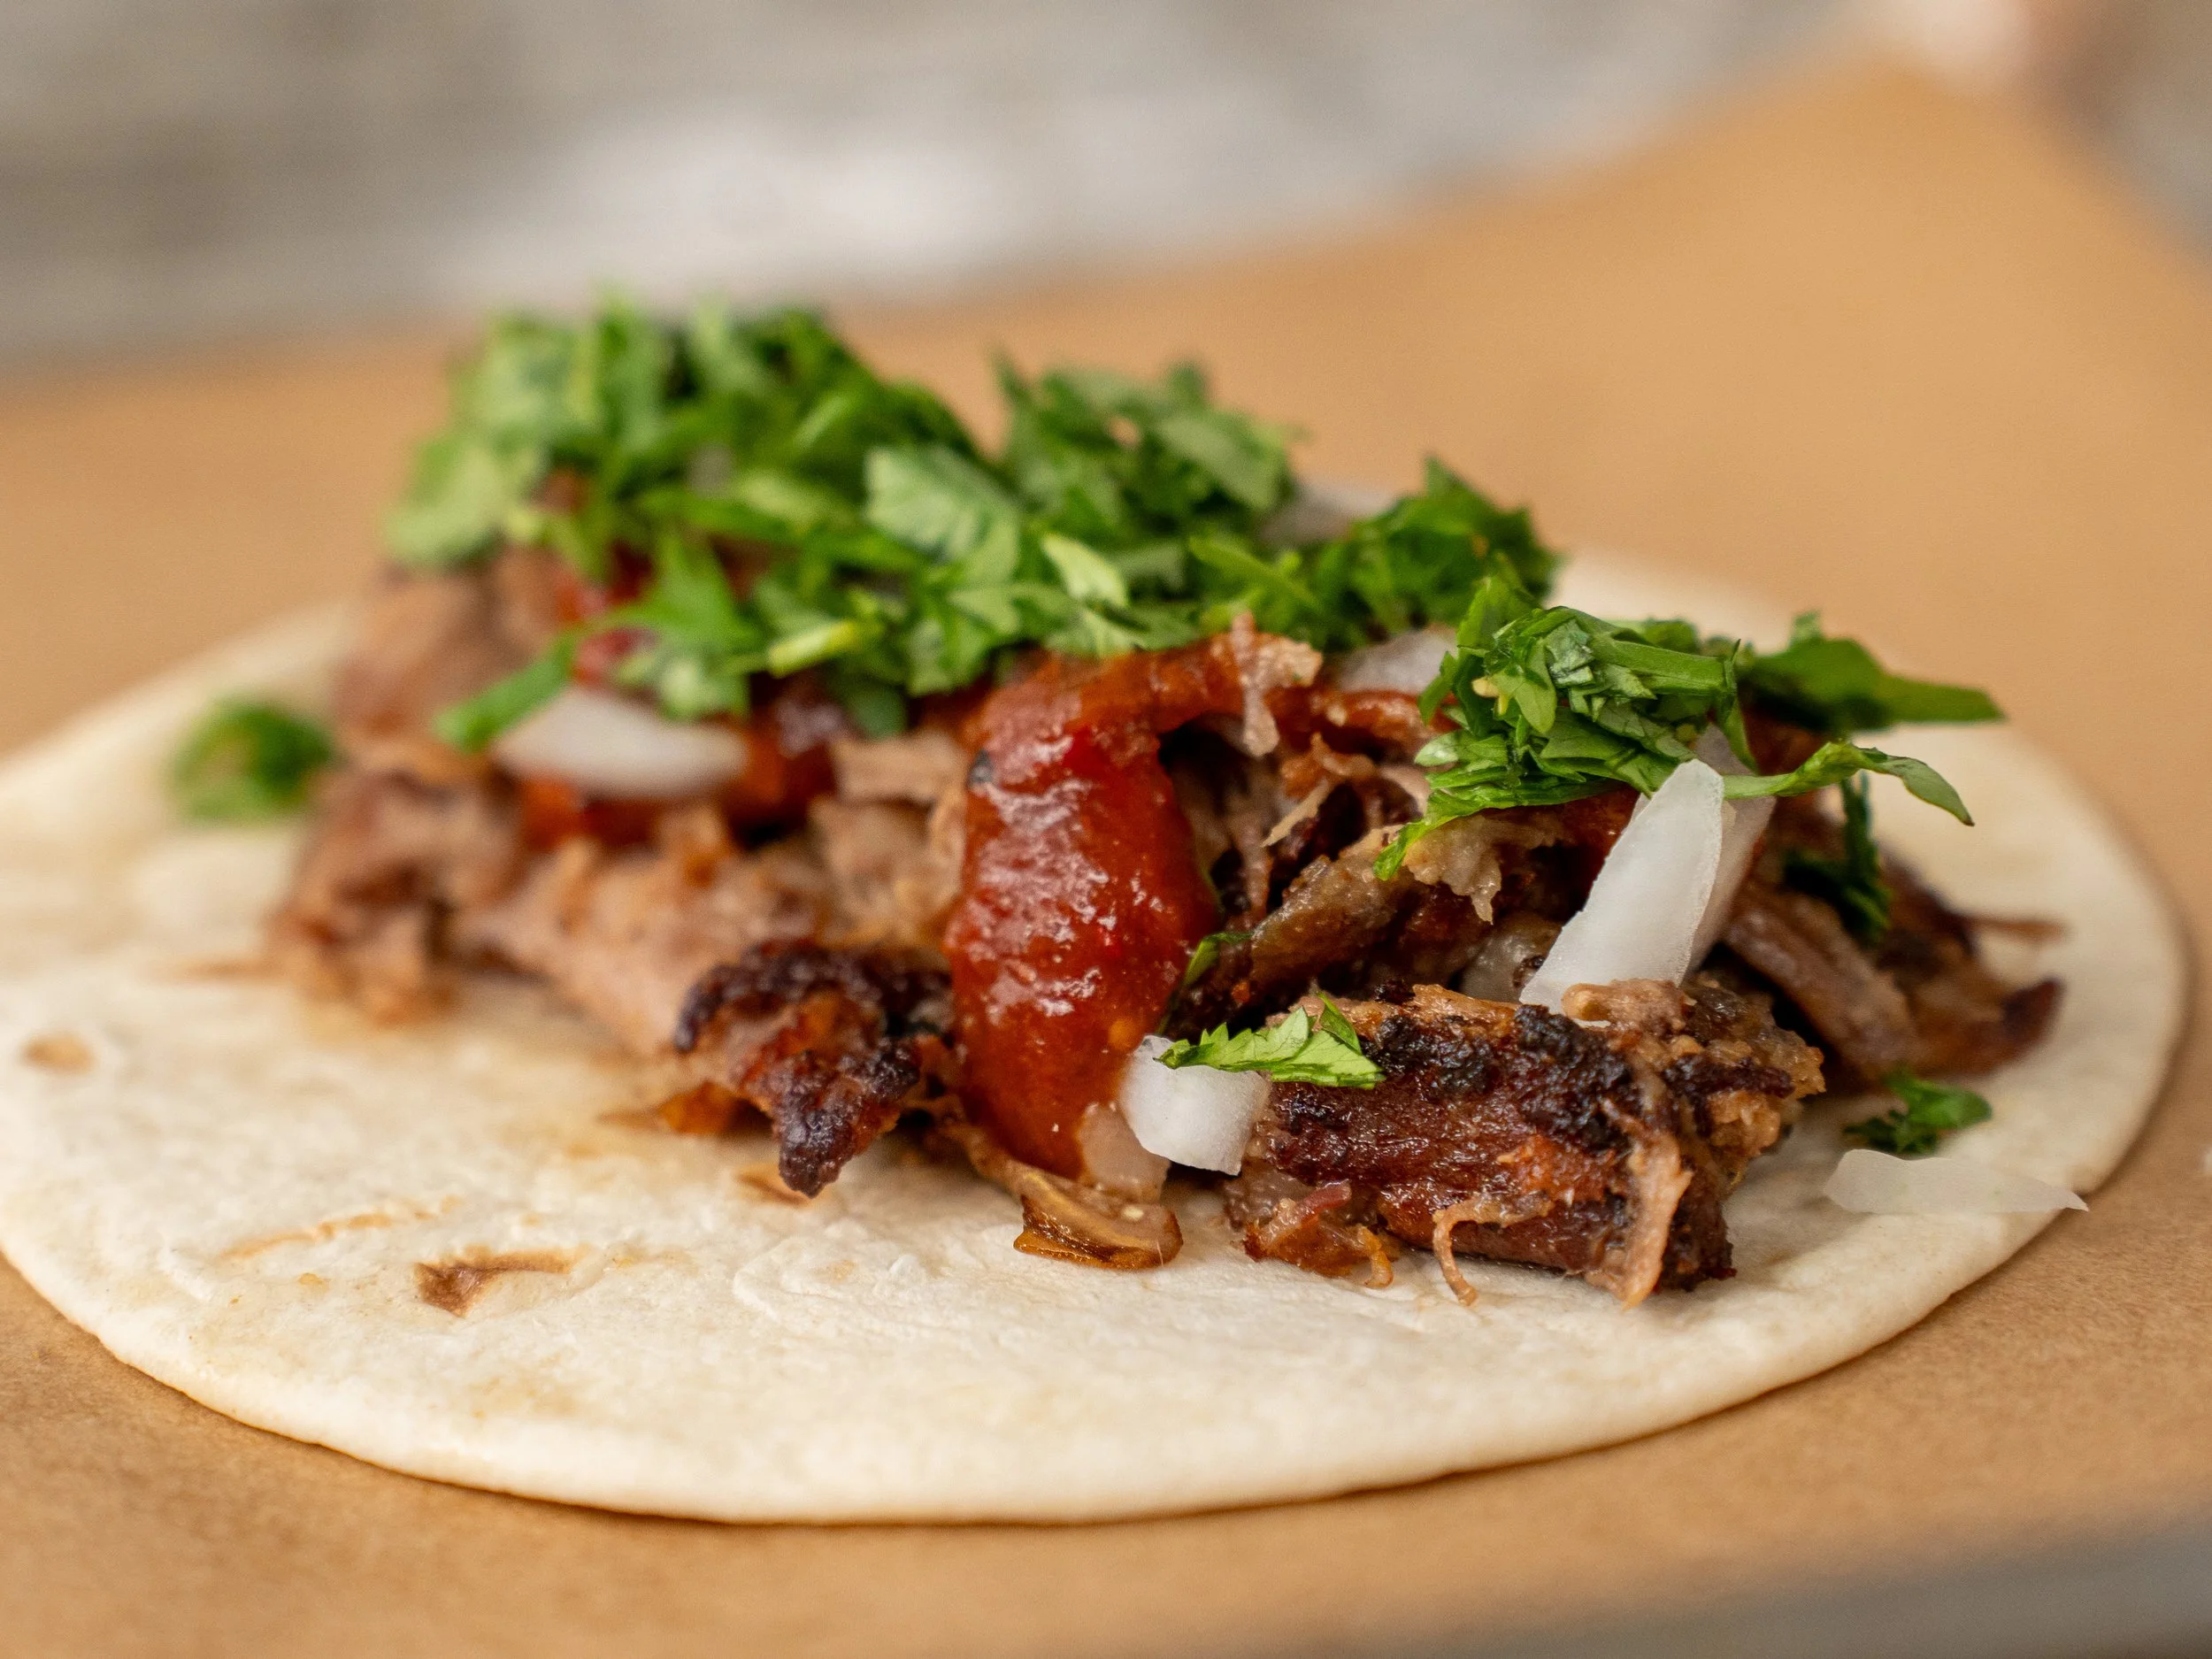
Unctuous crispy pork, scented with garlic, orange peel, a hint of cinnamon and piled on a soft tortilla with spicy dried chile salsa. This recipe is my tribute to “authentic Mexican” carnitas, but edited to work in the American kitchen.
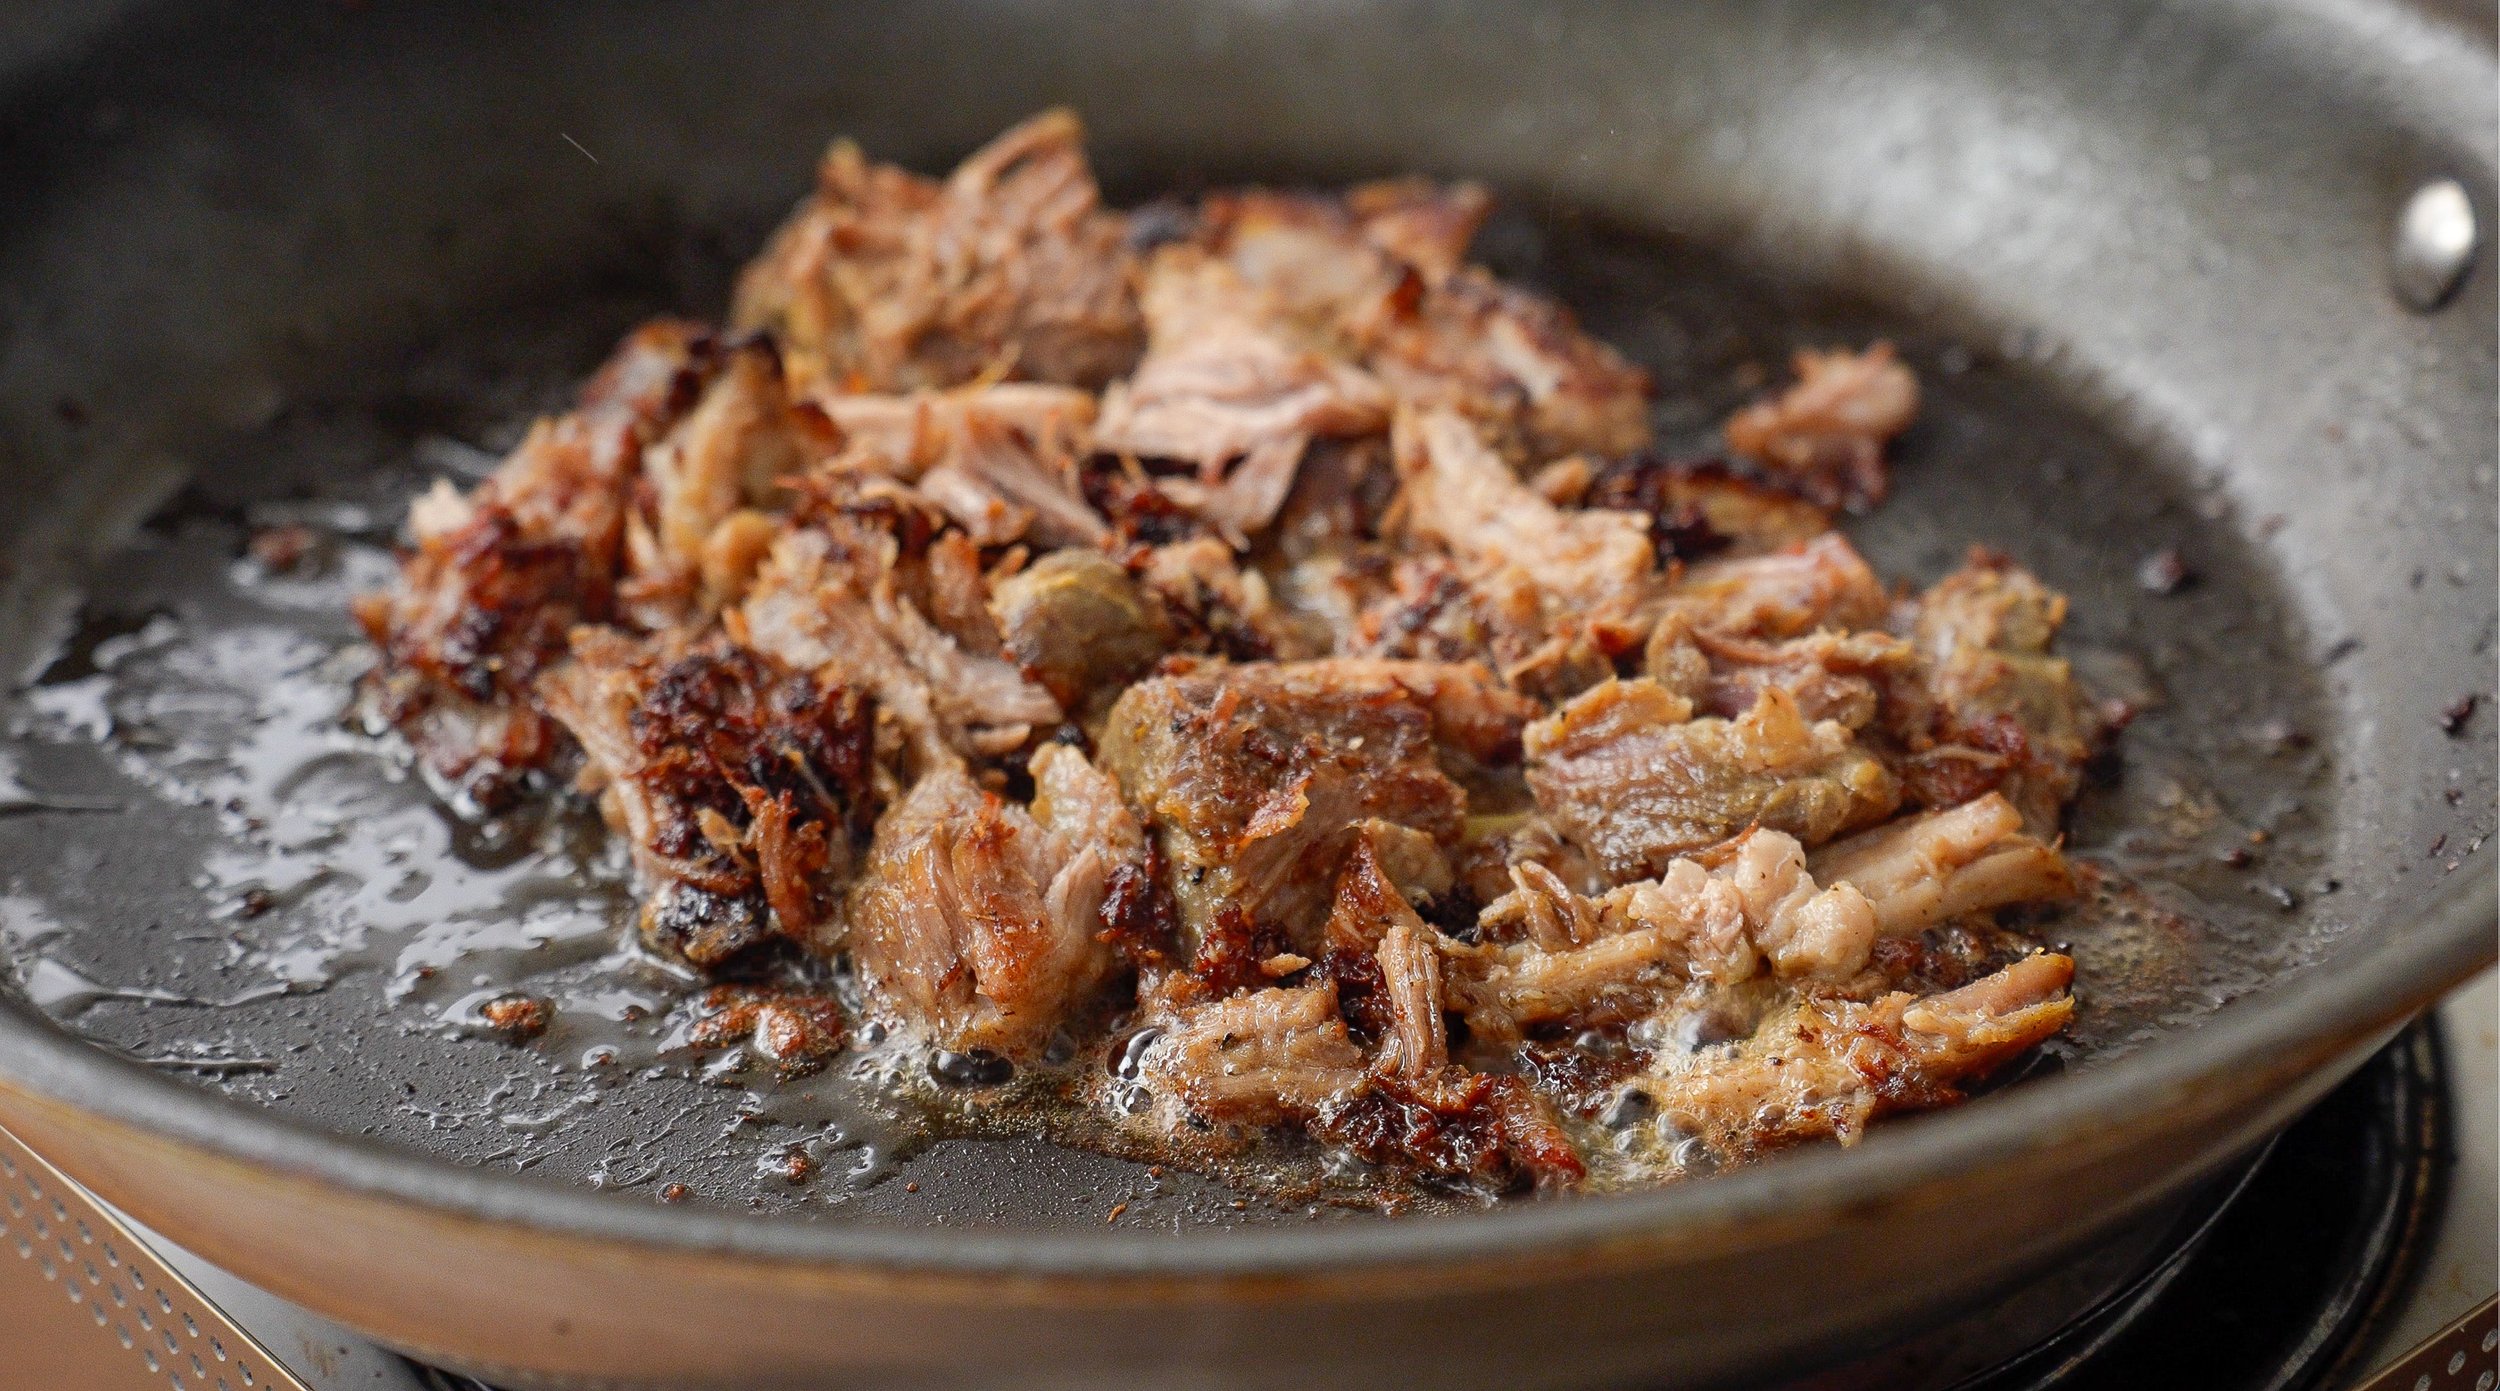

Why This Carnitas Recipe Delivers
Most Mexican restaurant carnitas are dry, which is a shame because pork shoulder WANTS TO BE JUICY. The problem is usually overly long cook times and aggressive frying, which tends to dry out the meat.
This version uses a hybrid cooking method that’s part confit, part braise. The pork gets cubed, lightly cured with salt, then cooked low and slow until it melts into its own pork fat and juices. After chilling, I shred it cold, mix that cooking liquid back in, and crisp it in batches.The result is foolproof carnitas with crispy edges, juicy meat, and a deep porky flavor
Brian's Pro Tips
1 Hour Cure - This gives the salt time to absorb into the meat instead of just sitting on the surface. If you season the pork and cook it right away, a lot of that salt melts off into the drippings. This leaves the meat underseasoned and the cooking liquid too salty to use later.
Stop 8-10% Short of Fall Apart Tender - The pork is done cooking when a fork slides in easily and shredding is possible IF you pull a bit. I wouldn't go too much past this in the oven. The meat carries over quite a bit as it rests, so if you take it all the way to falling-apart in the oven, it will fall apart when you go to shred and will dry out during crisping.
Shred It Cold, Not Hot - As the pork cools in the fridge, it soaks up some of the braising liquid, which makes it juicier and more flavorful. It also firms up, which makes it easier to shred into bigger, cleaner pieces. You can shred it hot, but it will fall apart more. You’ll end up with finer threads of pork, and those tend to dry out faster when you crisp them.
Don't Crisp Every Last Piece - Fry about 40 to 50% of the pork until it’s dark golden with lots of crispy edges, but leave the rest softer and juicier. Those tender pieces keep the whole batch moist and make the crispy bits better by contrast. 100% crispy carnitas are dry carnitas.
Key Ingredient Notes & Substitutions
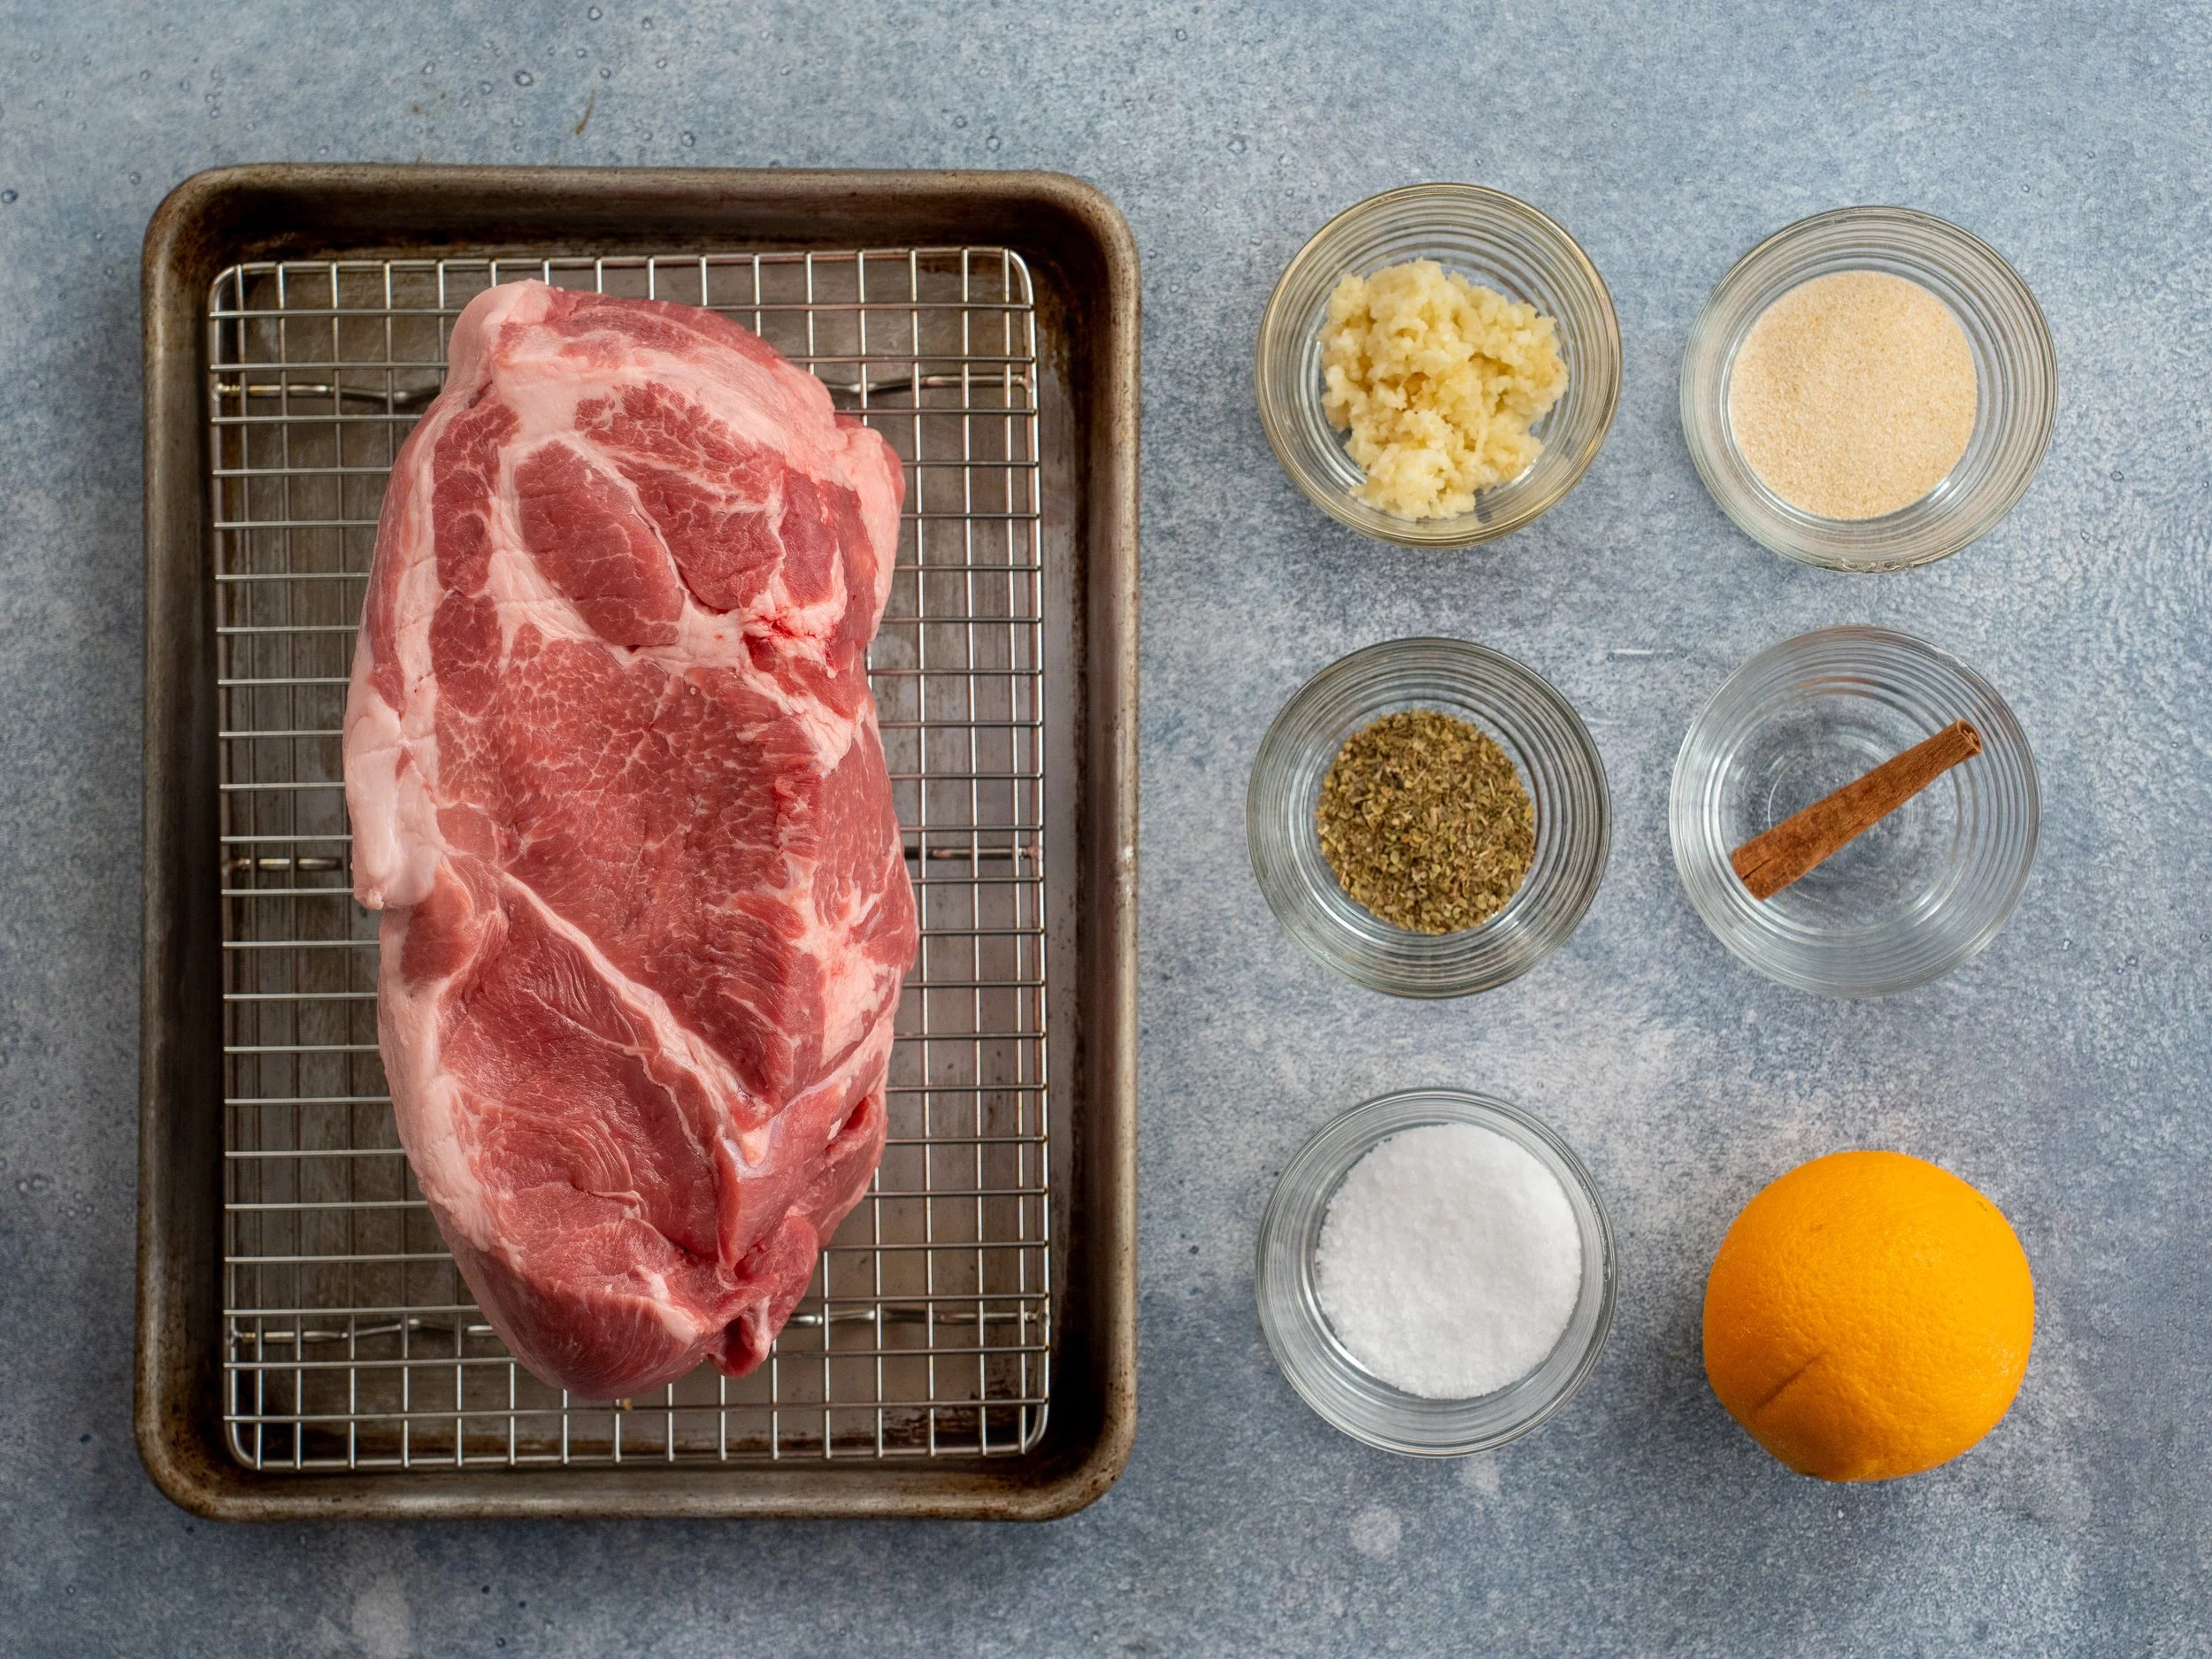
Below are the ingredients I want to draw special attention to. A full ingredient list and amounts are included in the recipe below.
Pork Shoulder - Compared to other grocery store meats, cheap commodity pork is quite bad in terms of all around quality. It can be bland, poorly marbled, pumped with water, and the animal welfare side of large-scale pork production is very rough. So I go out of my way to buy better pork when I can find it. I’ll look at Whole Foods, a good local butcher shop, or buy from a local farmers market. In my experience, better pork usually has more marbling, much better flavor, and less added water than standard commodity pork.
Whole Foods pork is probably your best option for a consistent result. At least for now, they have higher sourcing standards than typical grocery-stores, including third-party animal-welfare certification, no antibiotics ever, and traceability back to the farm or ranch. That doesn’t make it perfect, but it does make it a better option than the commodity stuff, which again, is pretty bad in terms of quality and ethics.
Cinnamon Stick and Orange - These are the backbone of the carnitas flavor, but the key is not using too much. They should sit in the background and give the meat a little warmth, sweetness, and depth. A small piece of cinnamon and a few quarters of orange are plenty. Any more than that and the flavor starts to get perfumey and weird.
RECIPE
PREP TIME 30 min active + overnight cure | COOK TIME 3 hr roast + overnight chill, then about 20 min to crisp | YIELD 6–8 servings
Ingredients
For the Pork and Cure:
4–5 lb pork shoulder, cut into 2–3 inch cubes, bone removed (about 1.8–2.3 kg)
50g salt (3 Tbsp)
2g dried oregano (2 tsp)
10g onion powder (1½ Tbsp)
30g minced garlic (6-8 cloves)
NOTE:
I use a 6.75qt Dutch Oven For this recipe. If yours is smaller, adjust pork and salt amounts as follows:
For a 5qt pot- 3.5lbs meat (32g Salt)
For a 6 qt Pot 4.25lbs of meat (40g Salt)
For the Braise:
100g (about ½ cup) water or stock
1 cinnamon stick
4 bay leaves
1 orange, quartered and juiced into the pot
Finish and Serve
150g (about ⅔ cup) rendered pork fat, reserved from cooking
150g (about ⅔ cup) pork gold (cooking liquid), reserved from cooking
flour tortillas, warmed
white onion, chopped
cilantro, chopped
salsa taquera (recipe here)
How To Make Carnitas
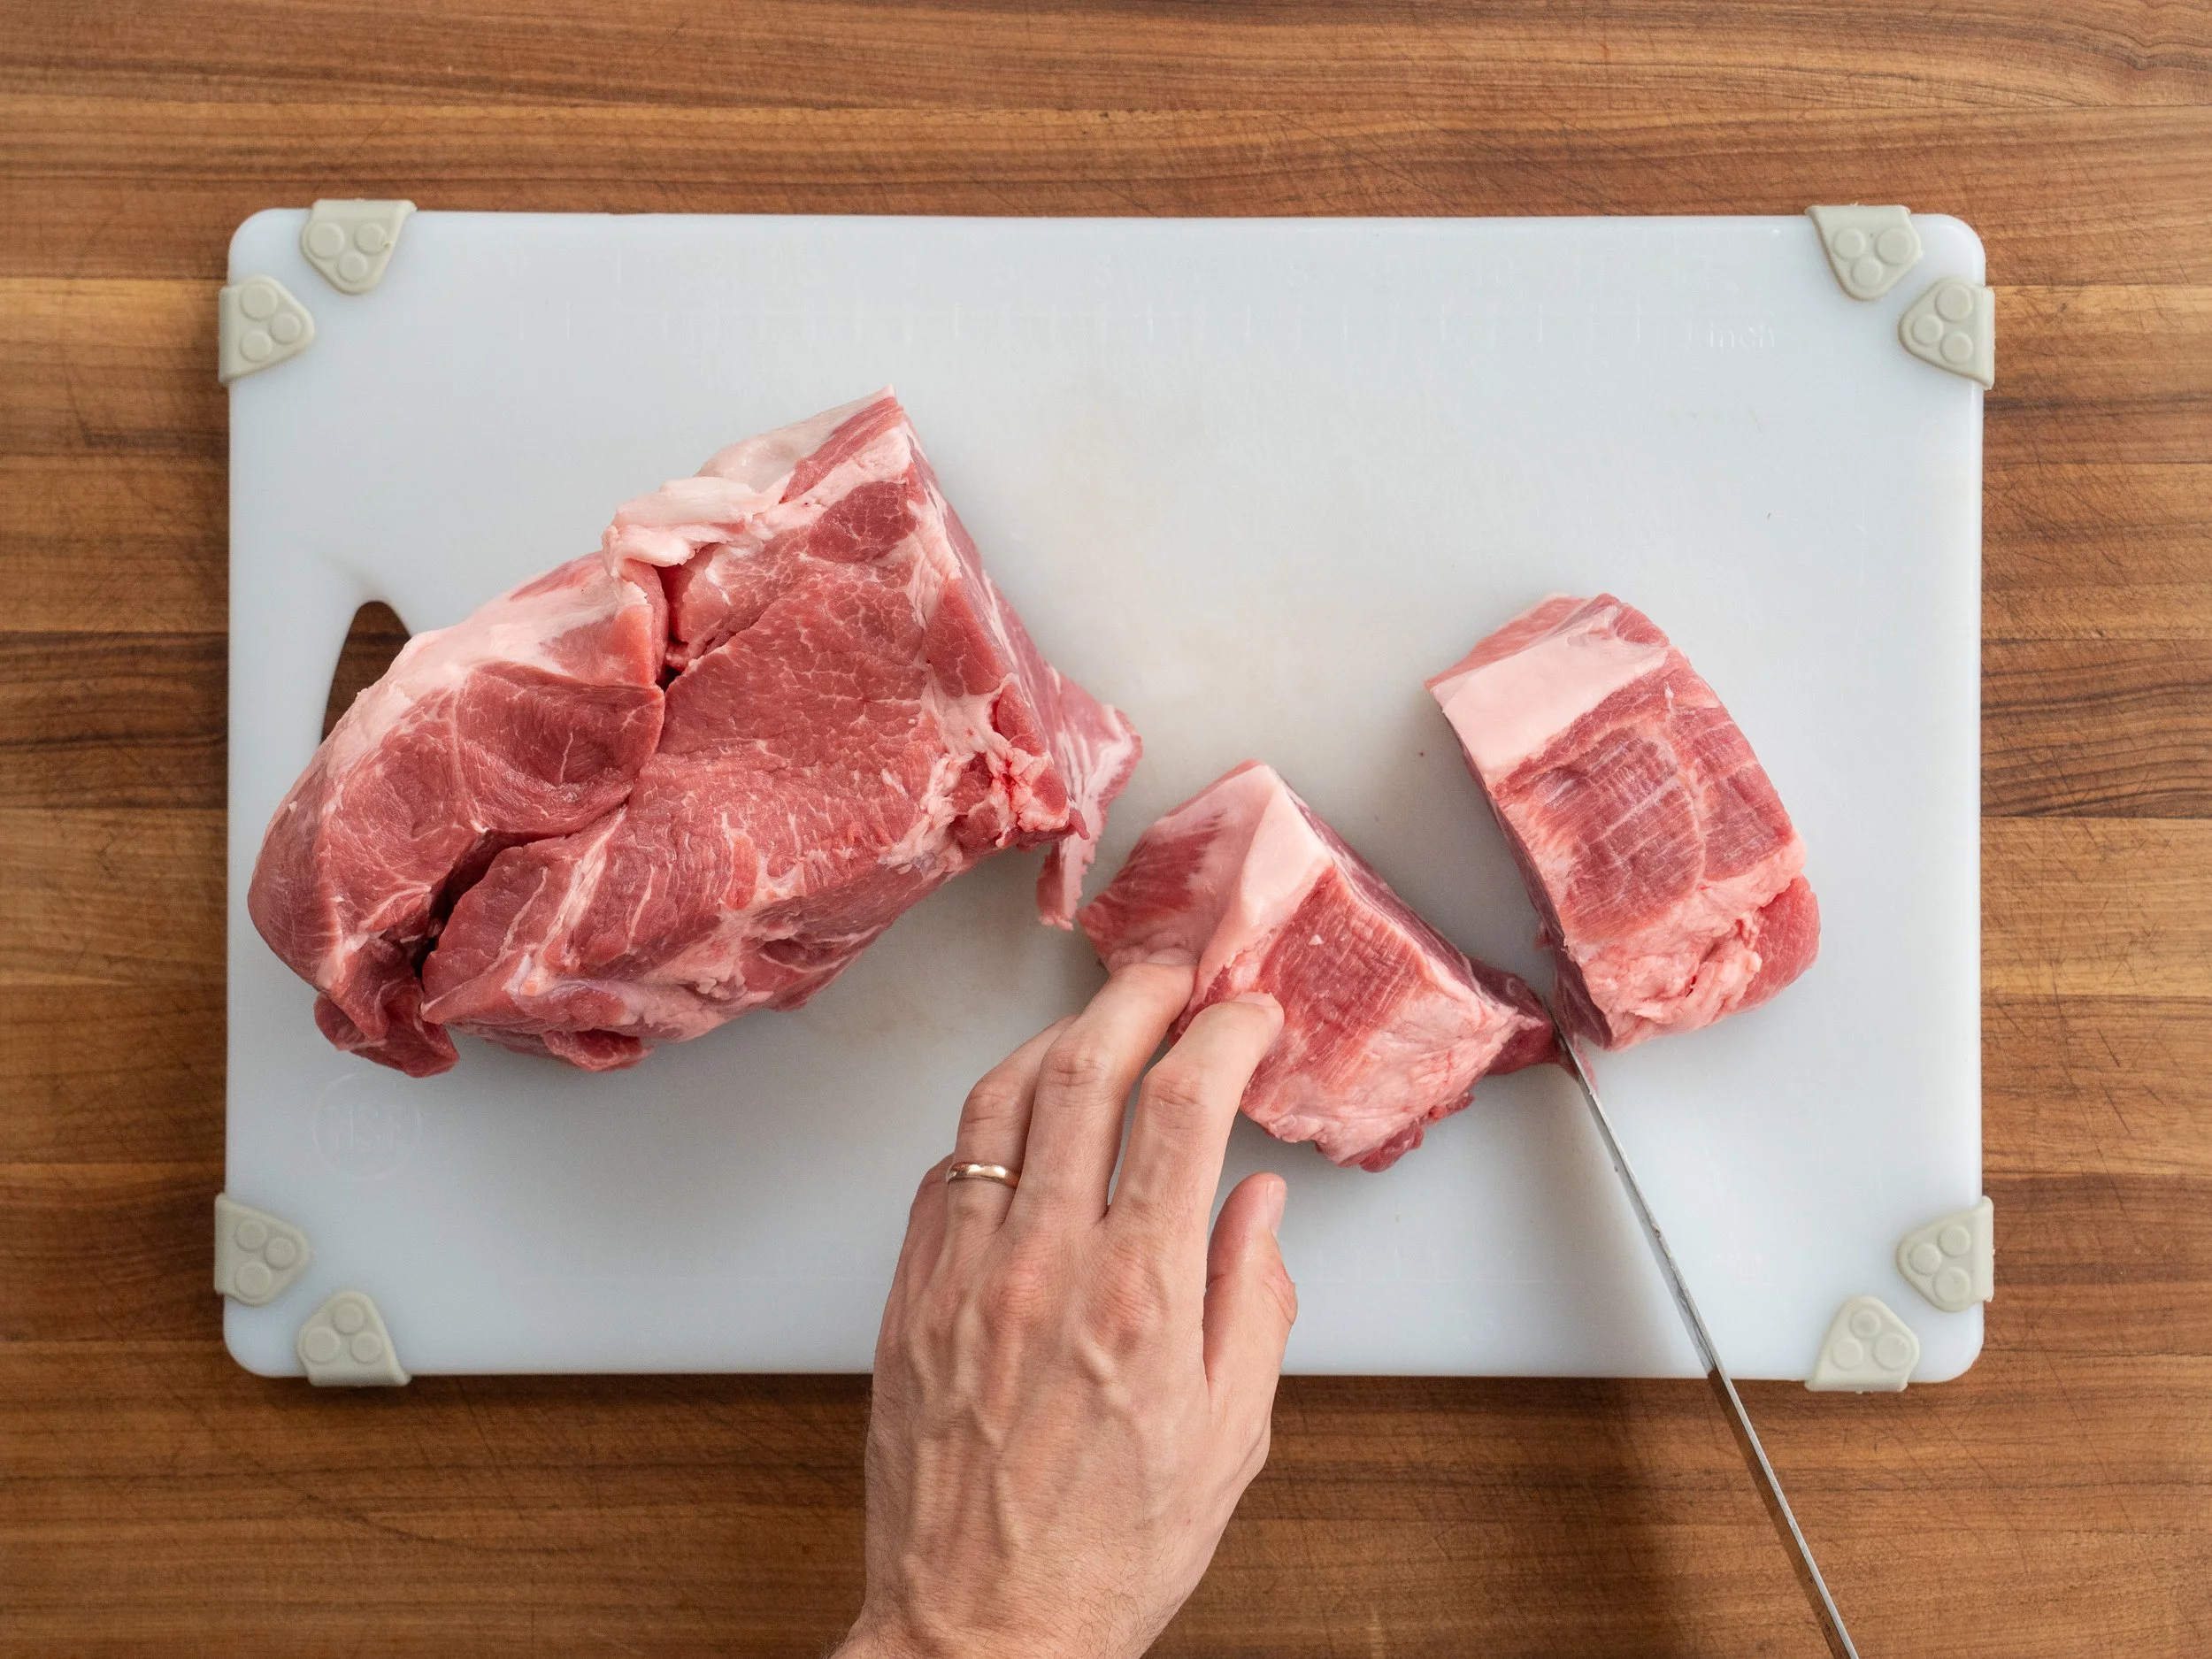
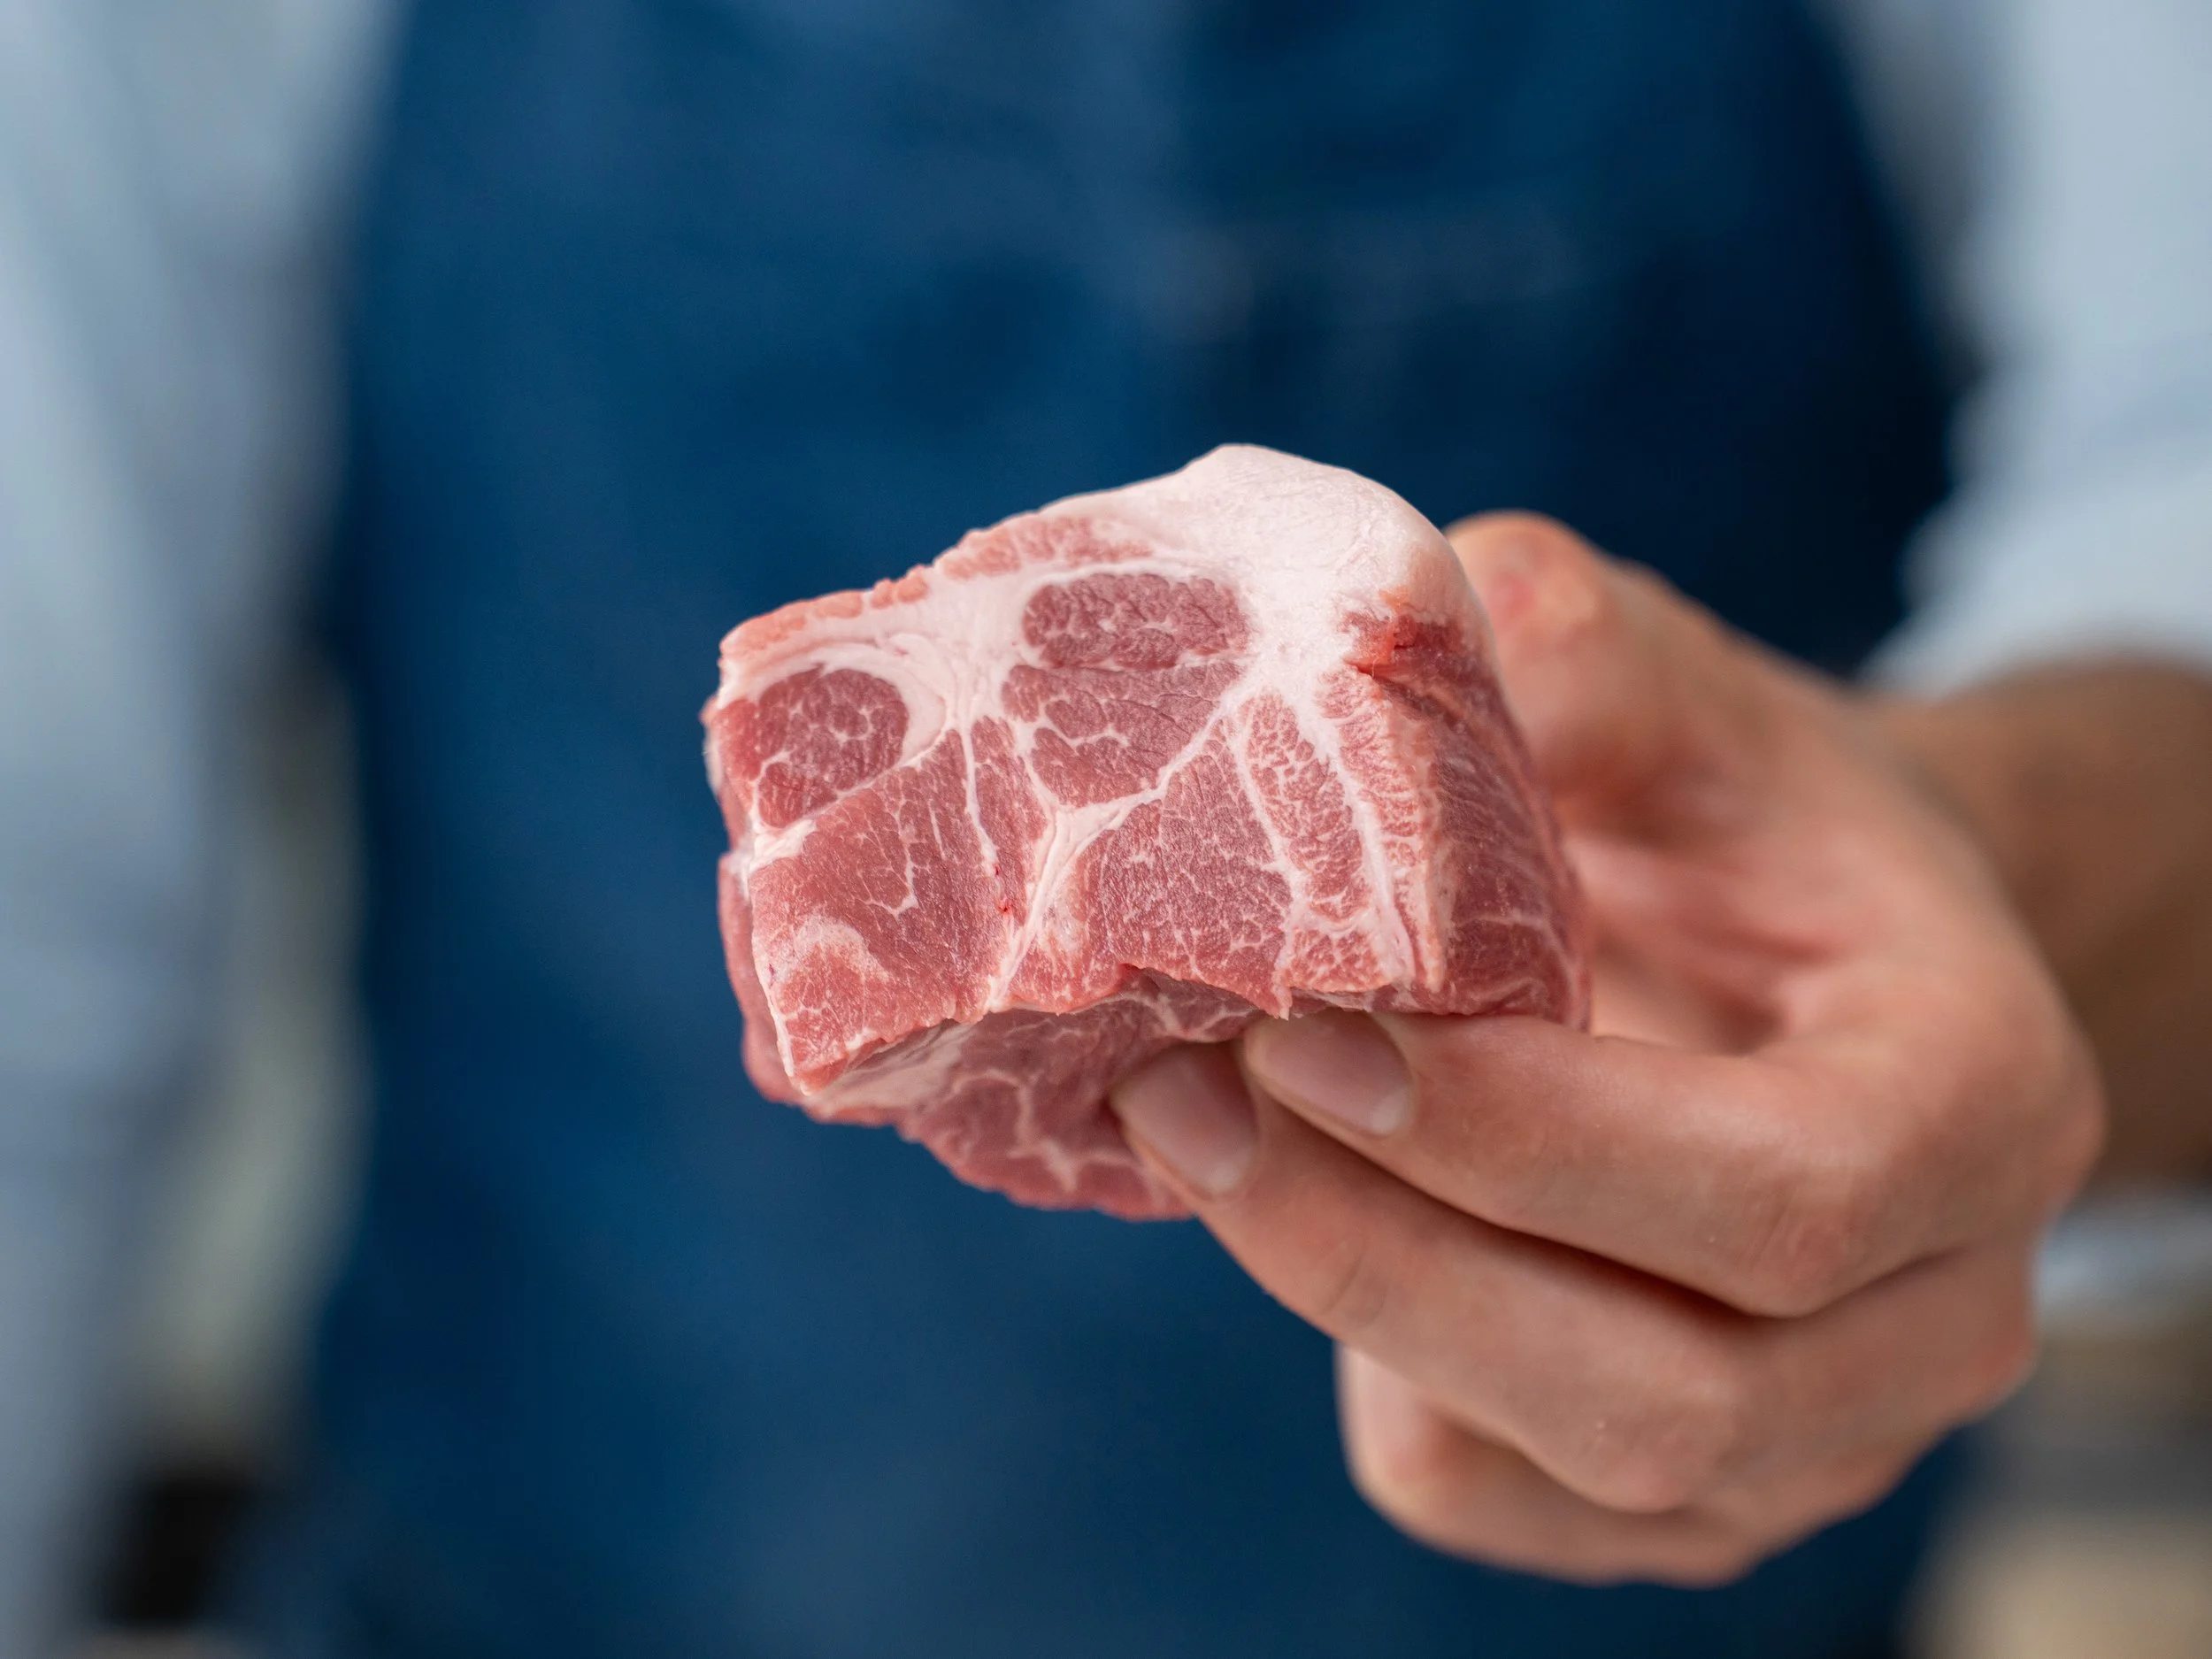
1. Cube the pork. Start by cutting a 5 lb/2.25 kg pork shoulder into 2 to 3 inch cubes. If there's a bone, try to remove it. No need for perfect butchery here, just cut the meat off in chunks. Be careful though, the blade bone in a shoulder is awkwardly shaped and will require you to move your knife in ways you aren't used to.
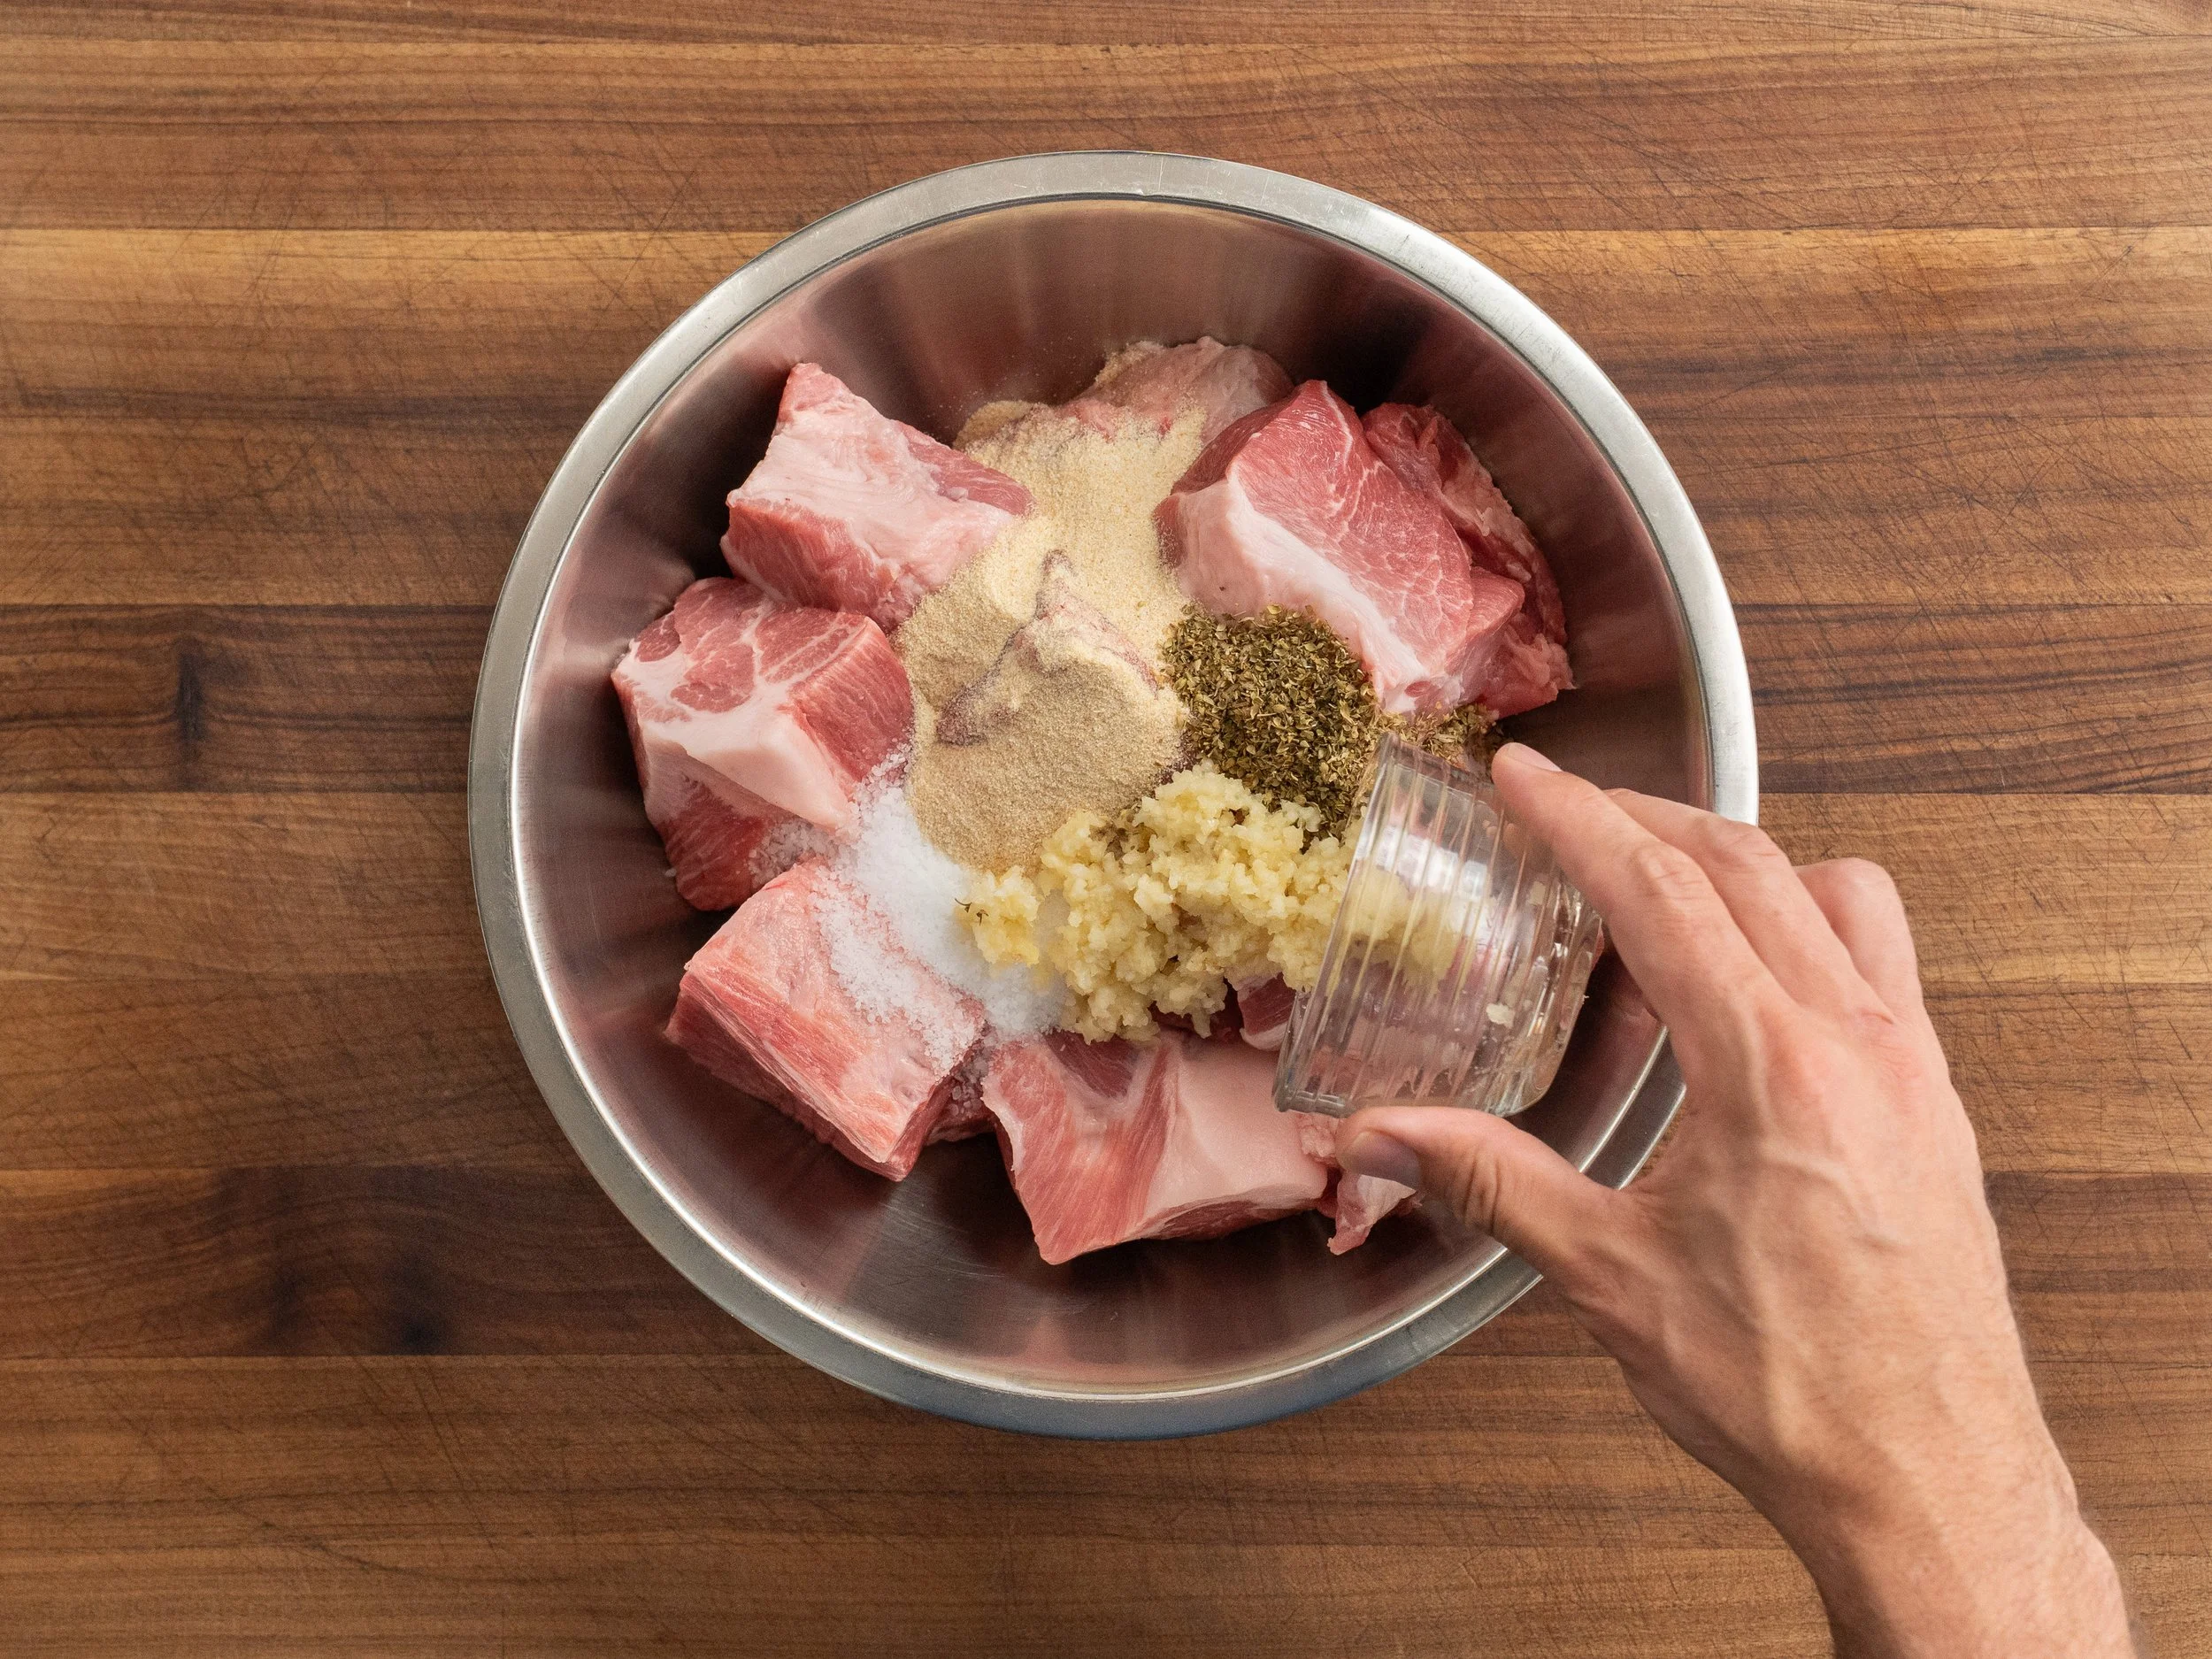
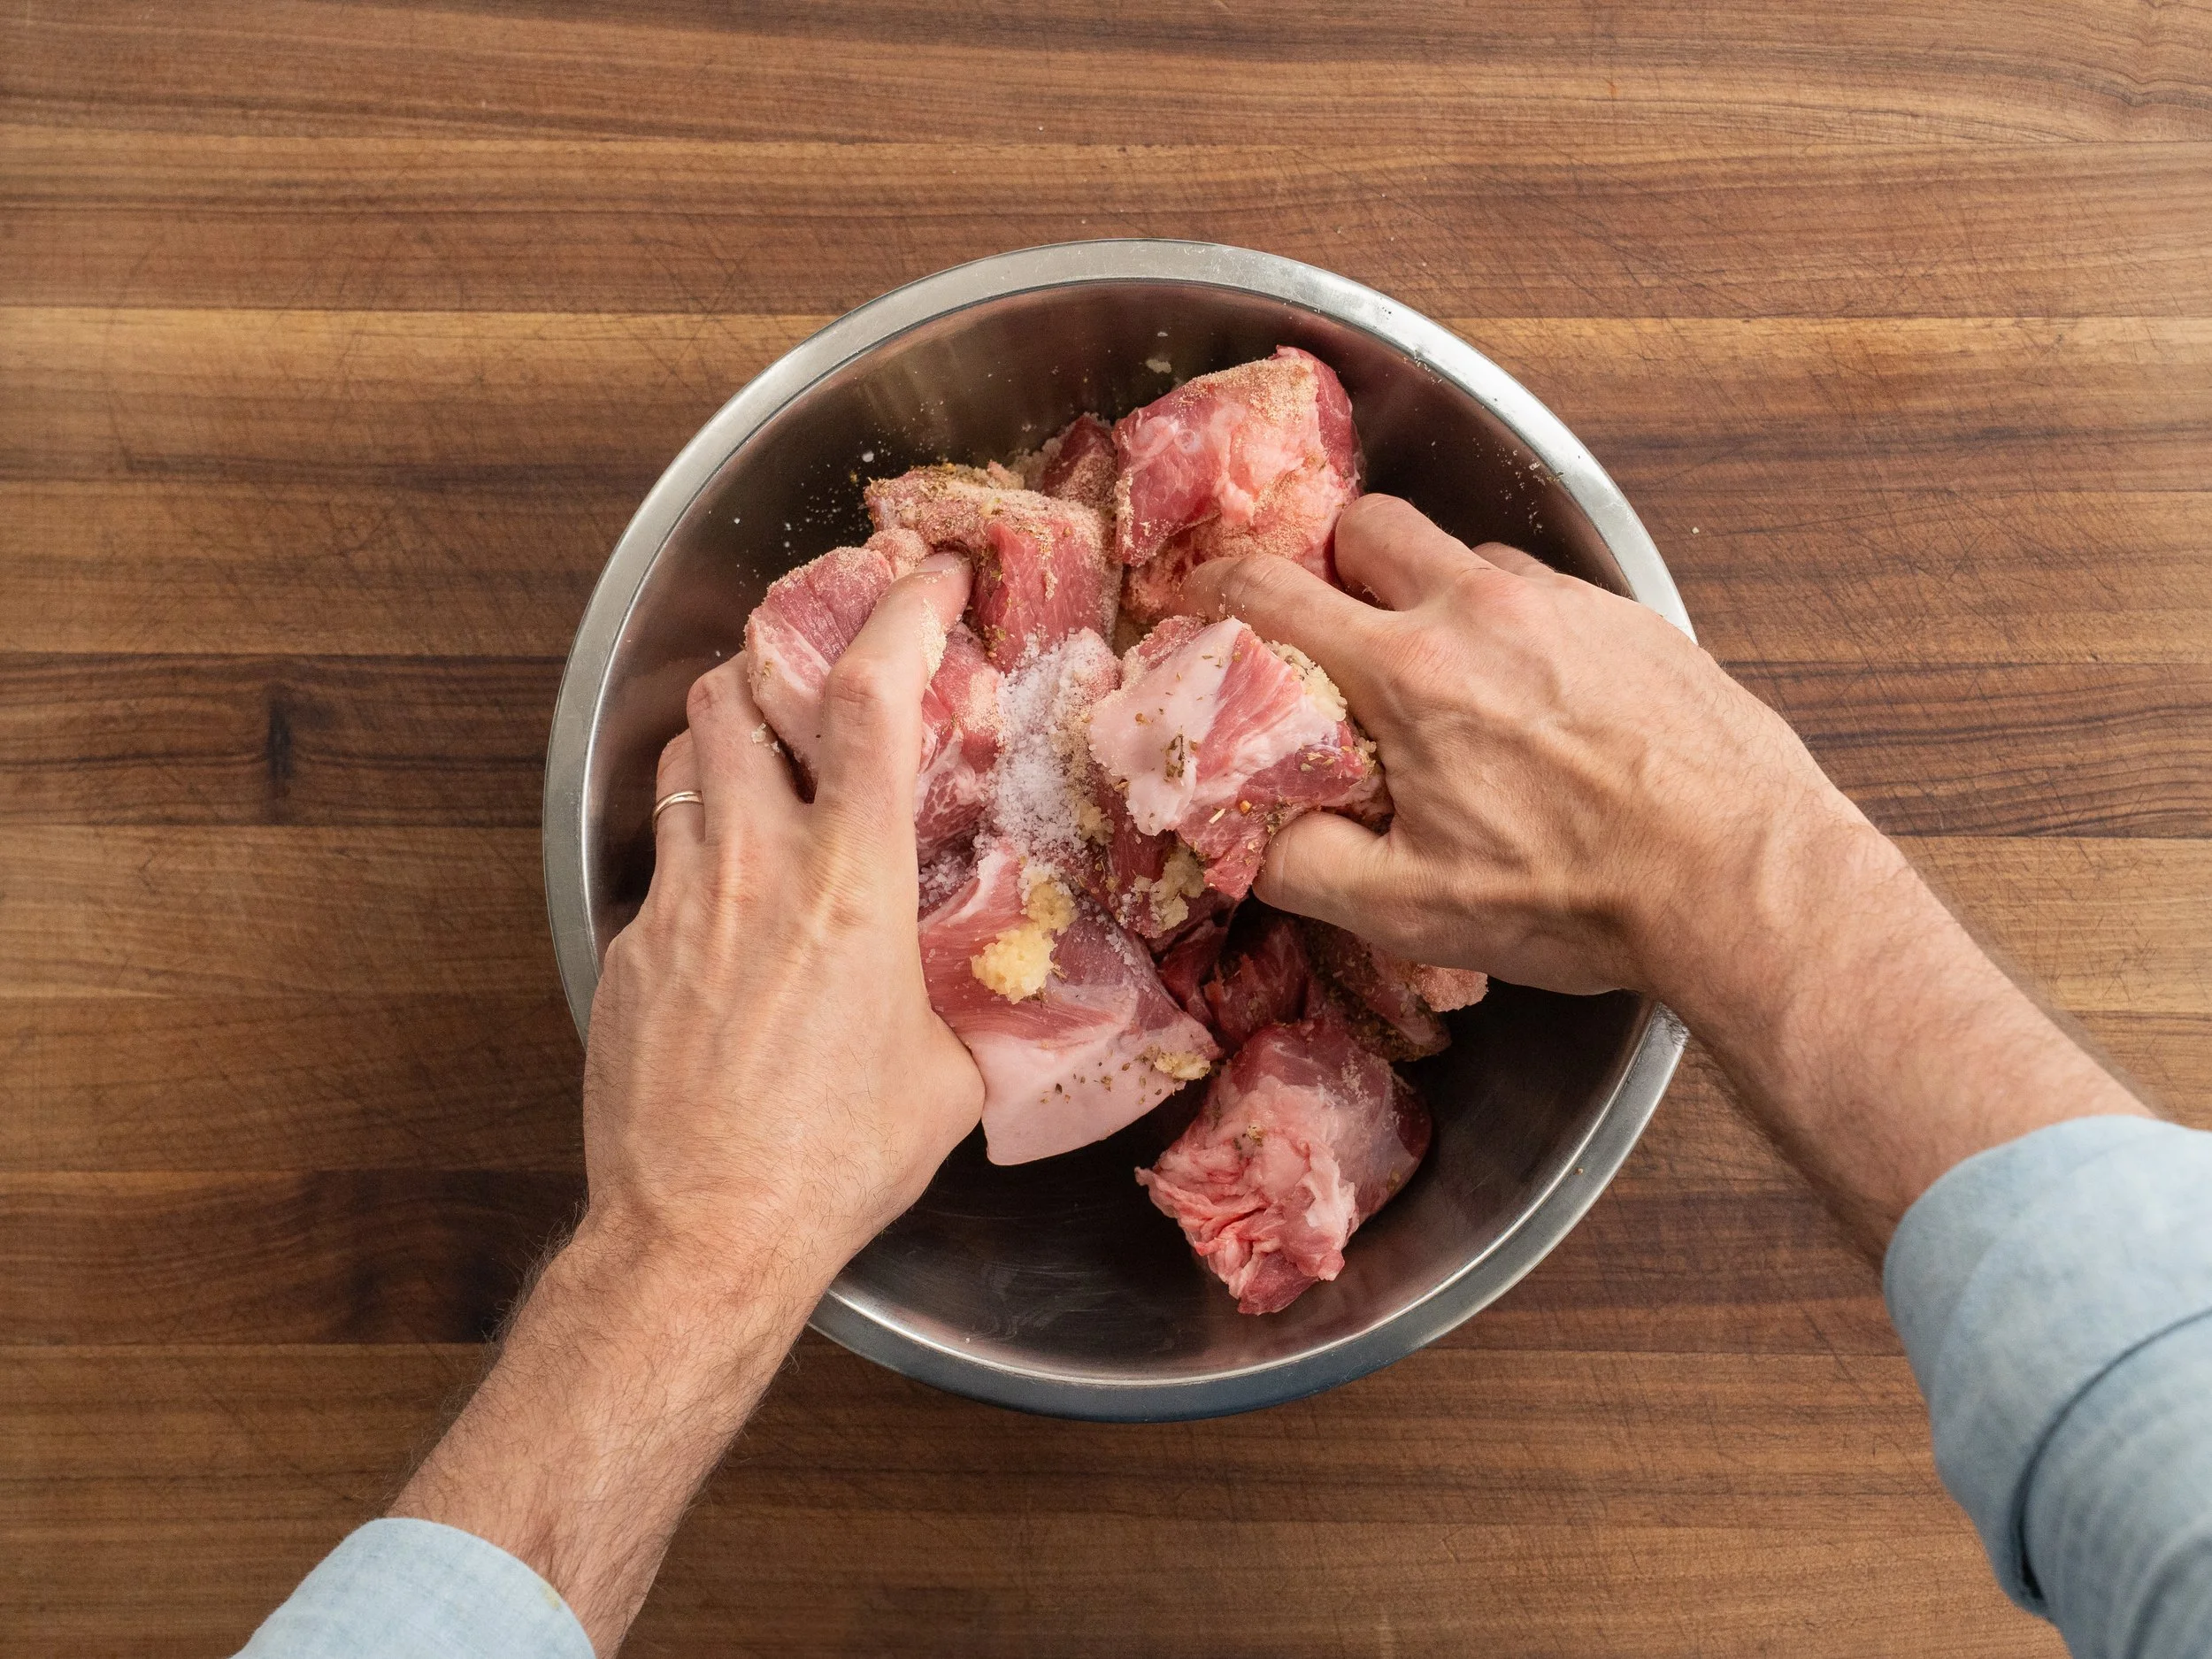
2. Cure. Combine 50g salt, 2g dried oregano, 30g minced garlic, and 10g onion powder in a bowl with the pork shoulder cubes and mix until every piece is evenly coated. Then cure in the fridge for 1 hour.
3. Pack into a Heavy Bottomed Pot. Place the pork in a wide, heavy bottomed pot in a tight even layer. I like to use a dutch oven for this. Mine has a 6.75 qt capacity. If yours is smaller, that's fine, but I would scale down the pork a little bit. It’s important that it sits in an even layer across the bottom. For a 5 qt dutch oven, I would go down to 3.5 lbs of meat.
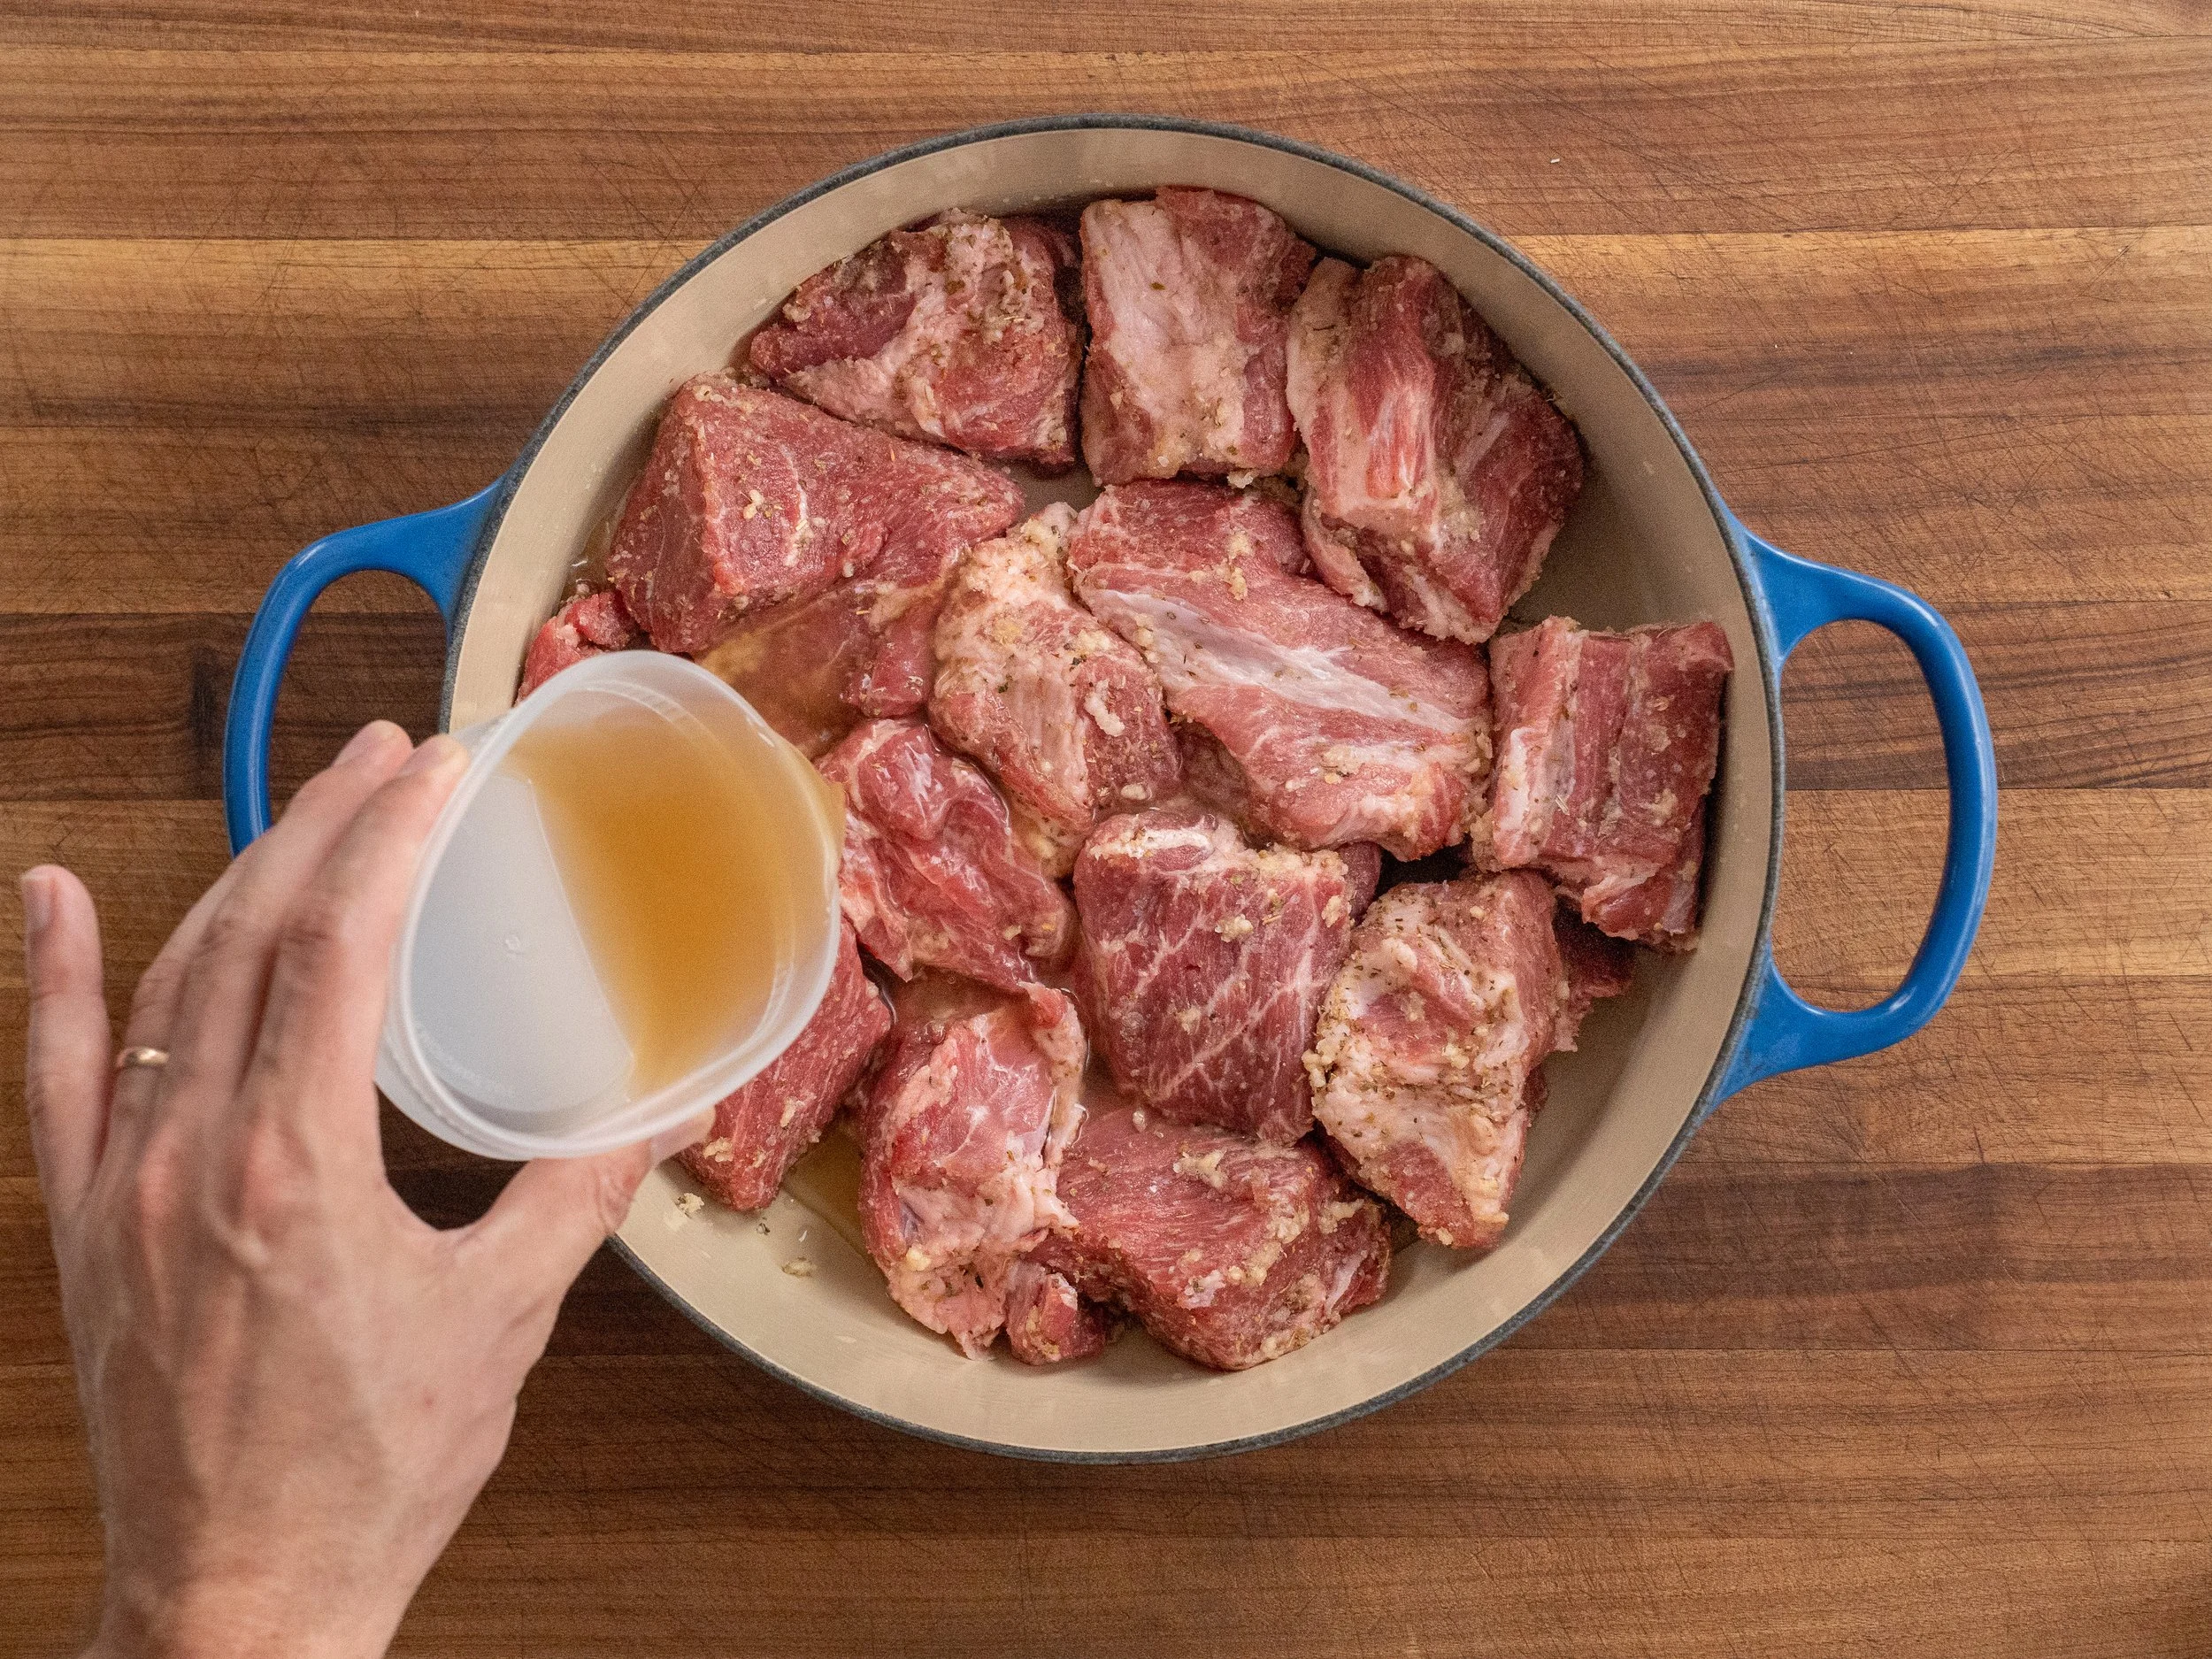
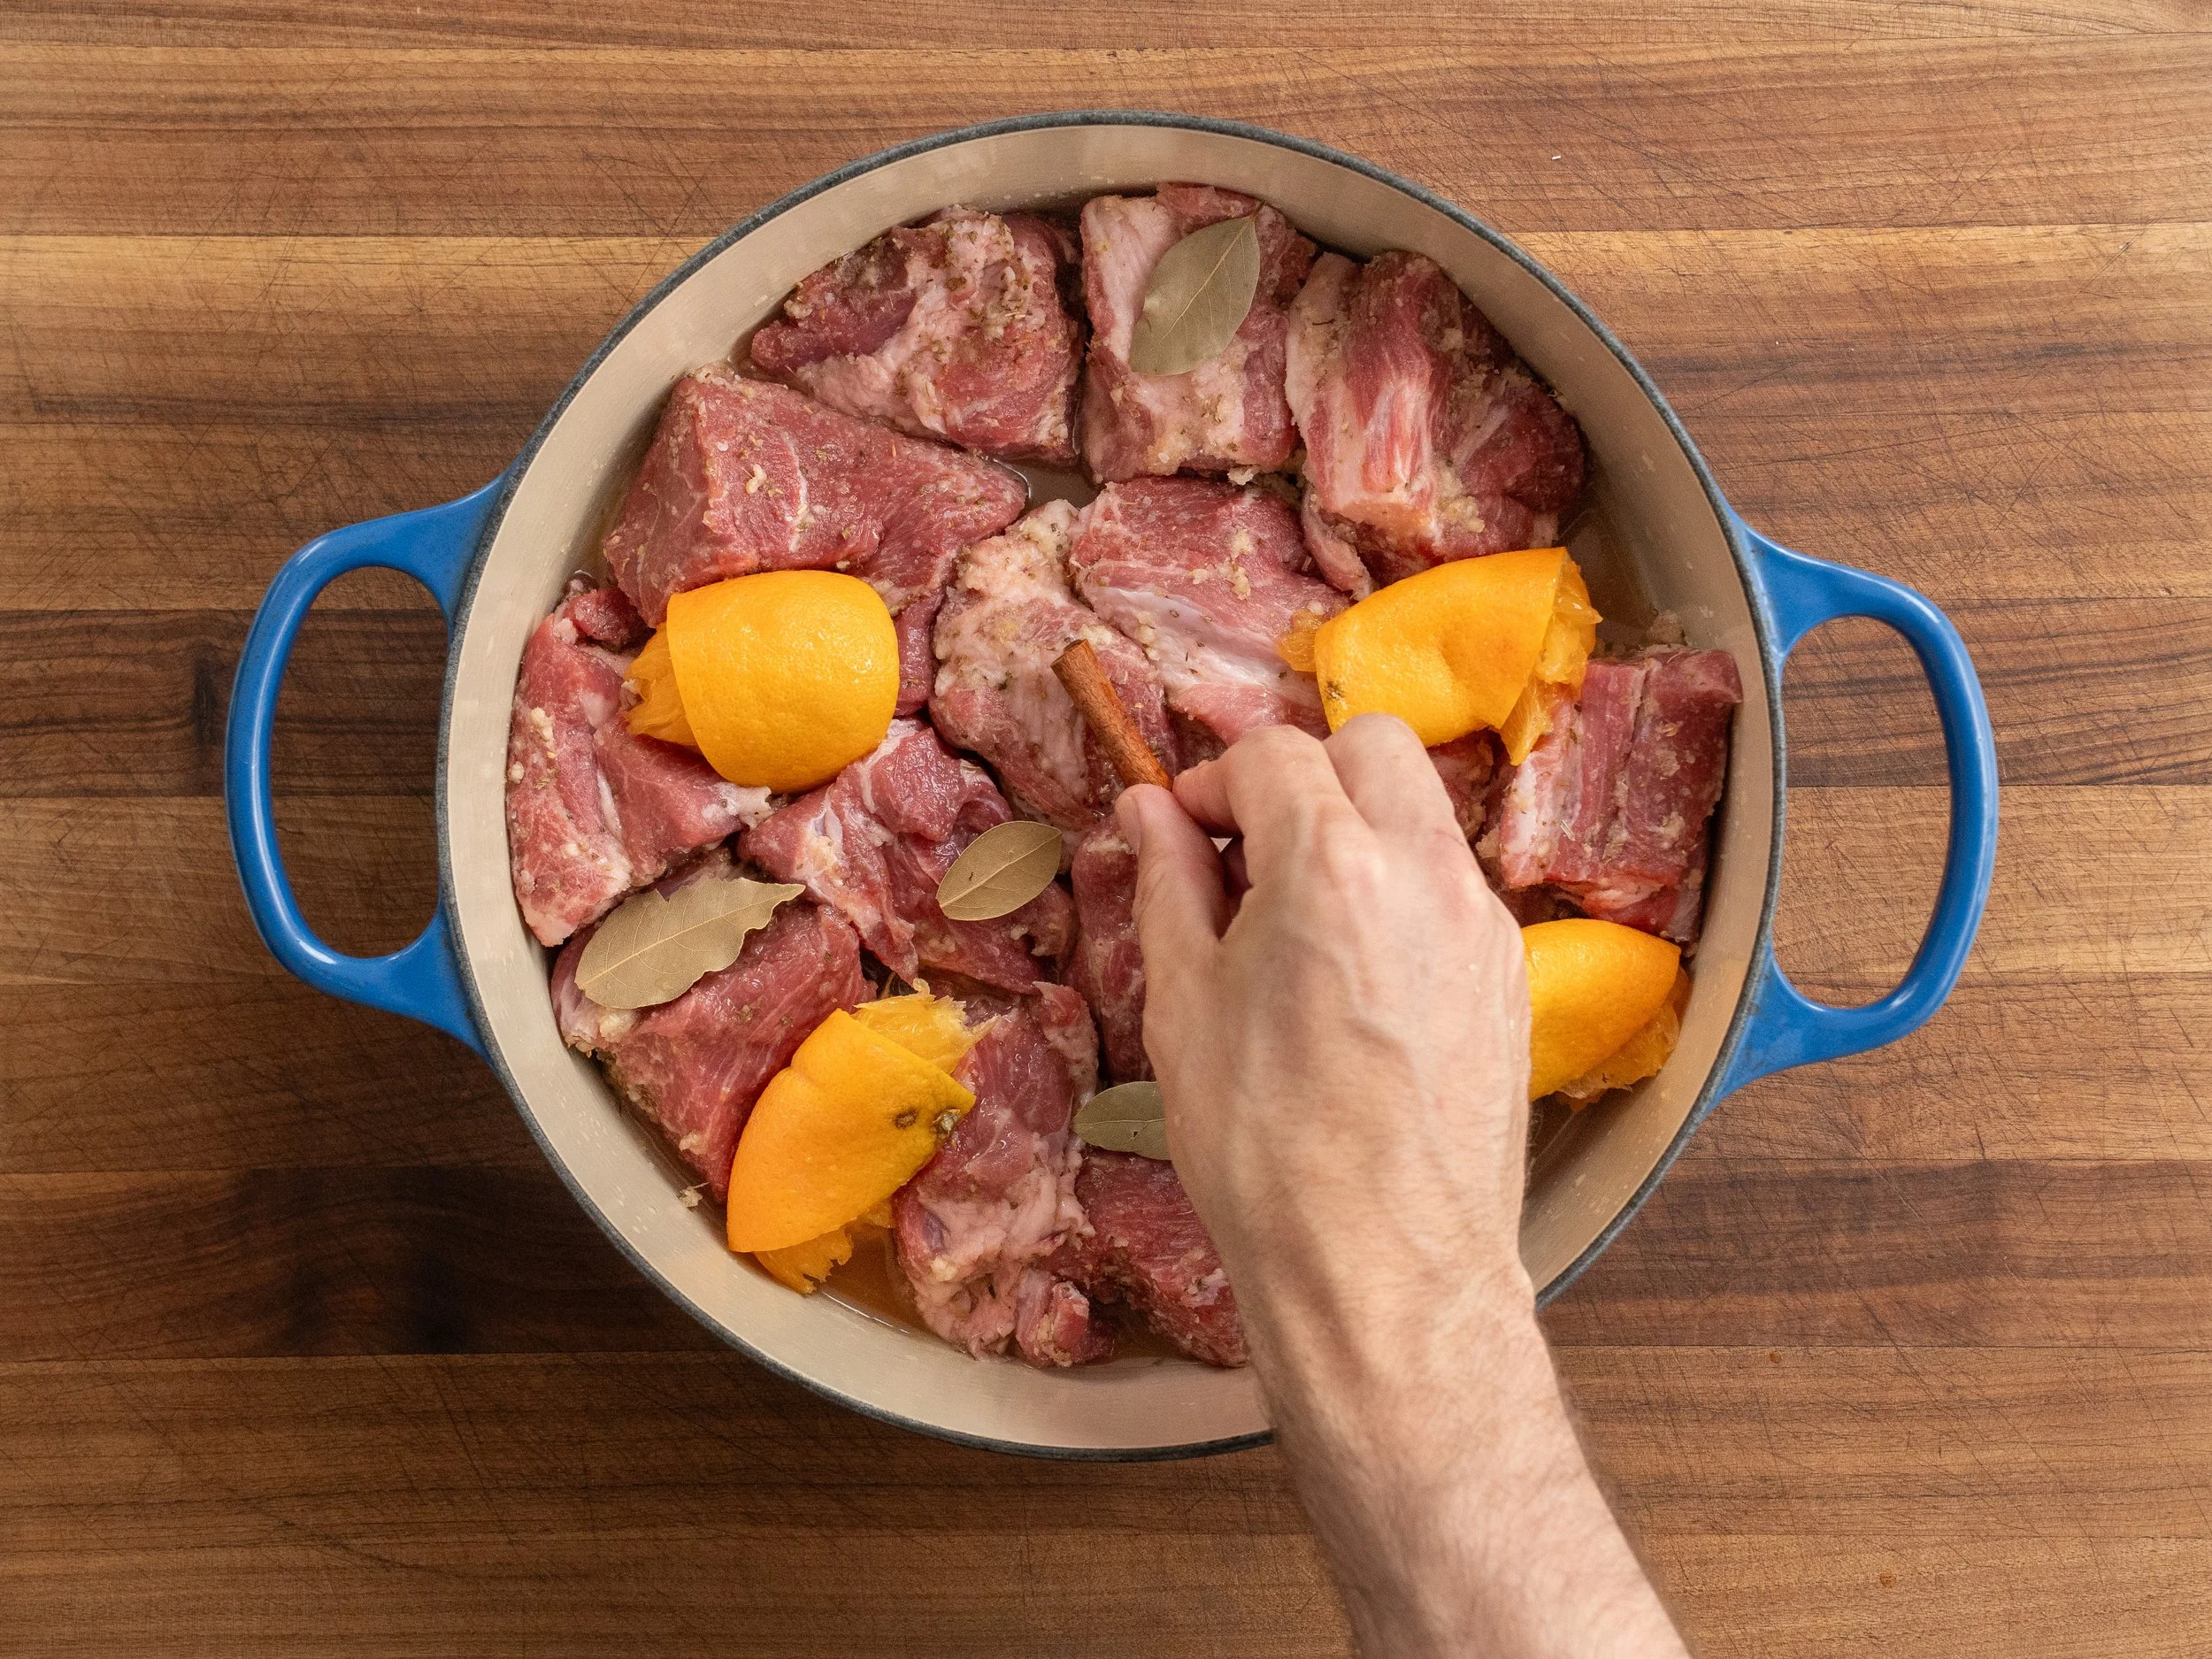
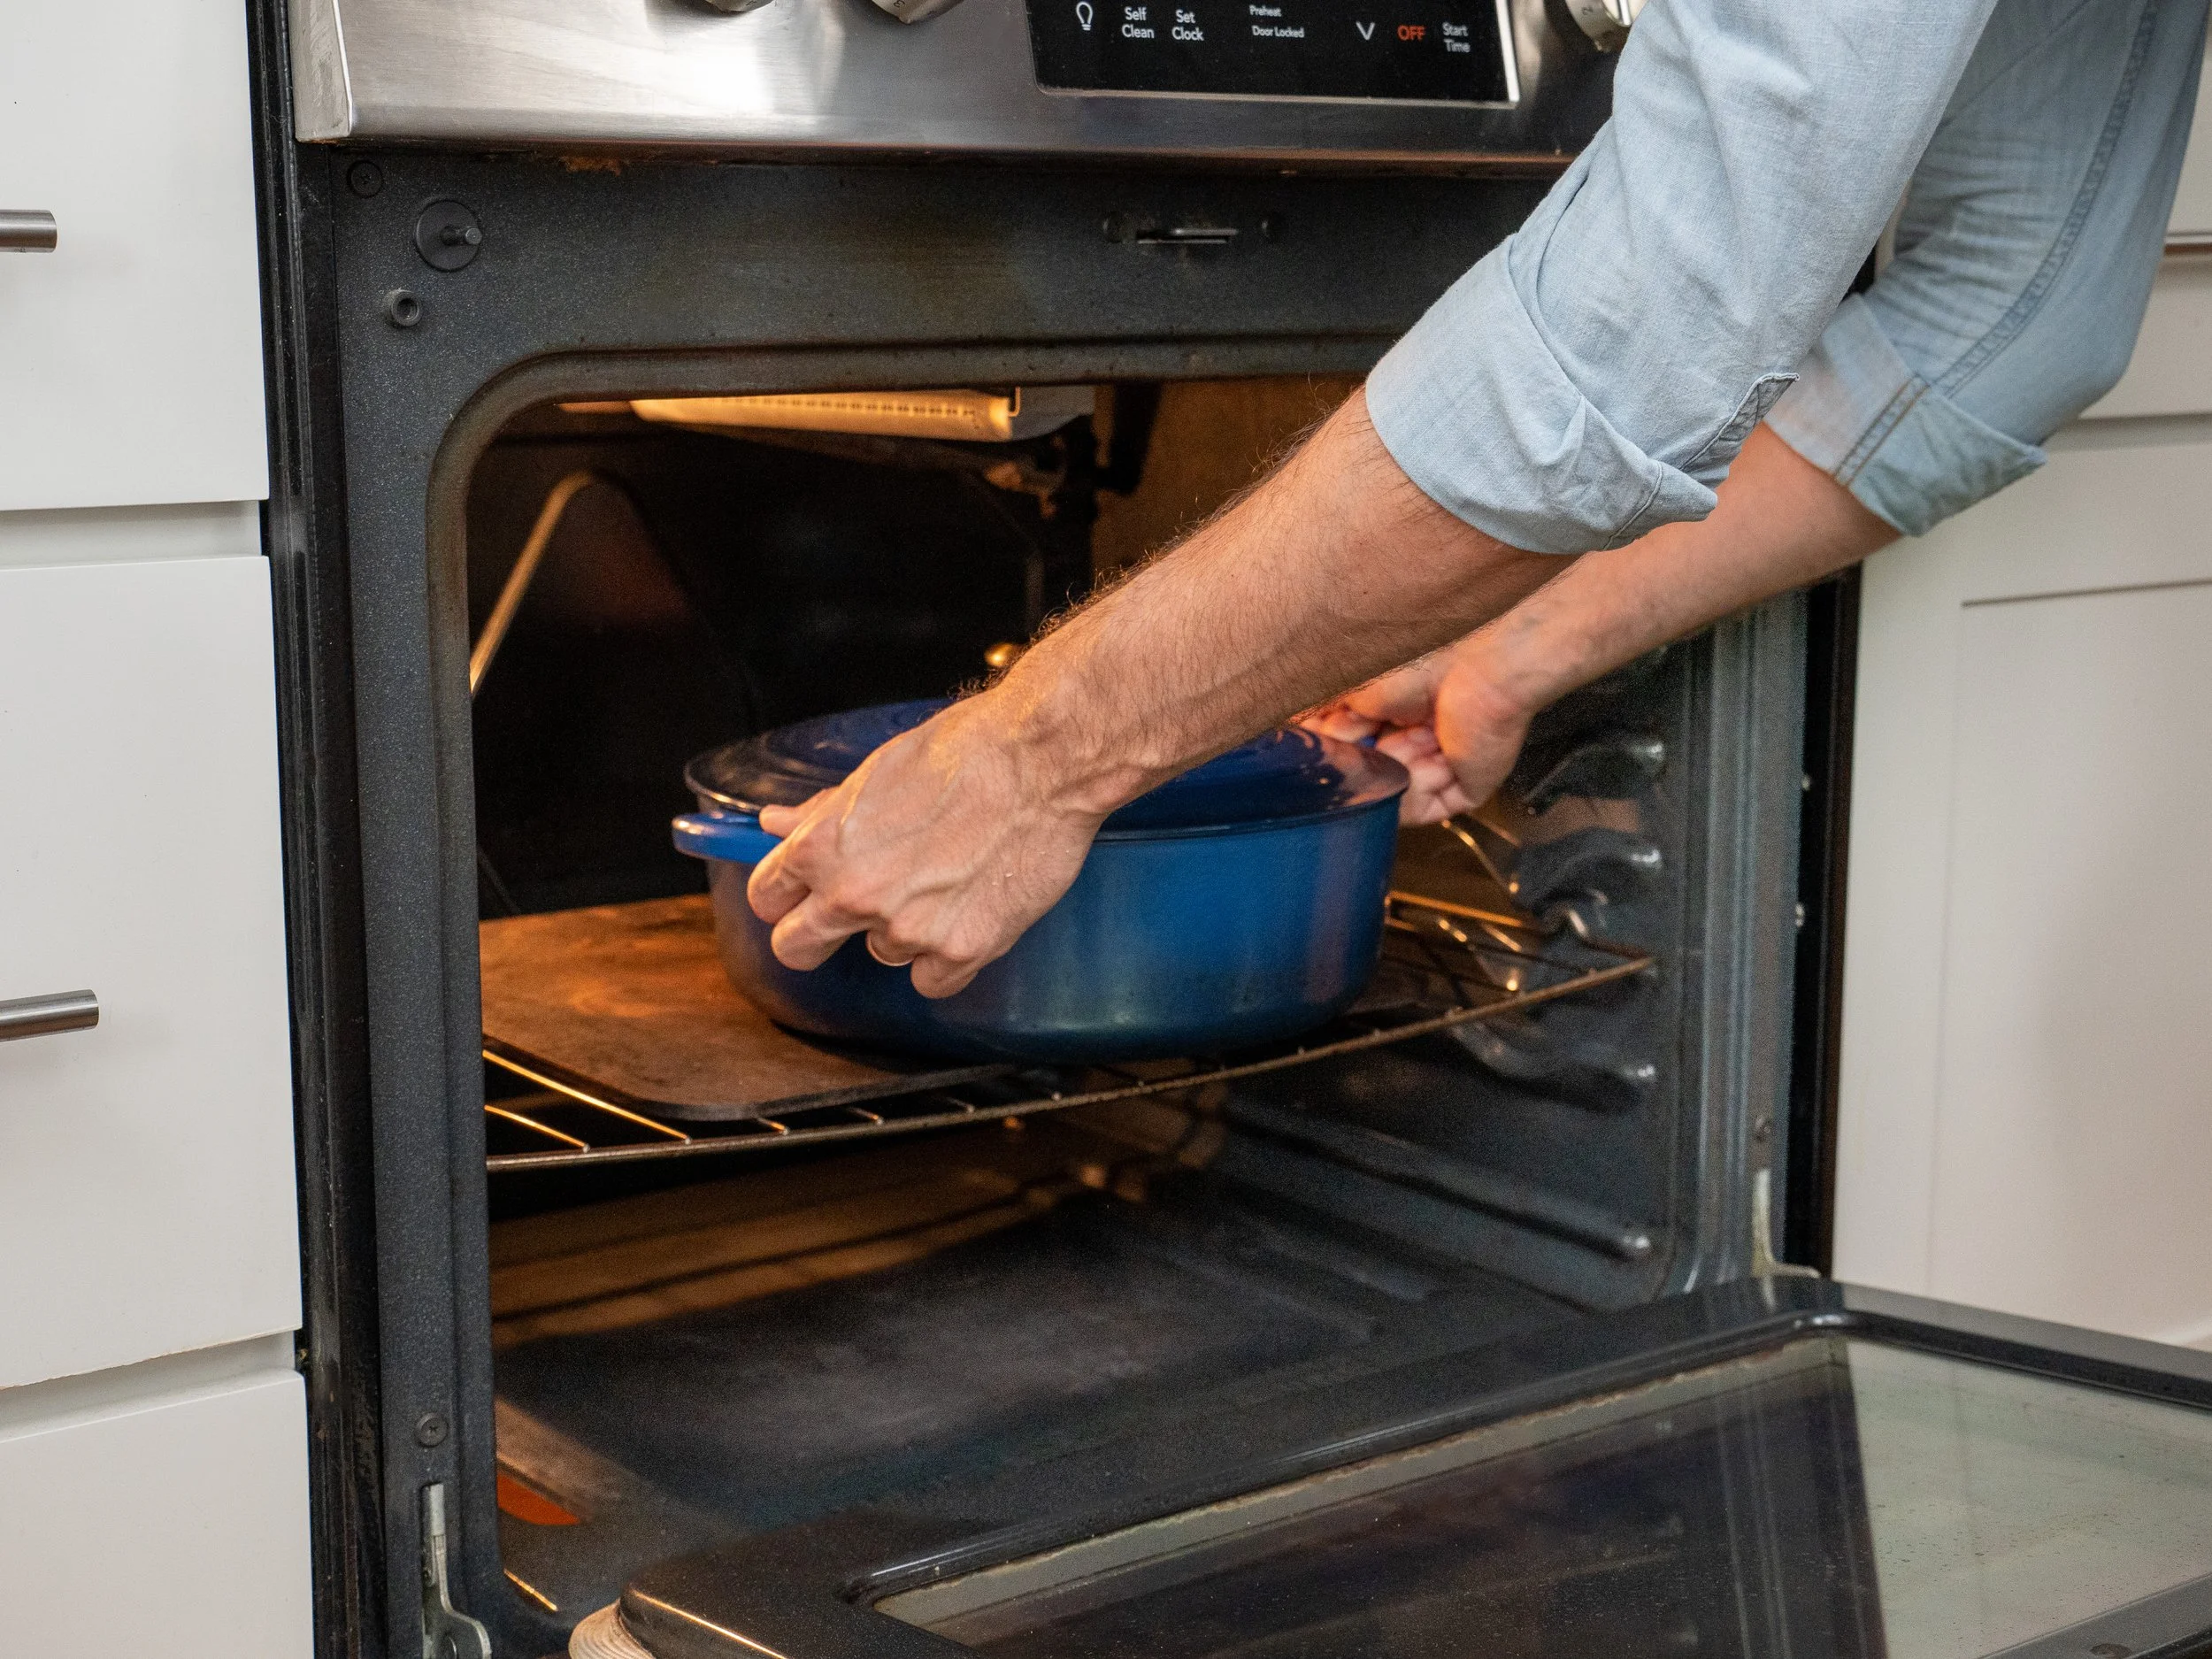
4. Add the aromatics and slow roast. Preheat the oven to 250°F/120°C. Add 1 cinnamon stick, 1 orange (quartered and juiced into the pot), 3 bay leaves, and 100g water or stock. Cover with the lid and roast at 250°F/120°C for 3 hours, checking halfway.
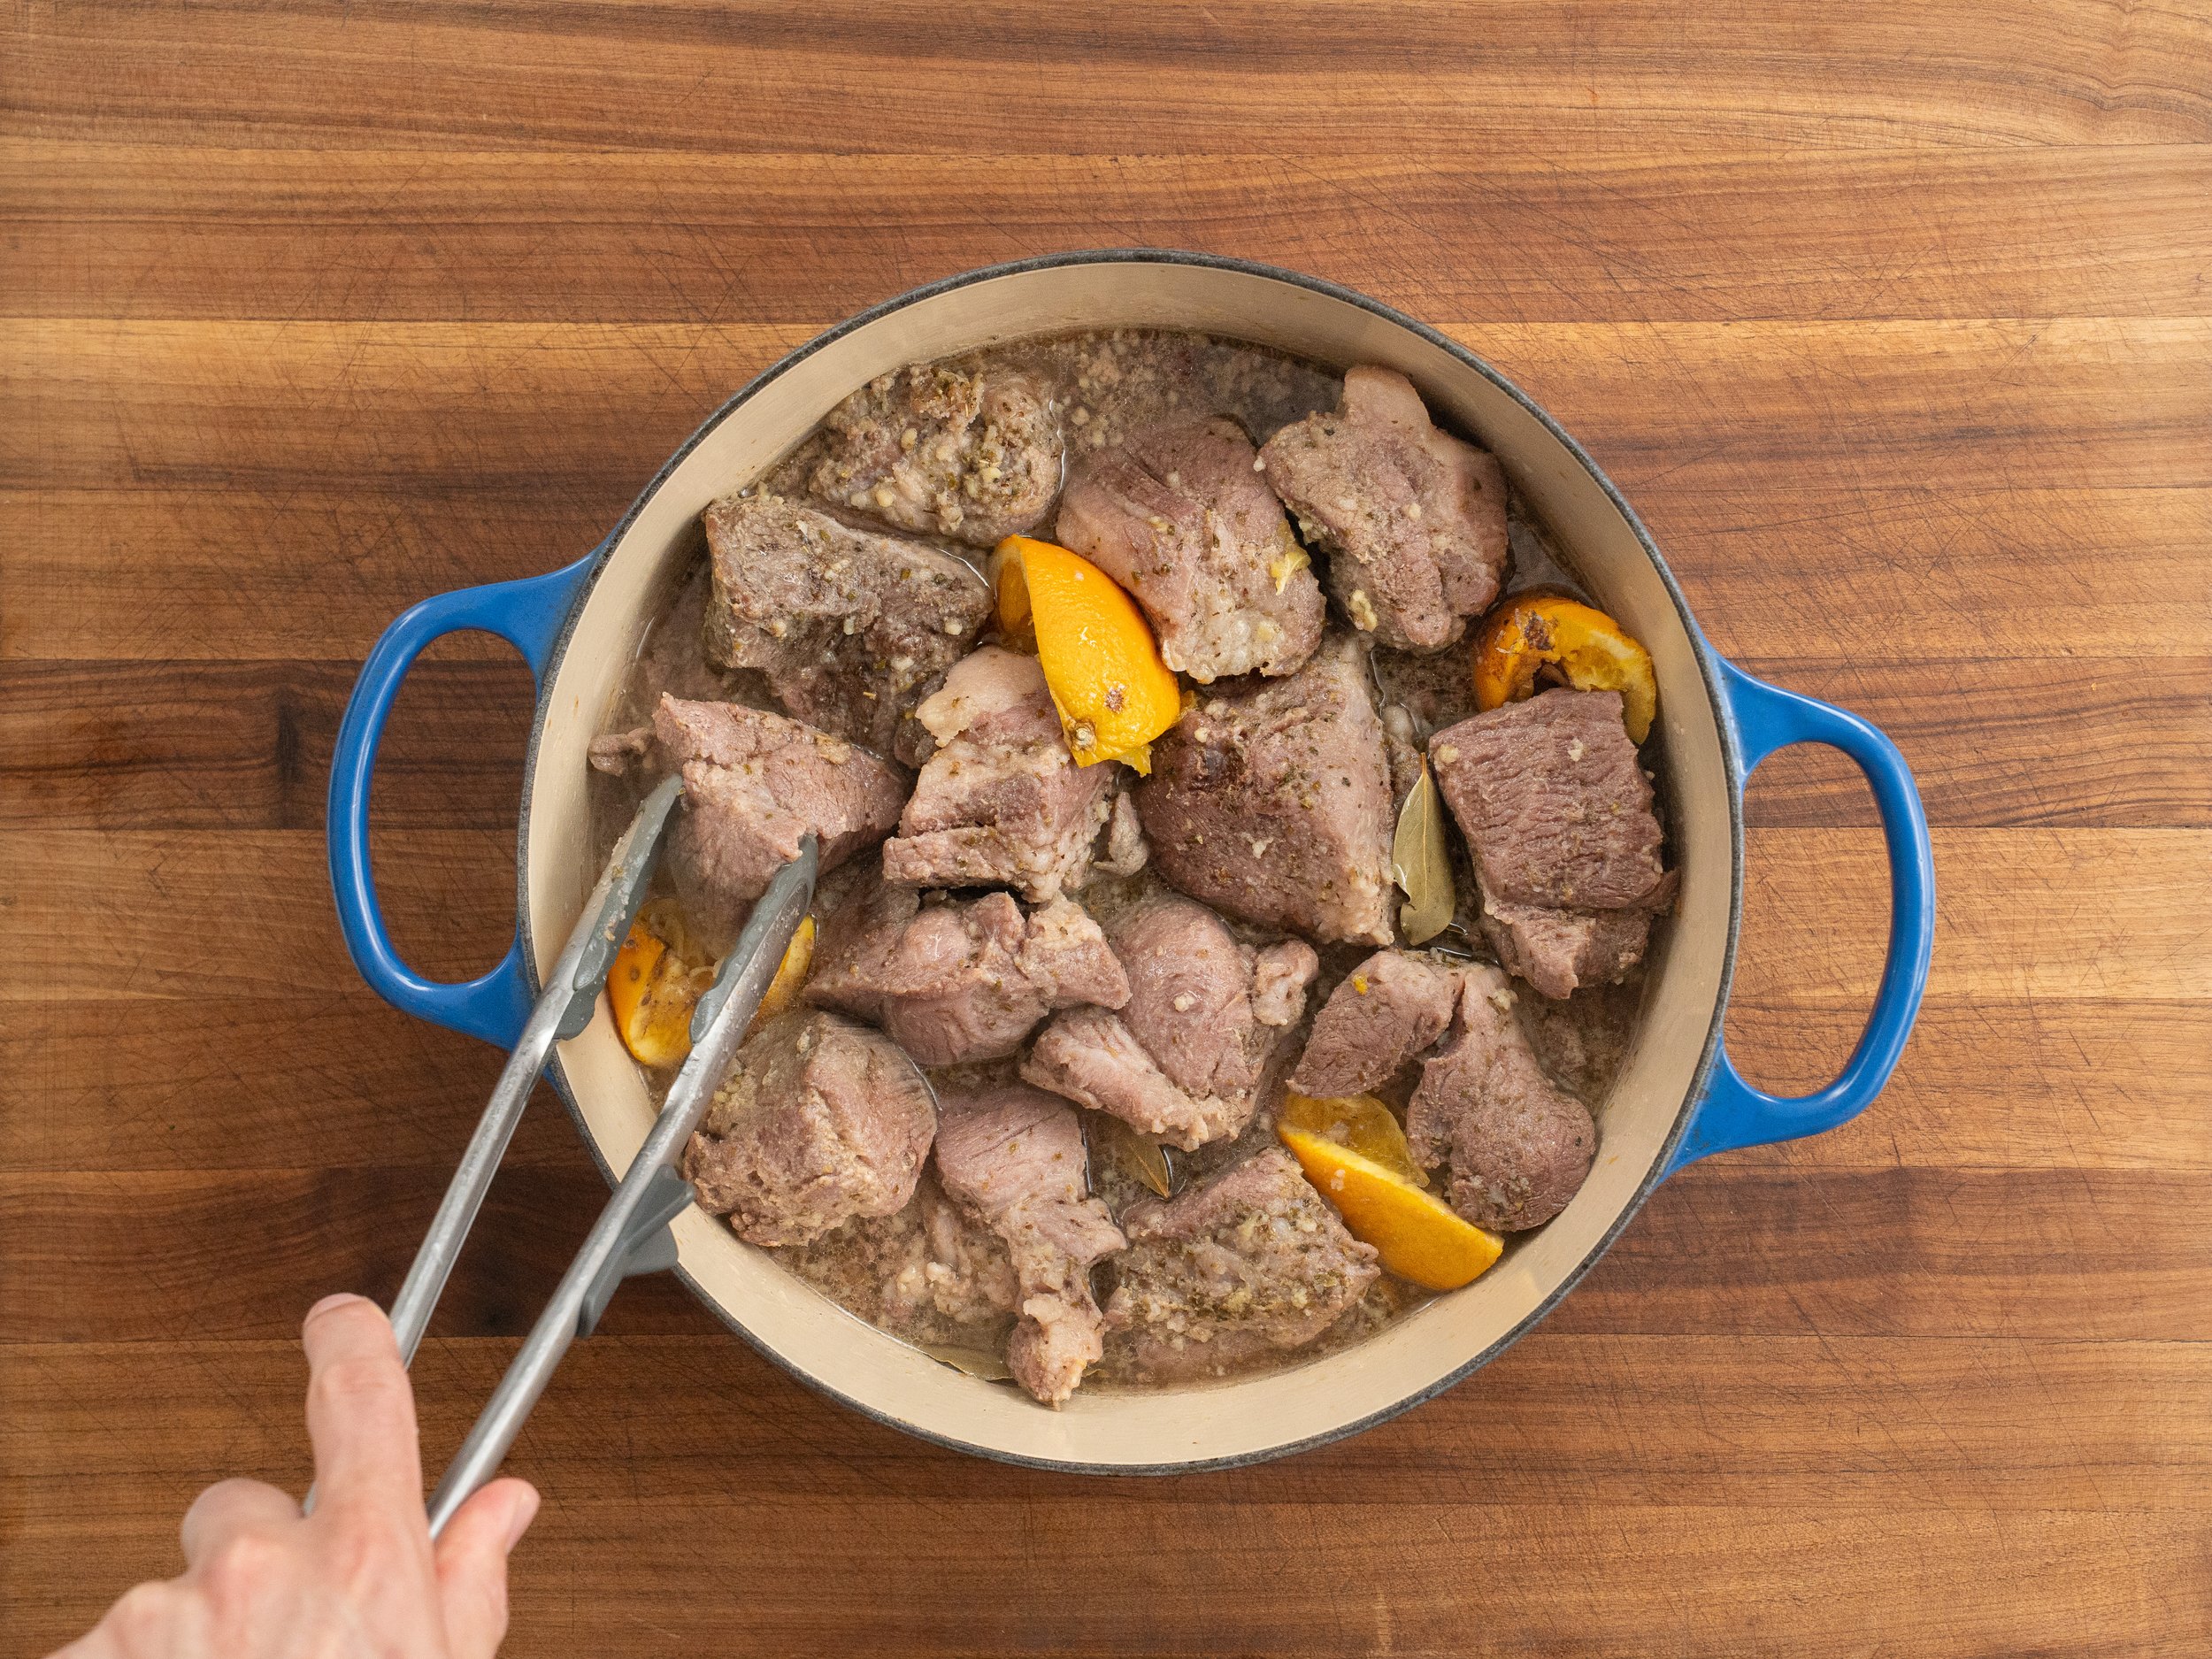
5. Flip after 90 minutes. After 1 hour and 30 minutes, pull the pot from the oven and flip each piece of pork. The pieces sitting in the liquid cook a little differently than the ones facing up, so flipping helps everything cook more evenly. This is also a good checkpoint to make sure nothing is burning or getting too dark. Cover the pot and return it to the oven for another 1 hour and 30 minutes.
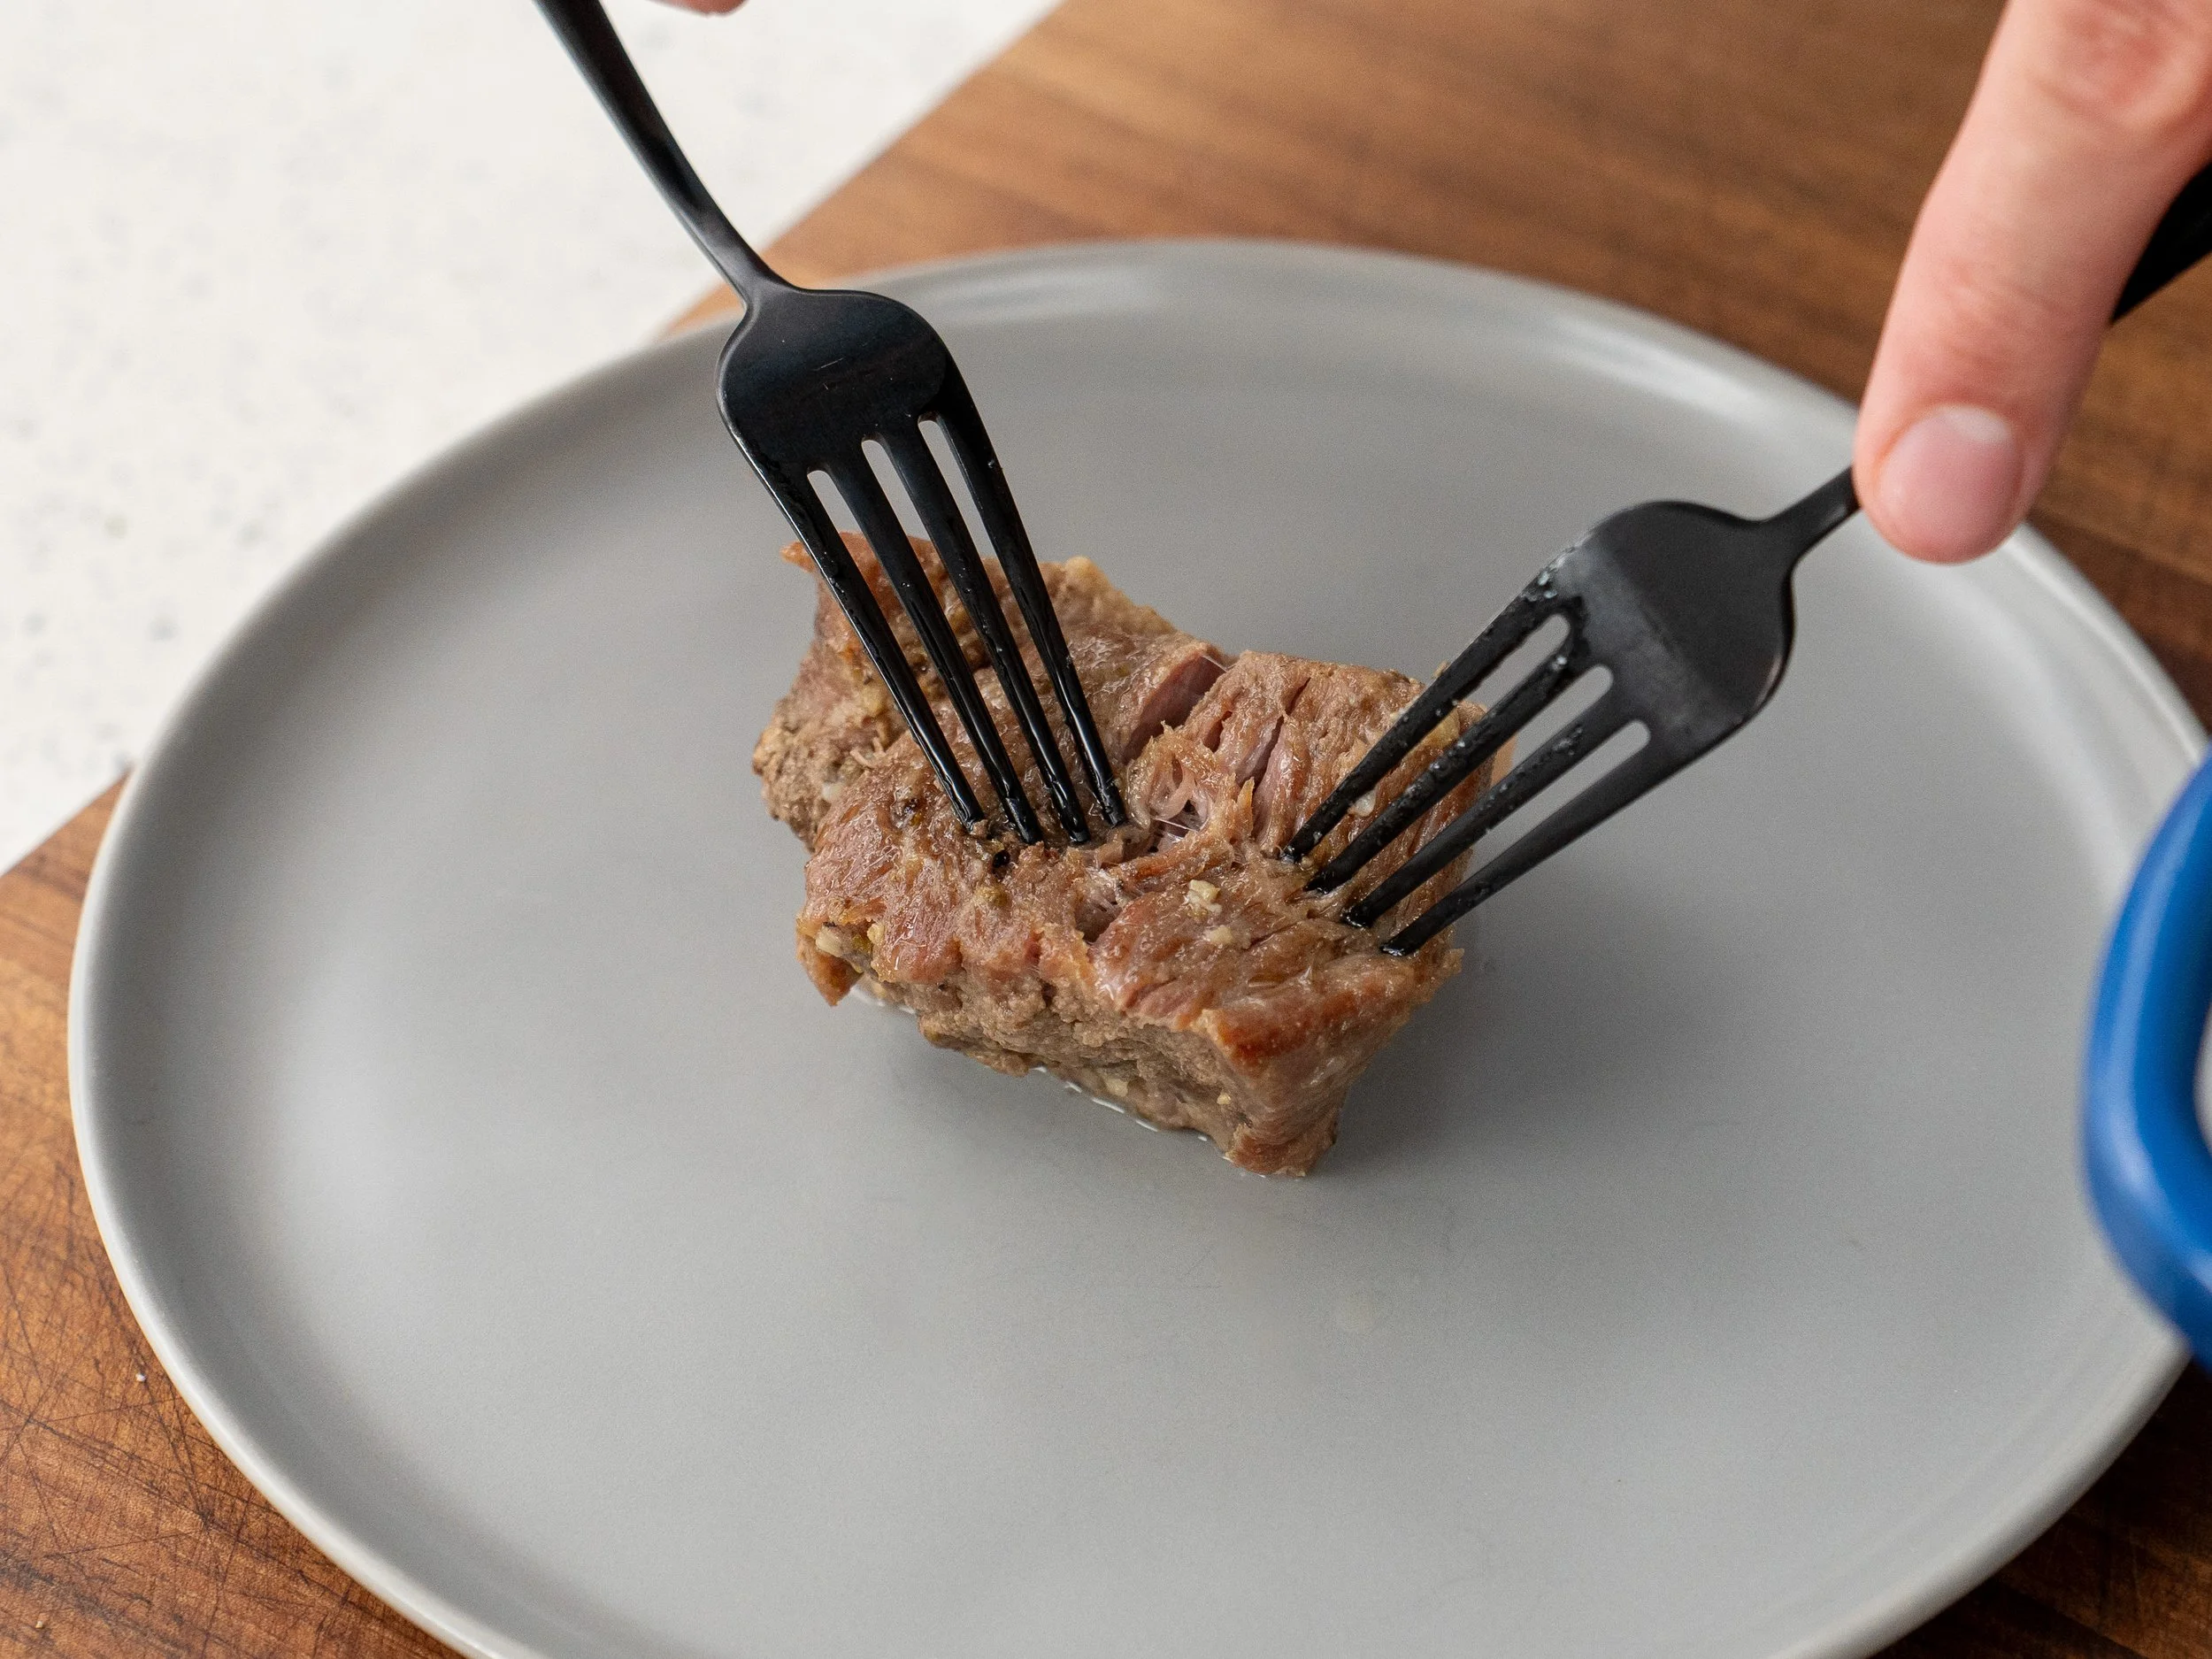
6. Check for doneness. After 3 hours. Pull the pork and check it for doneness. A fork should slide in easily and the meat should shred, but it shouldn't fall apart. It should still hold its shape. If it's not there yet, give it another 30 minutes and check again. Don't treat the cook time as a hard target..some pieces cook faster than others, so let tenderness be your guide.
7. Rest, then chill overnight. Keep the pork covered and let it rest at room temperature for 30 to 60 minutes so the juices settle back into the meat instead of running out the moment you shred it. Then refrigerate it covered overnight in its own fat and liquid.
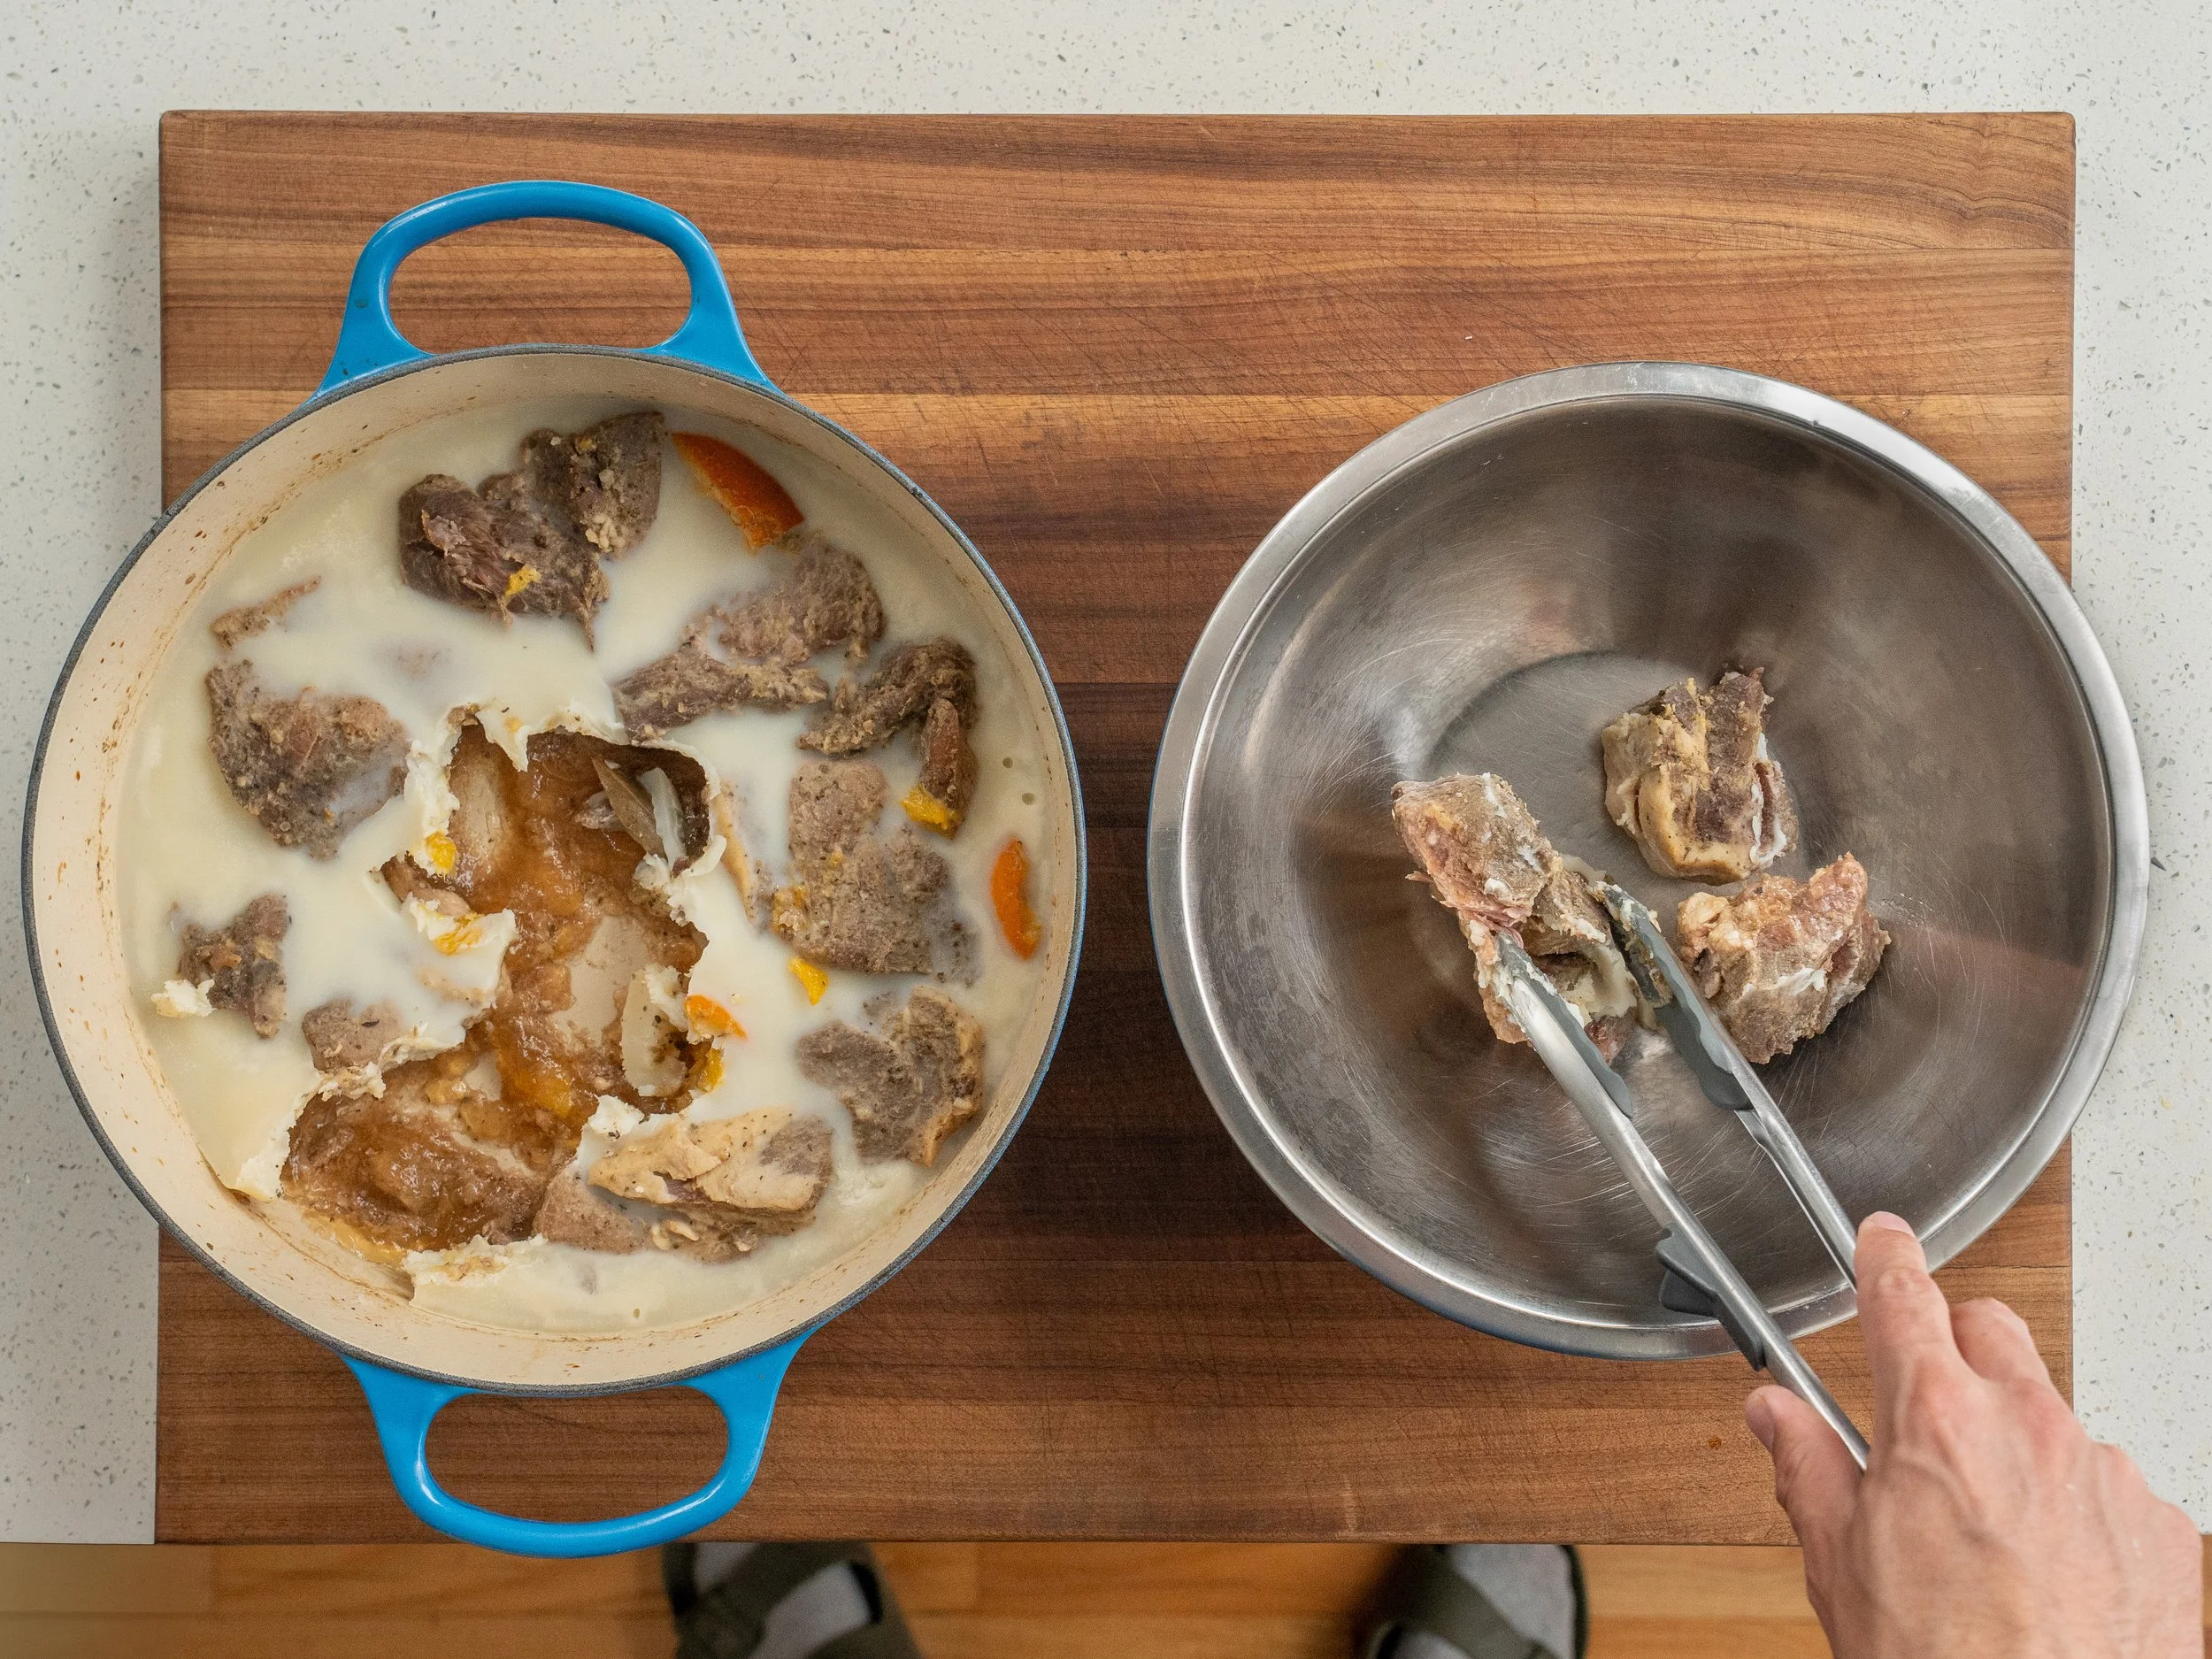
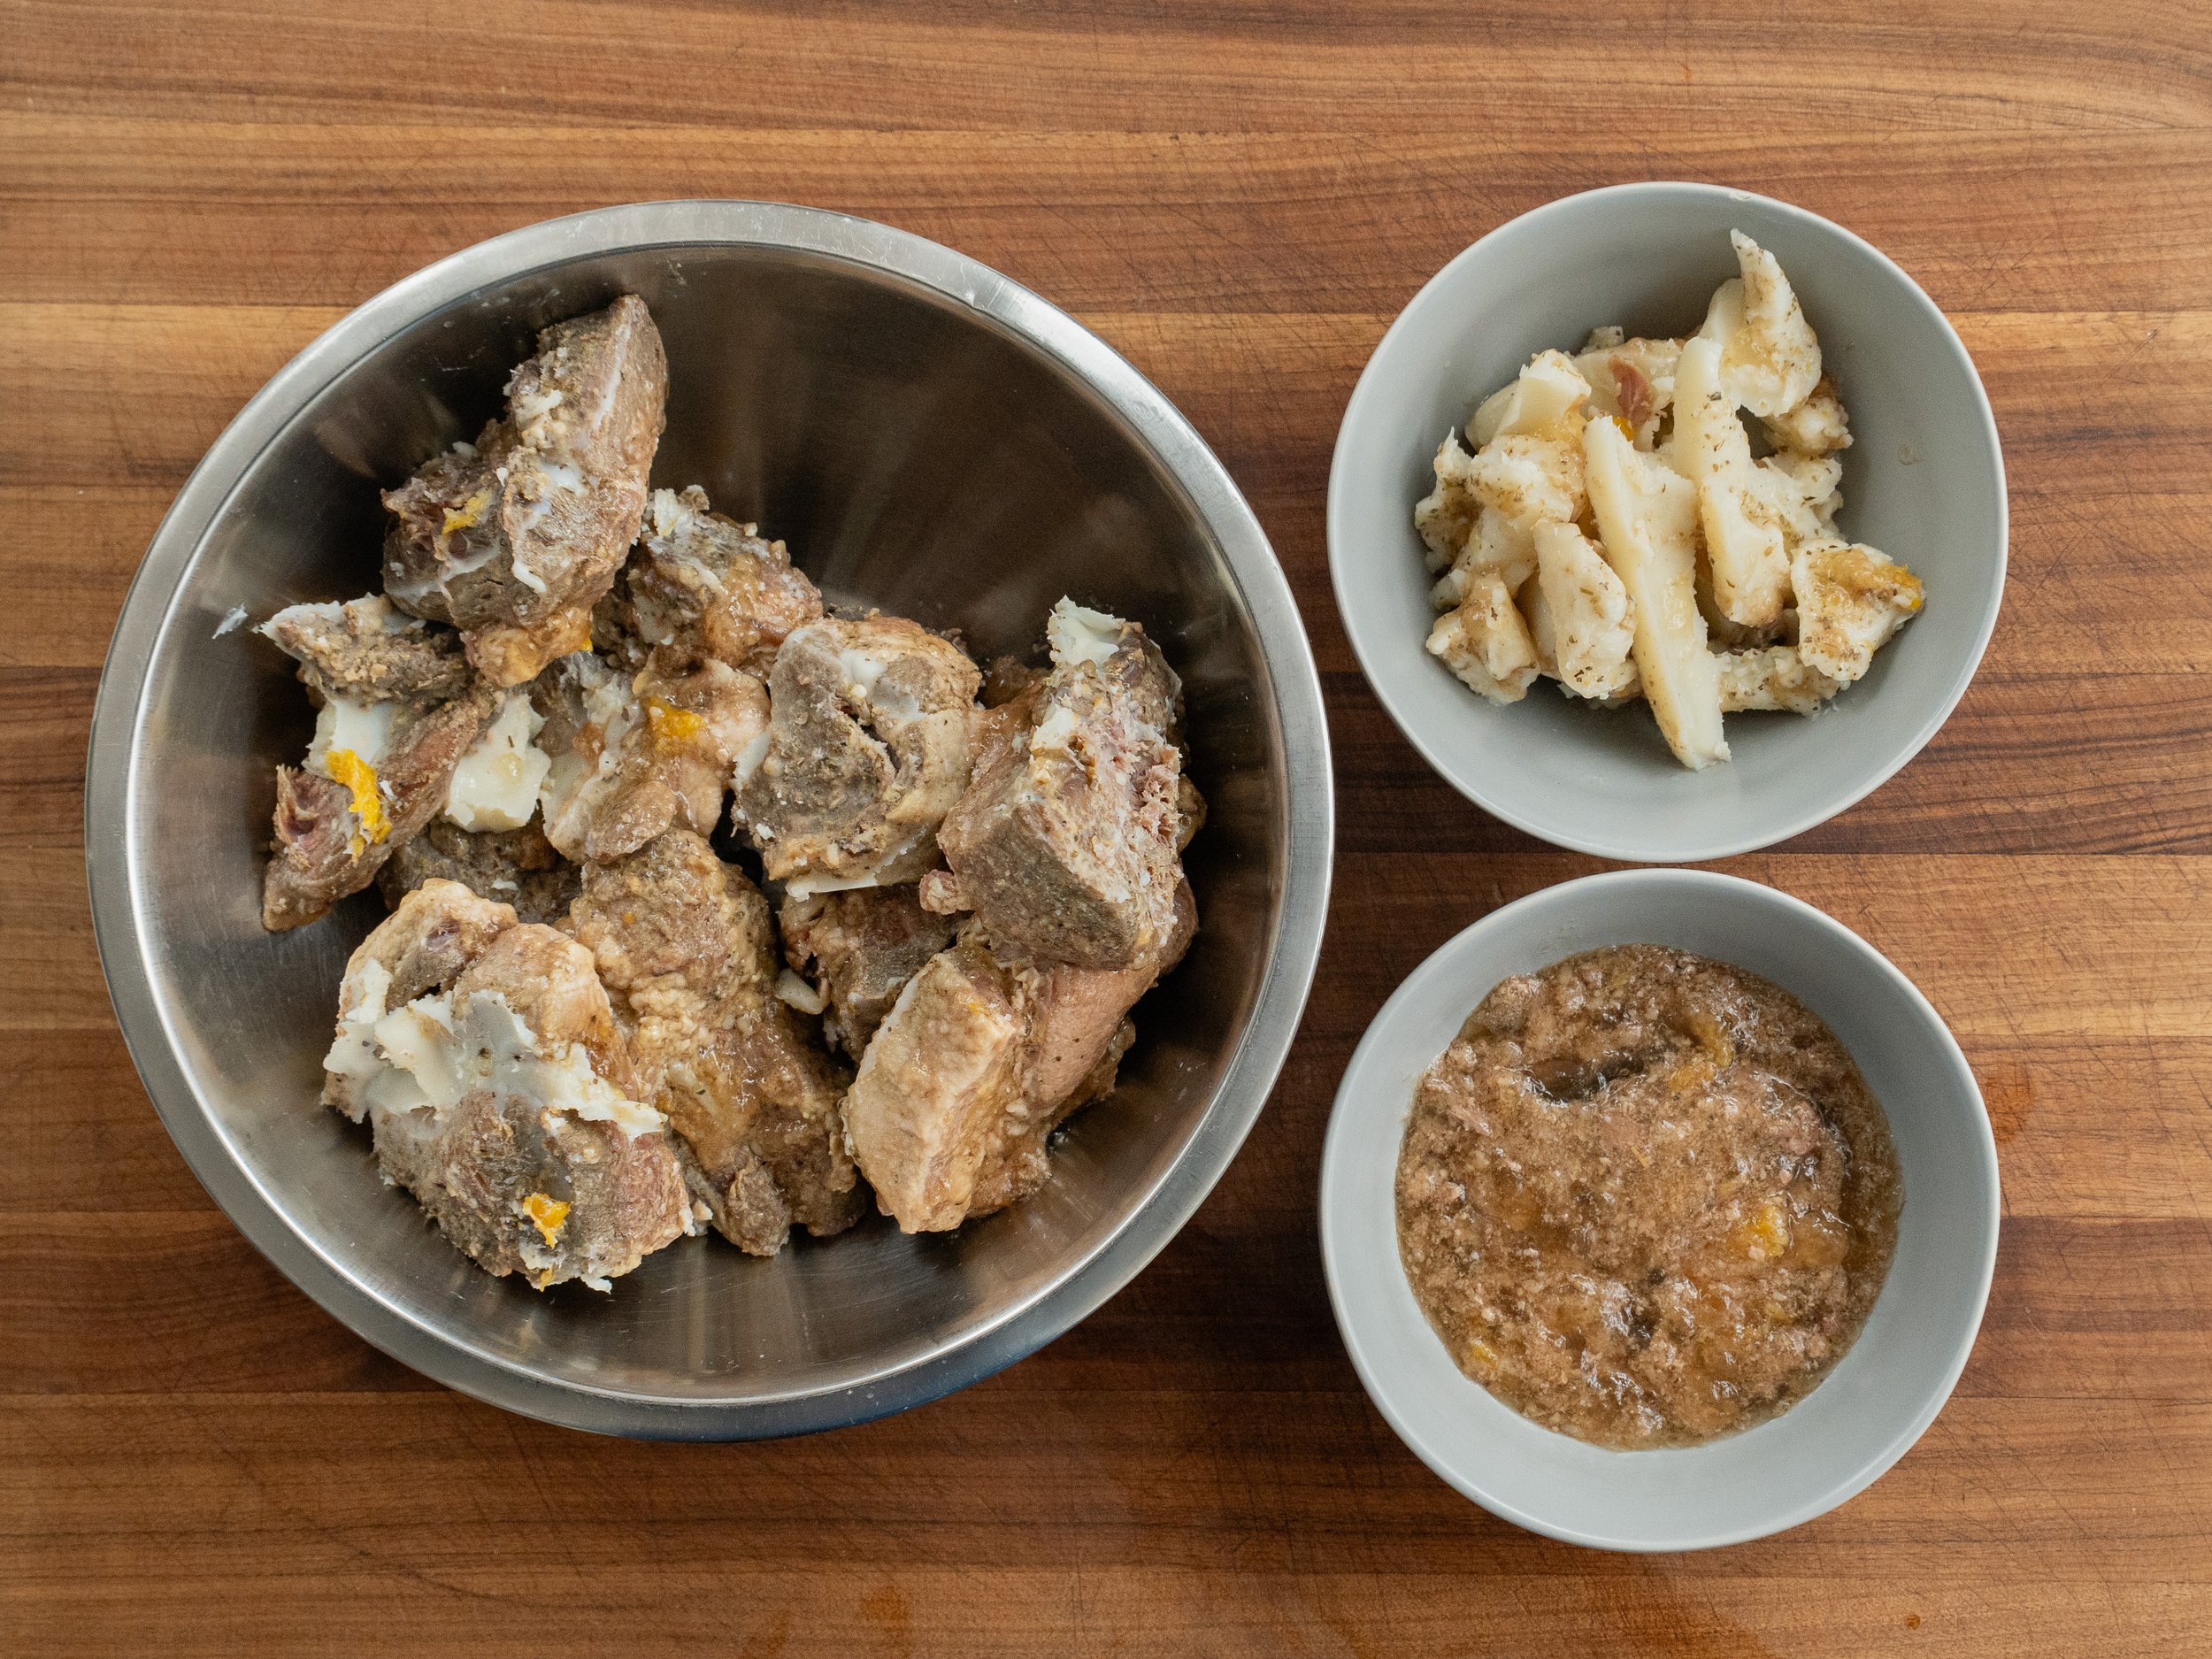
8. Separate pork from fat and juices. The next day, pull the pork from the fridge. Remove the pieces of pork then separate and set aside the rendered pork fat and the cooking liquid underneath it. In a restaurant, we’d call that liquid “pork gold”. It’s basically concentrated roasty pork juice, loaded with gelatin, and it’s a big part of what helps make these finished carnitas so succulent.
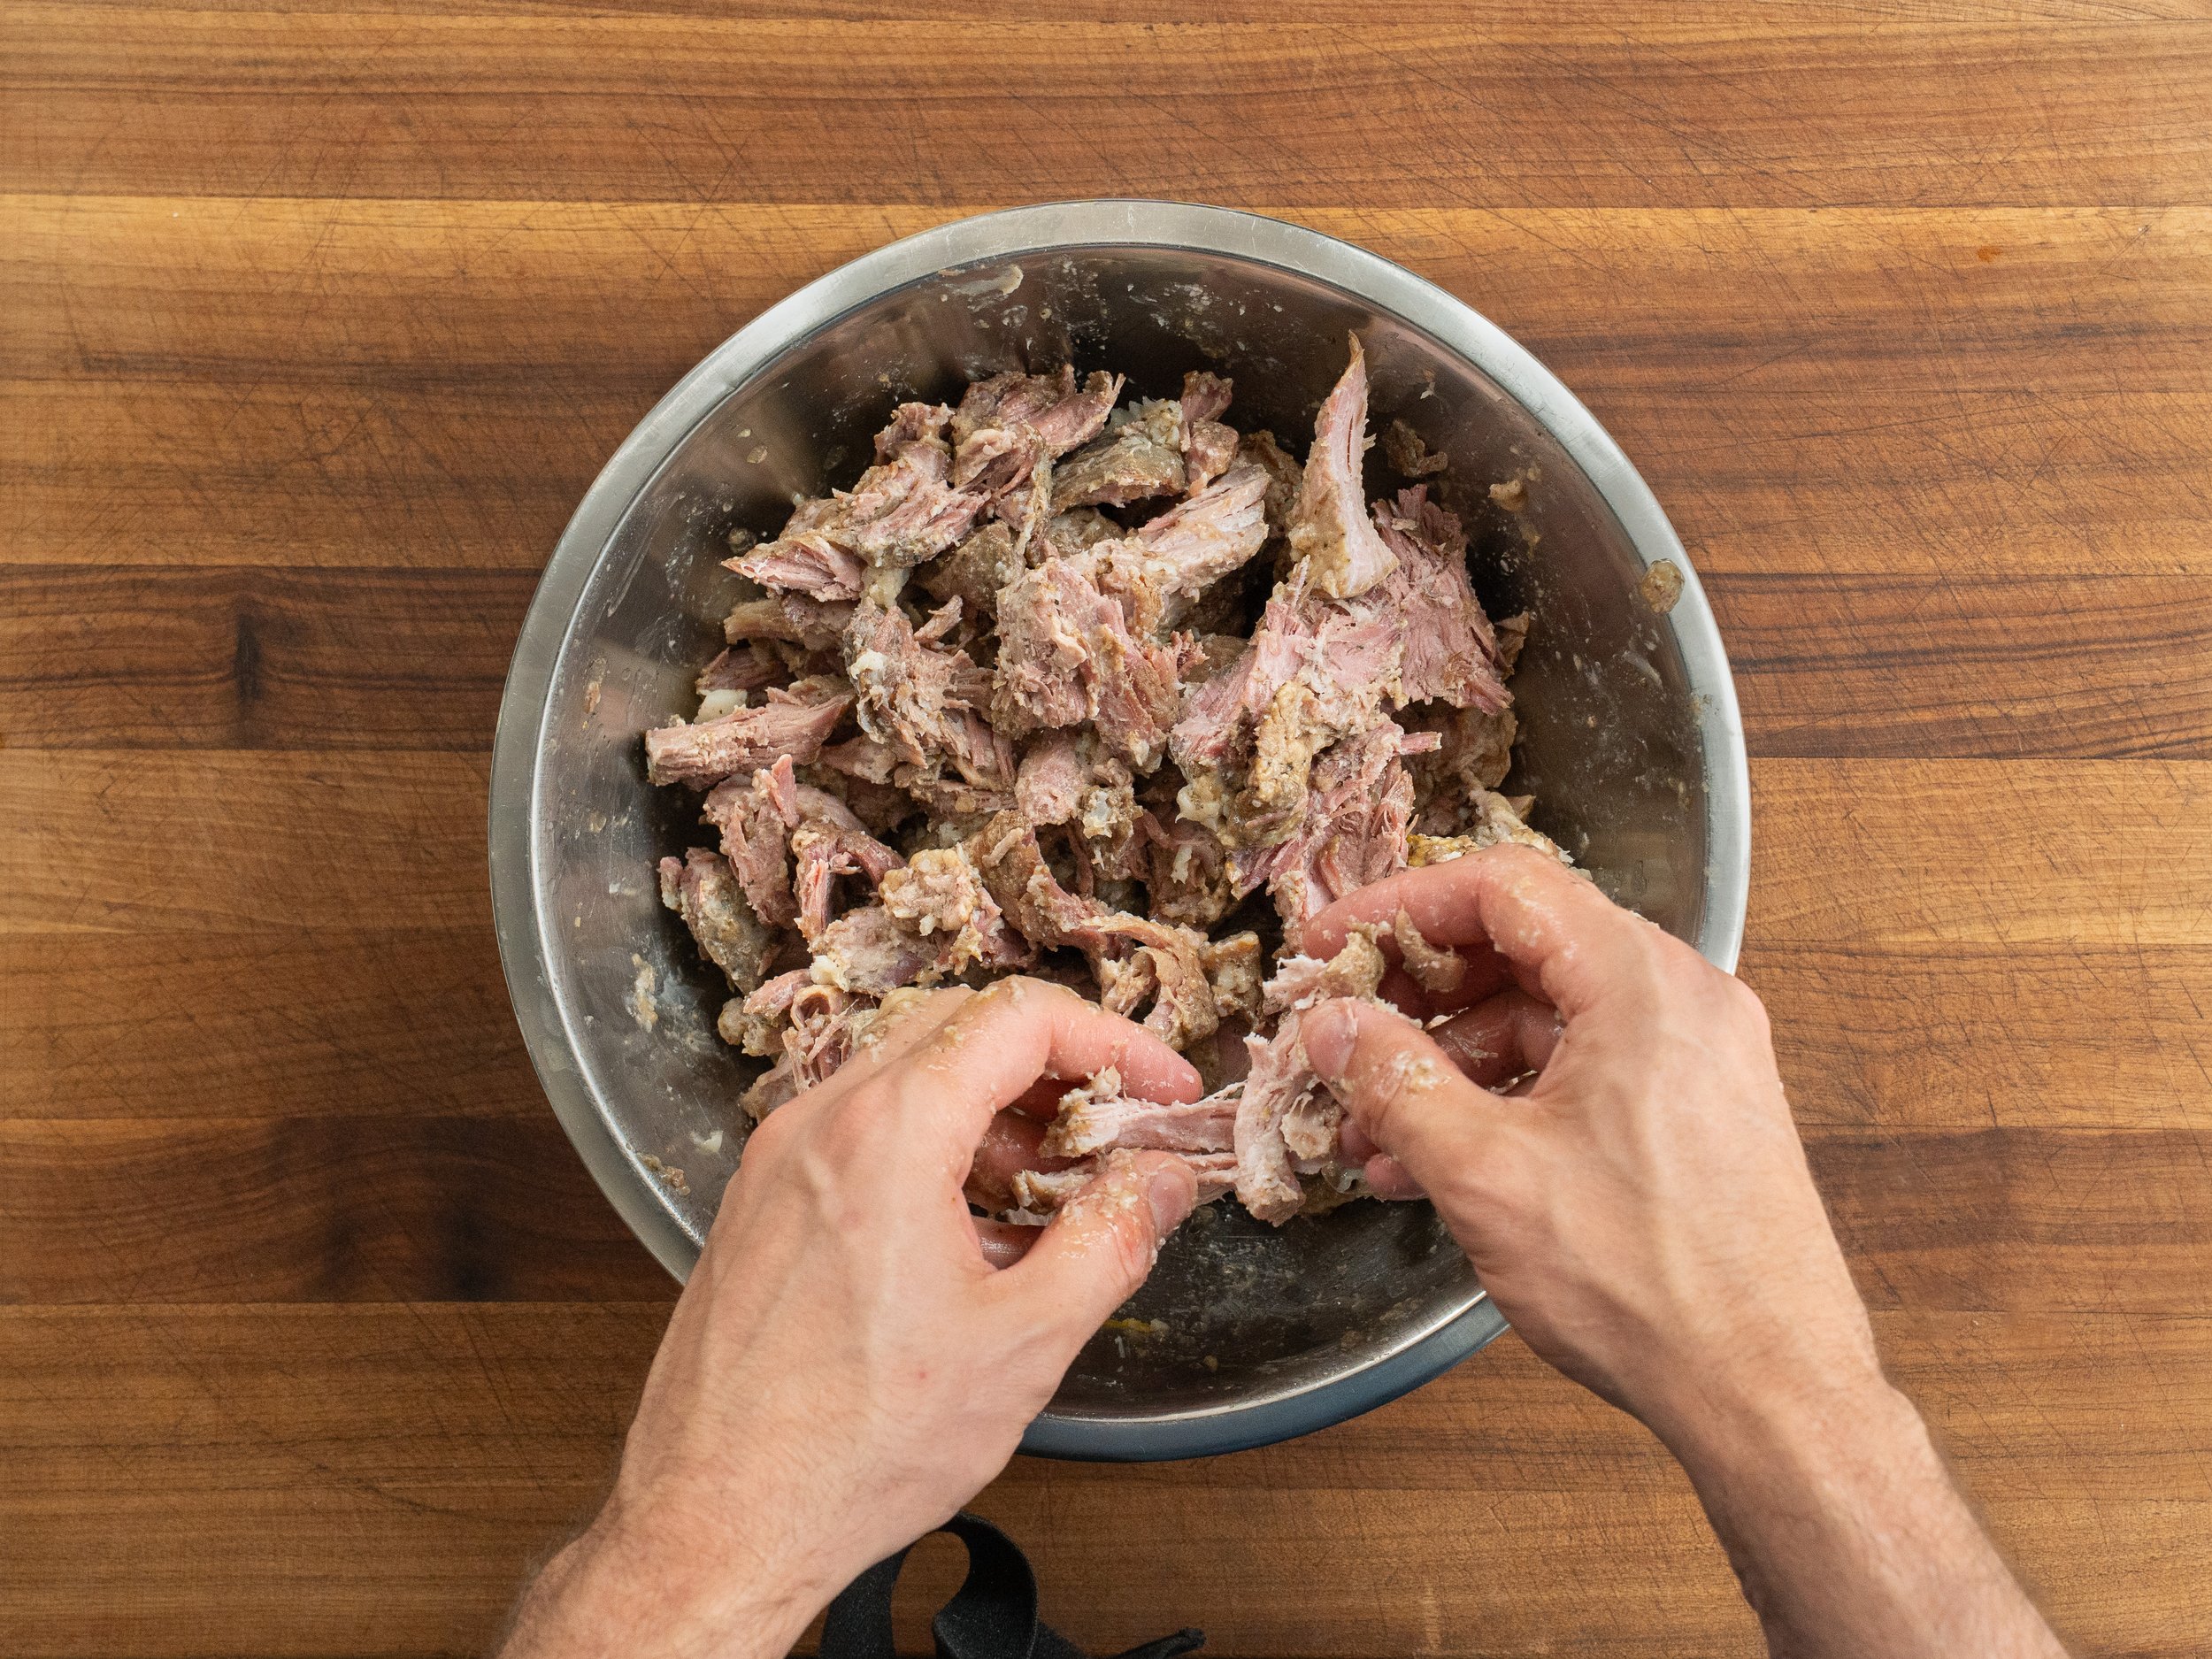
9.Shred the pork pieces into a mix of larger chunks and smaller threadier pieces, while also discarding any flabby pieces that are just rendered hunks of fat.
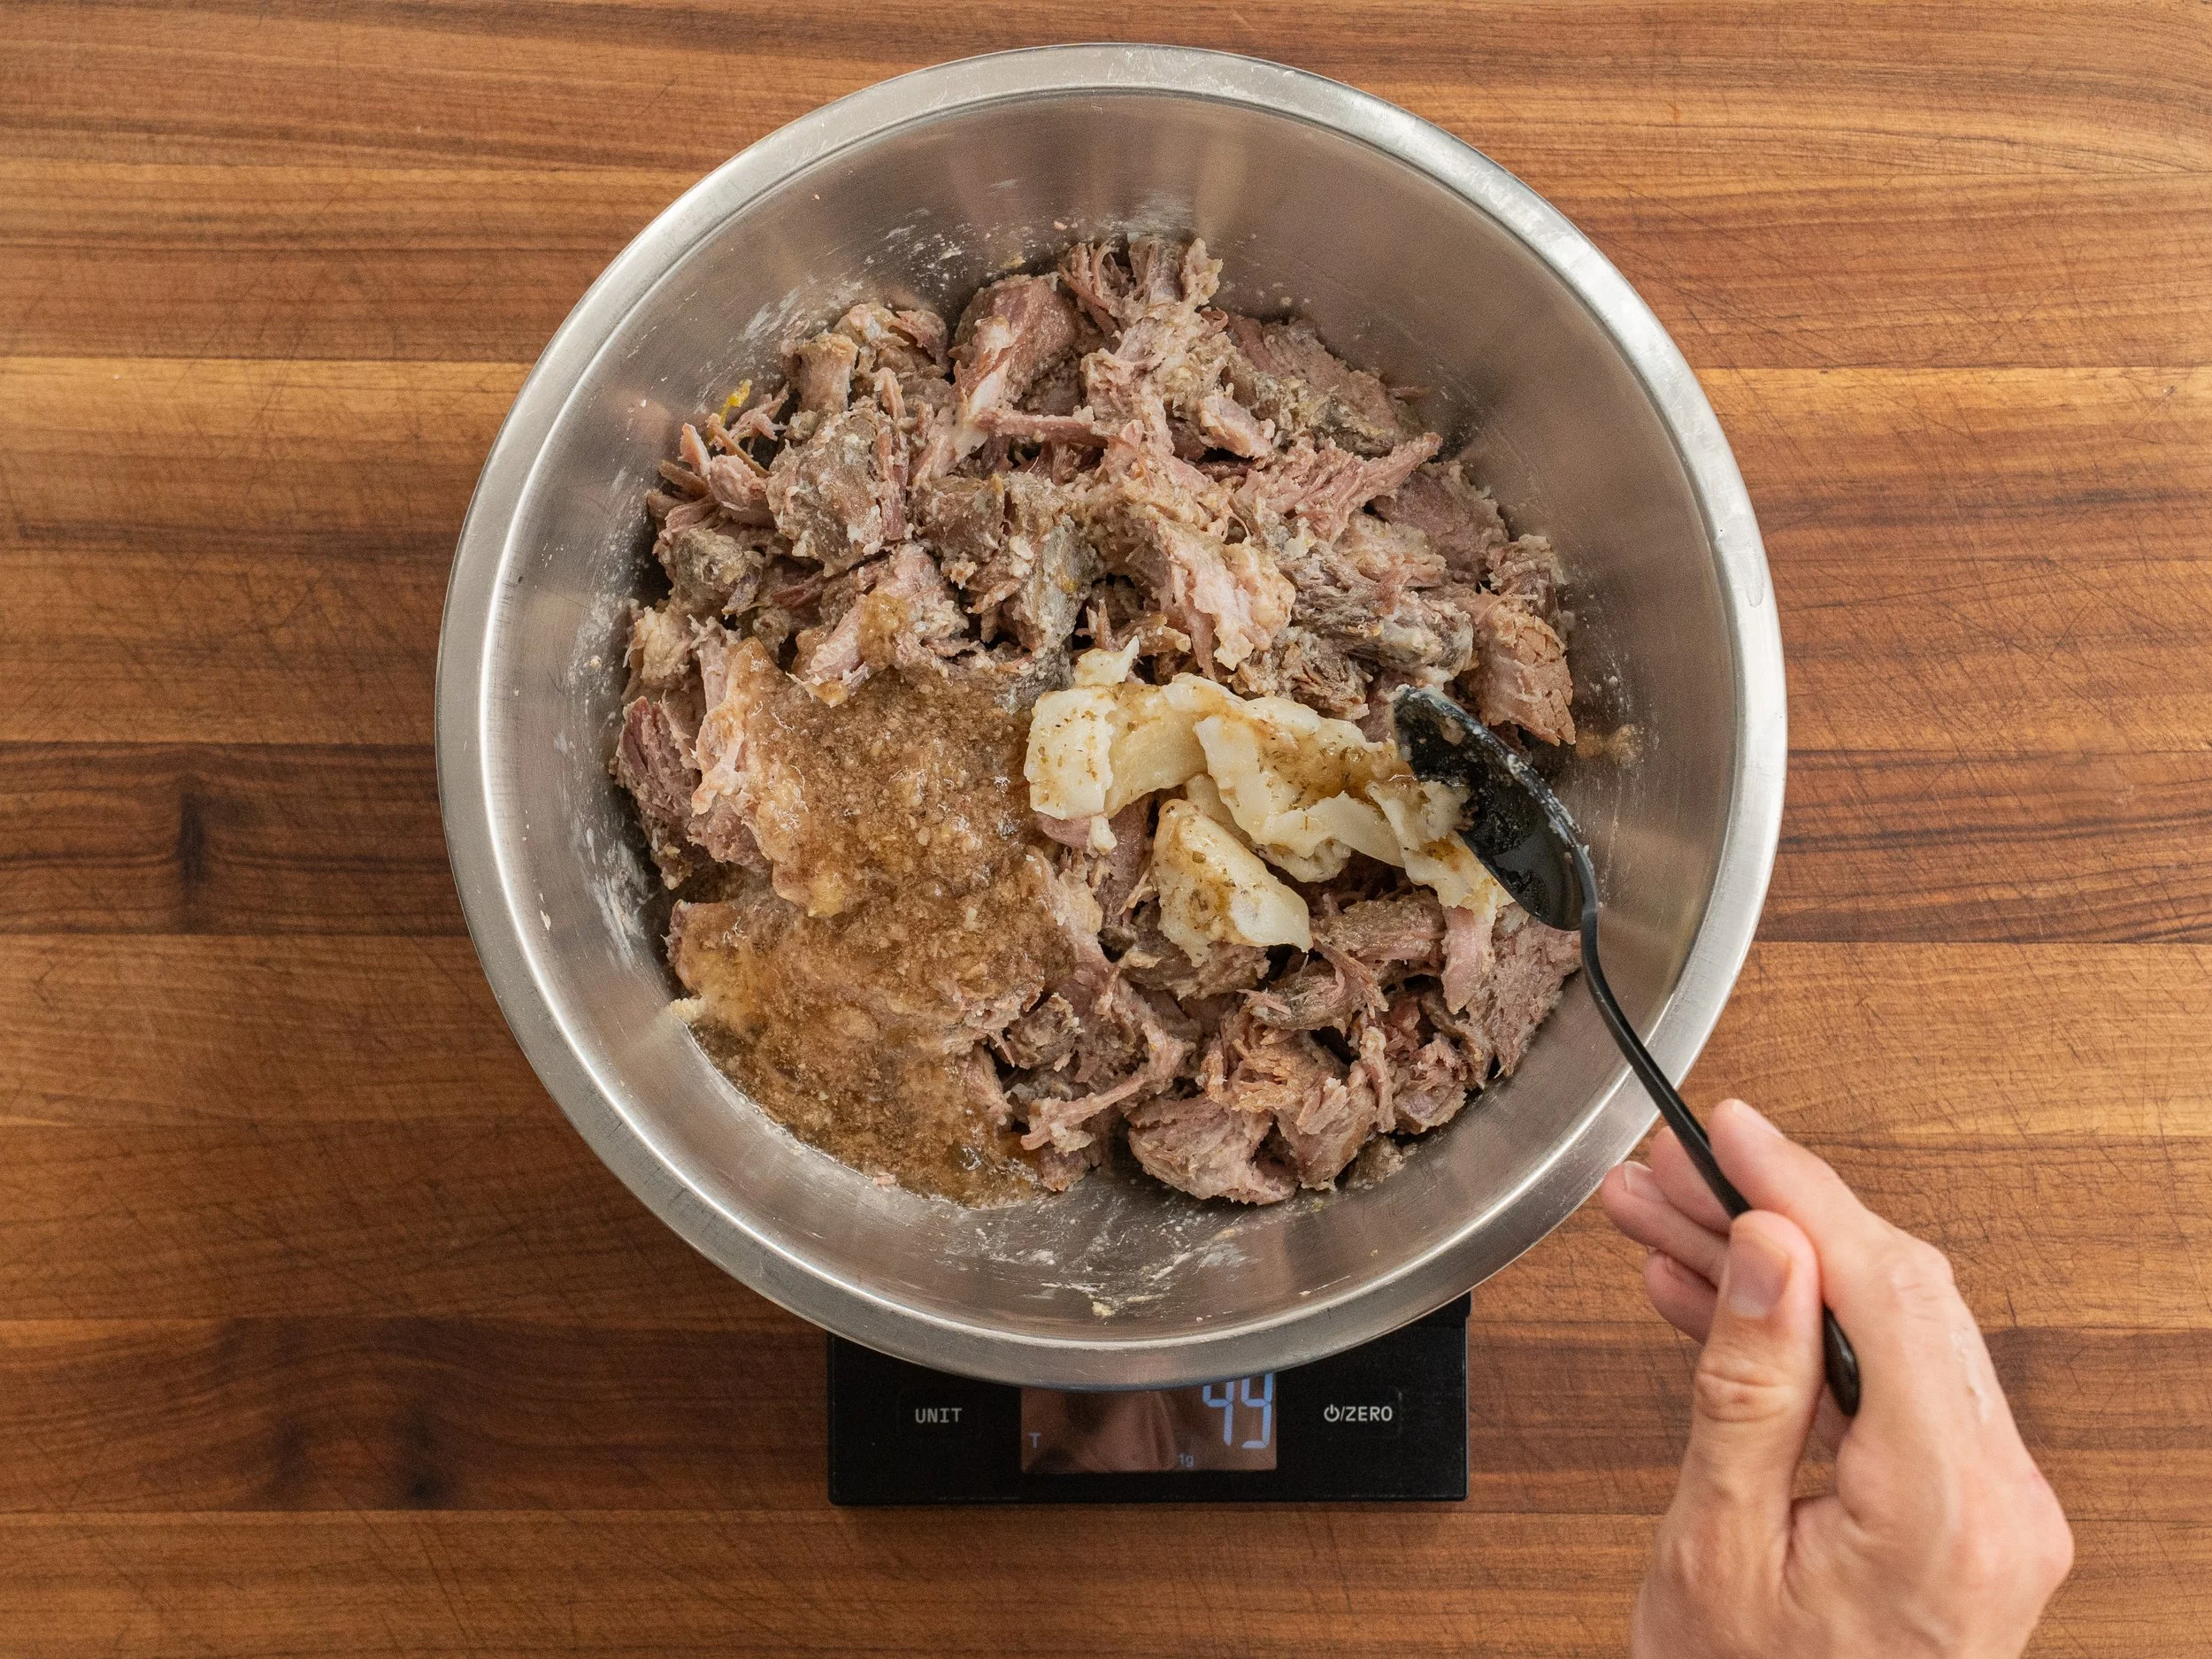
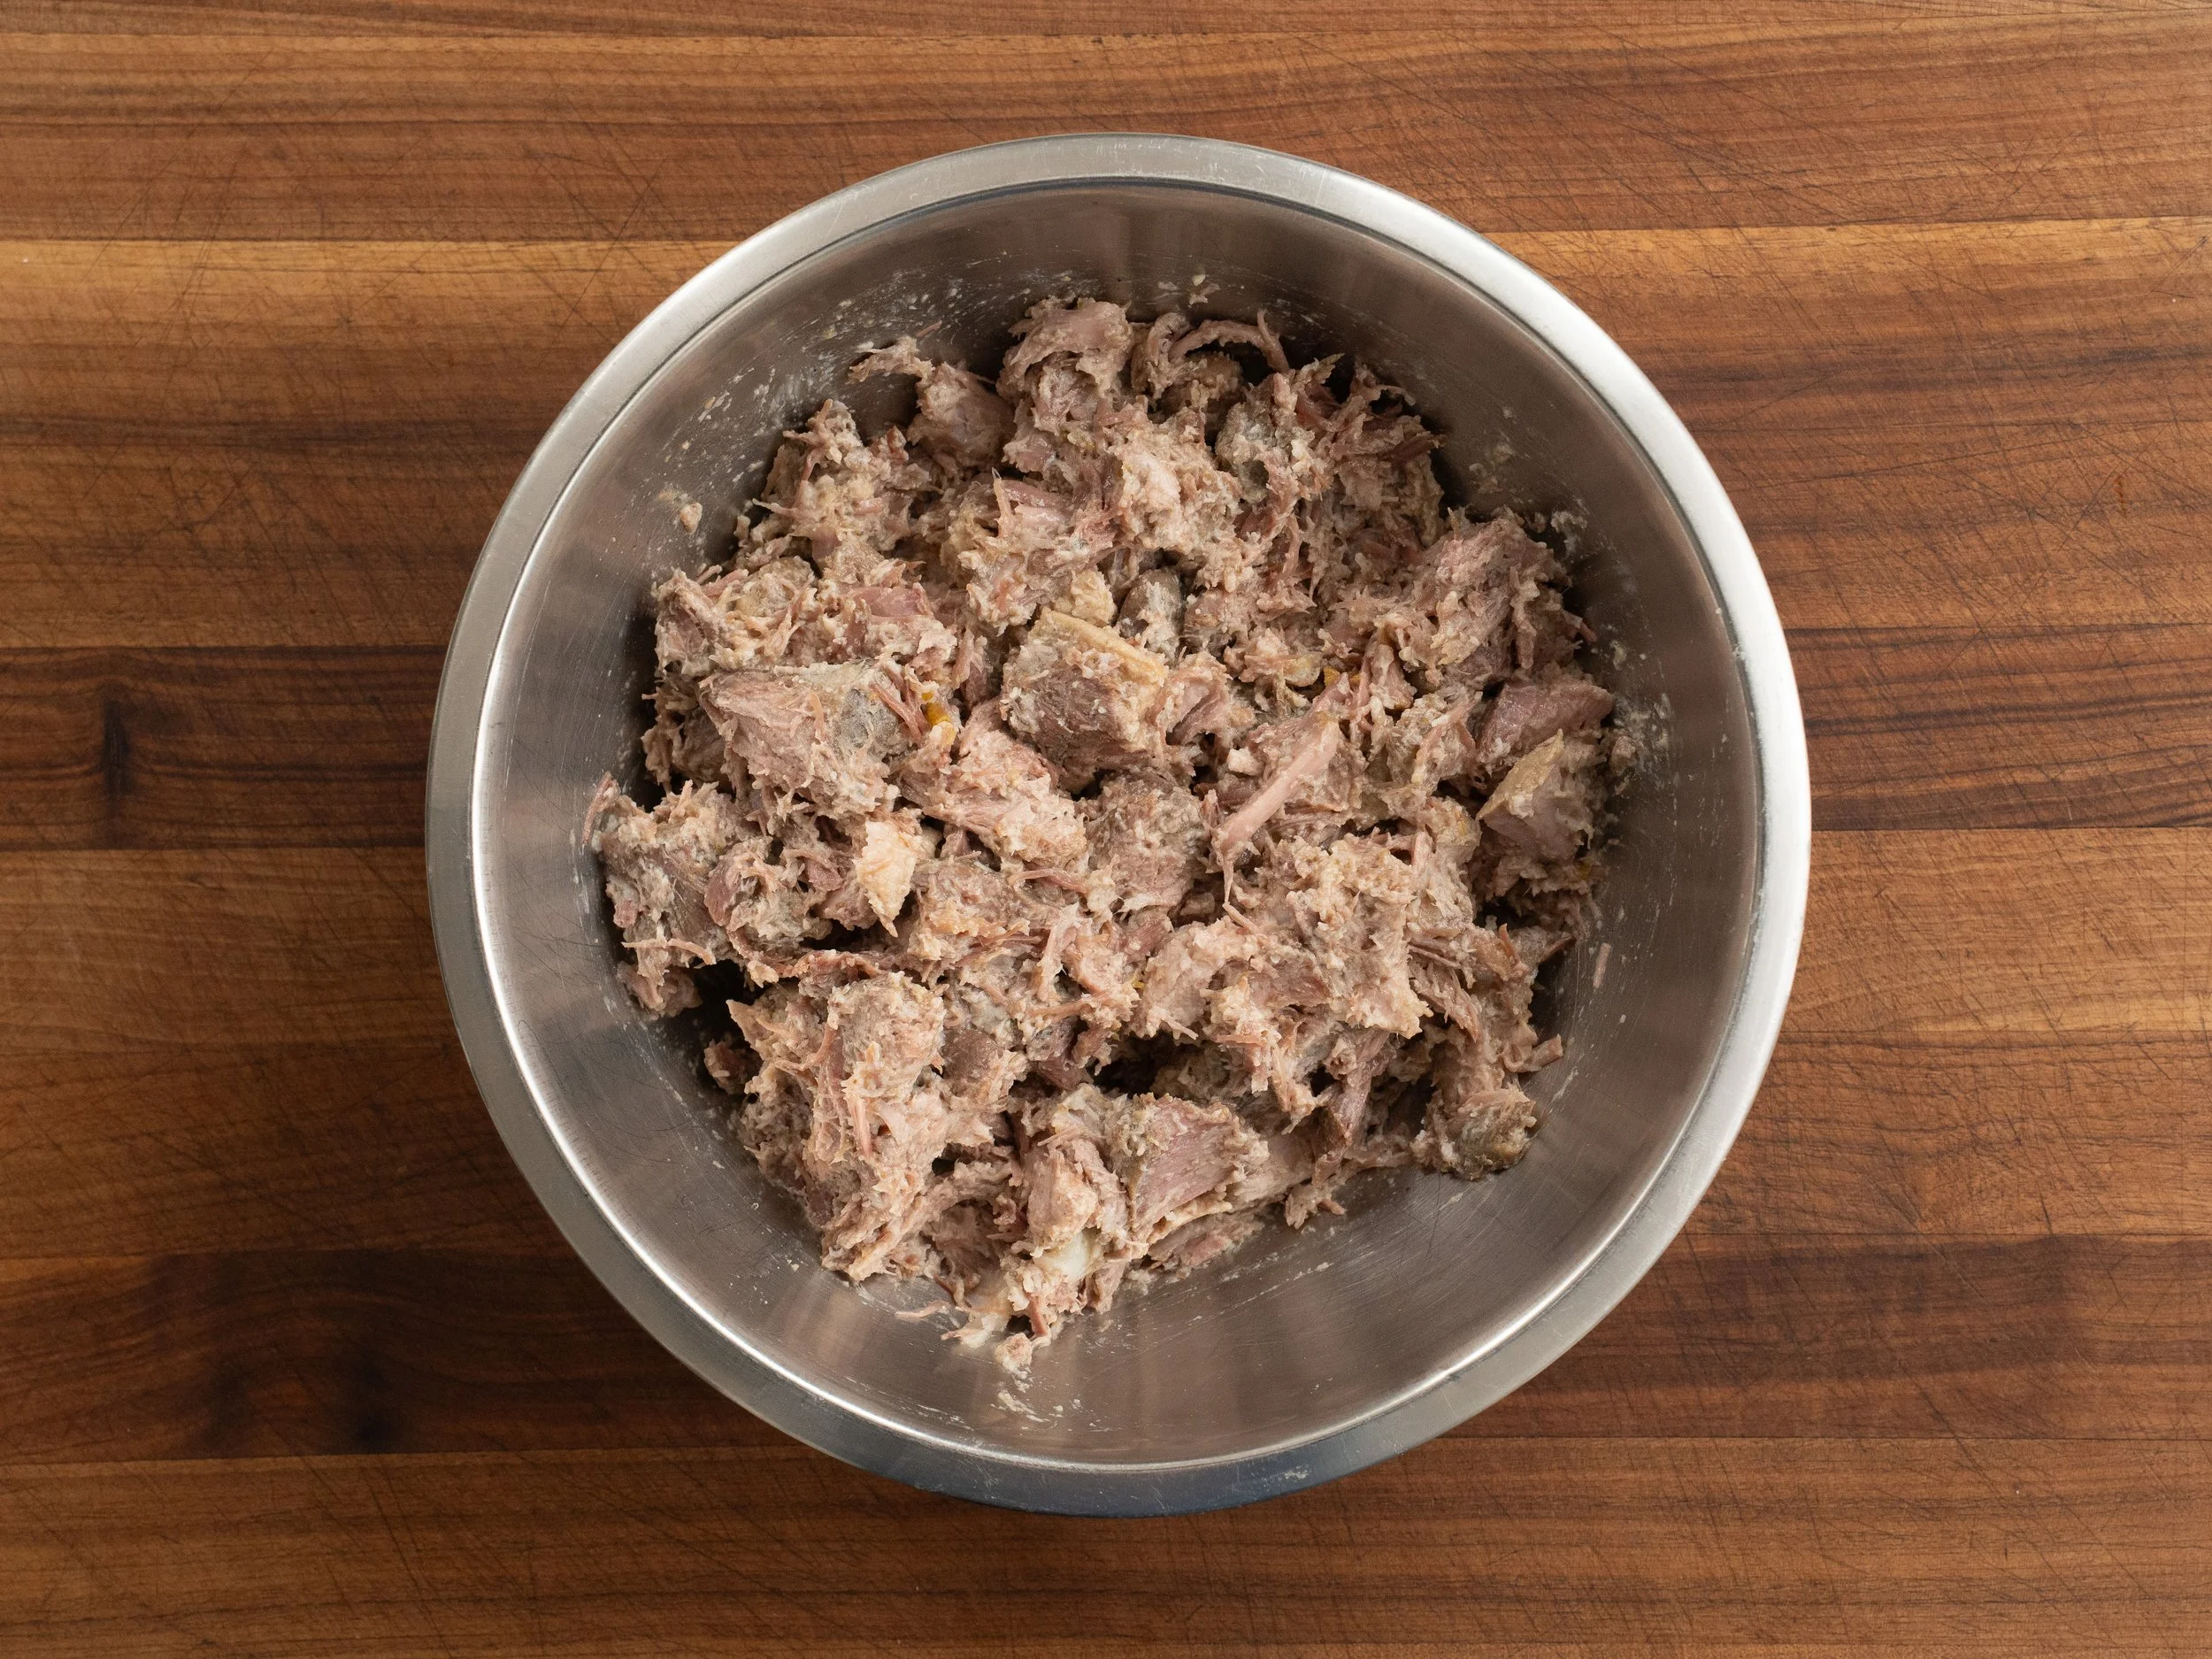
9. Mix the fat and gold back in. Add about 150g rendered pork fat and 150g pork gold to the shredded meat, then mix until everything is evenly coated.
For me, this is what separates good homemade carnitas from dry ones. The fat coats all the chunks and shreds, giving the meat that succulent porkiness. The pork gold re-seasons and re-moistens everything as it fries.
Do I need to measure this? Roughly equal parts fat and liquid is what I like, but you can eyeball it for sure. You want the pork glistening and well-coated, not swimming in a puddle of goop. If it looks dry, add a little more pork gold. If your pork is already juicy or fatty looking before adding the 150g of each, add a little less.
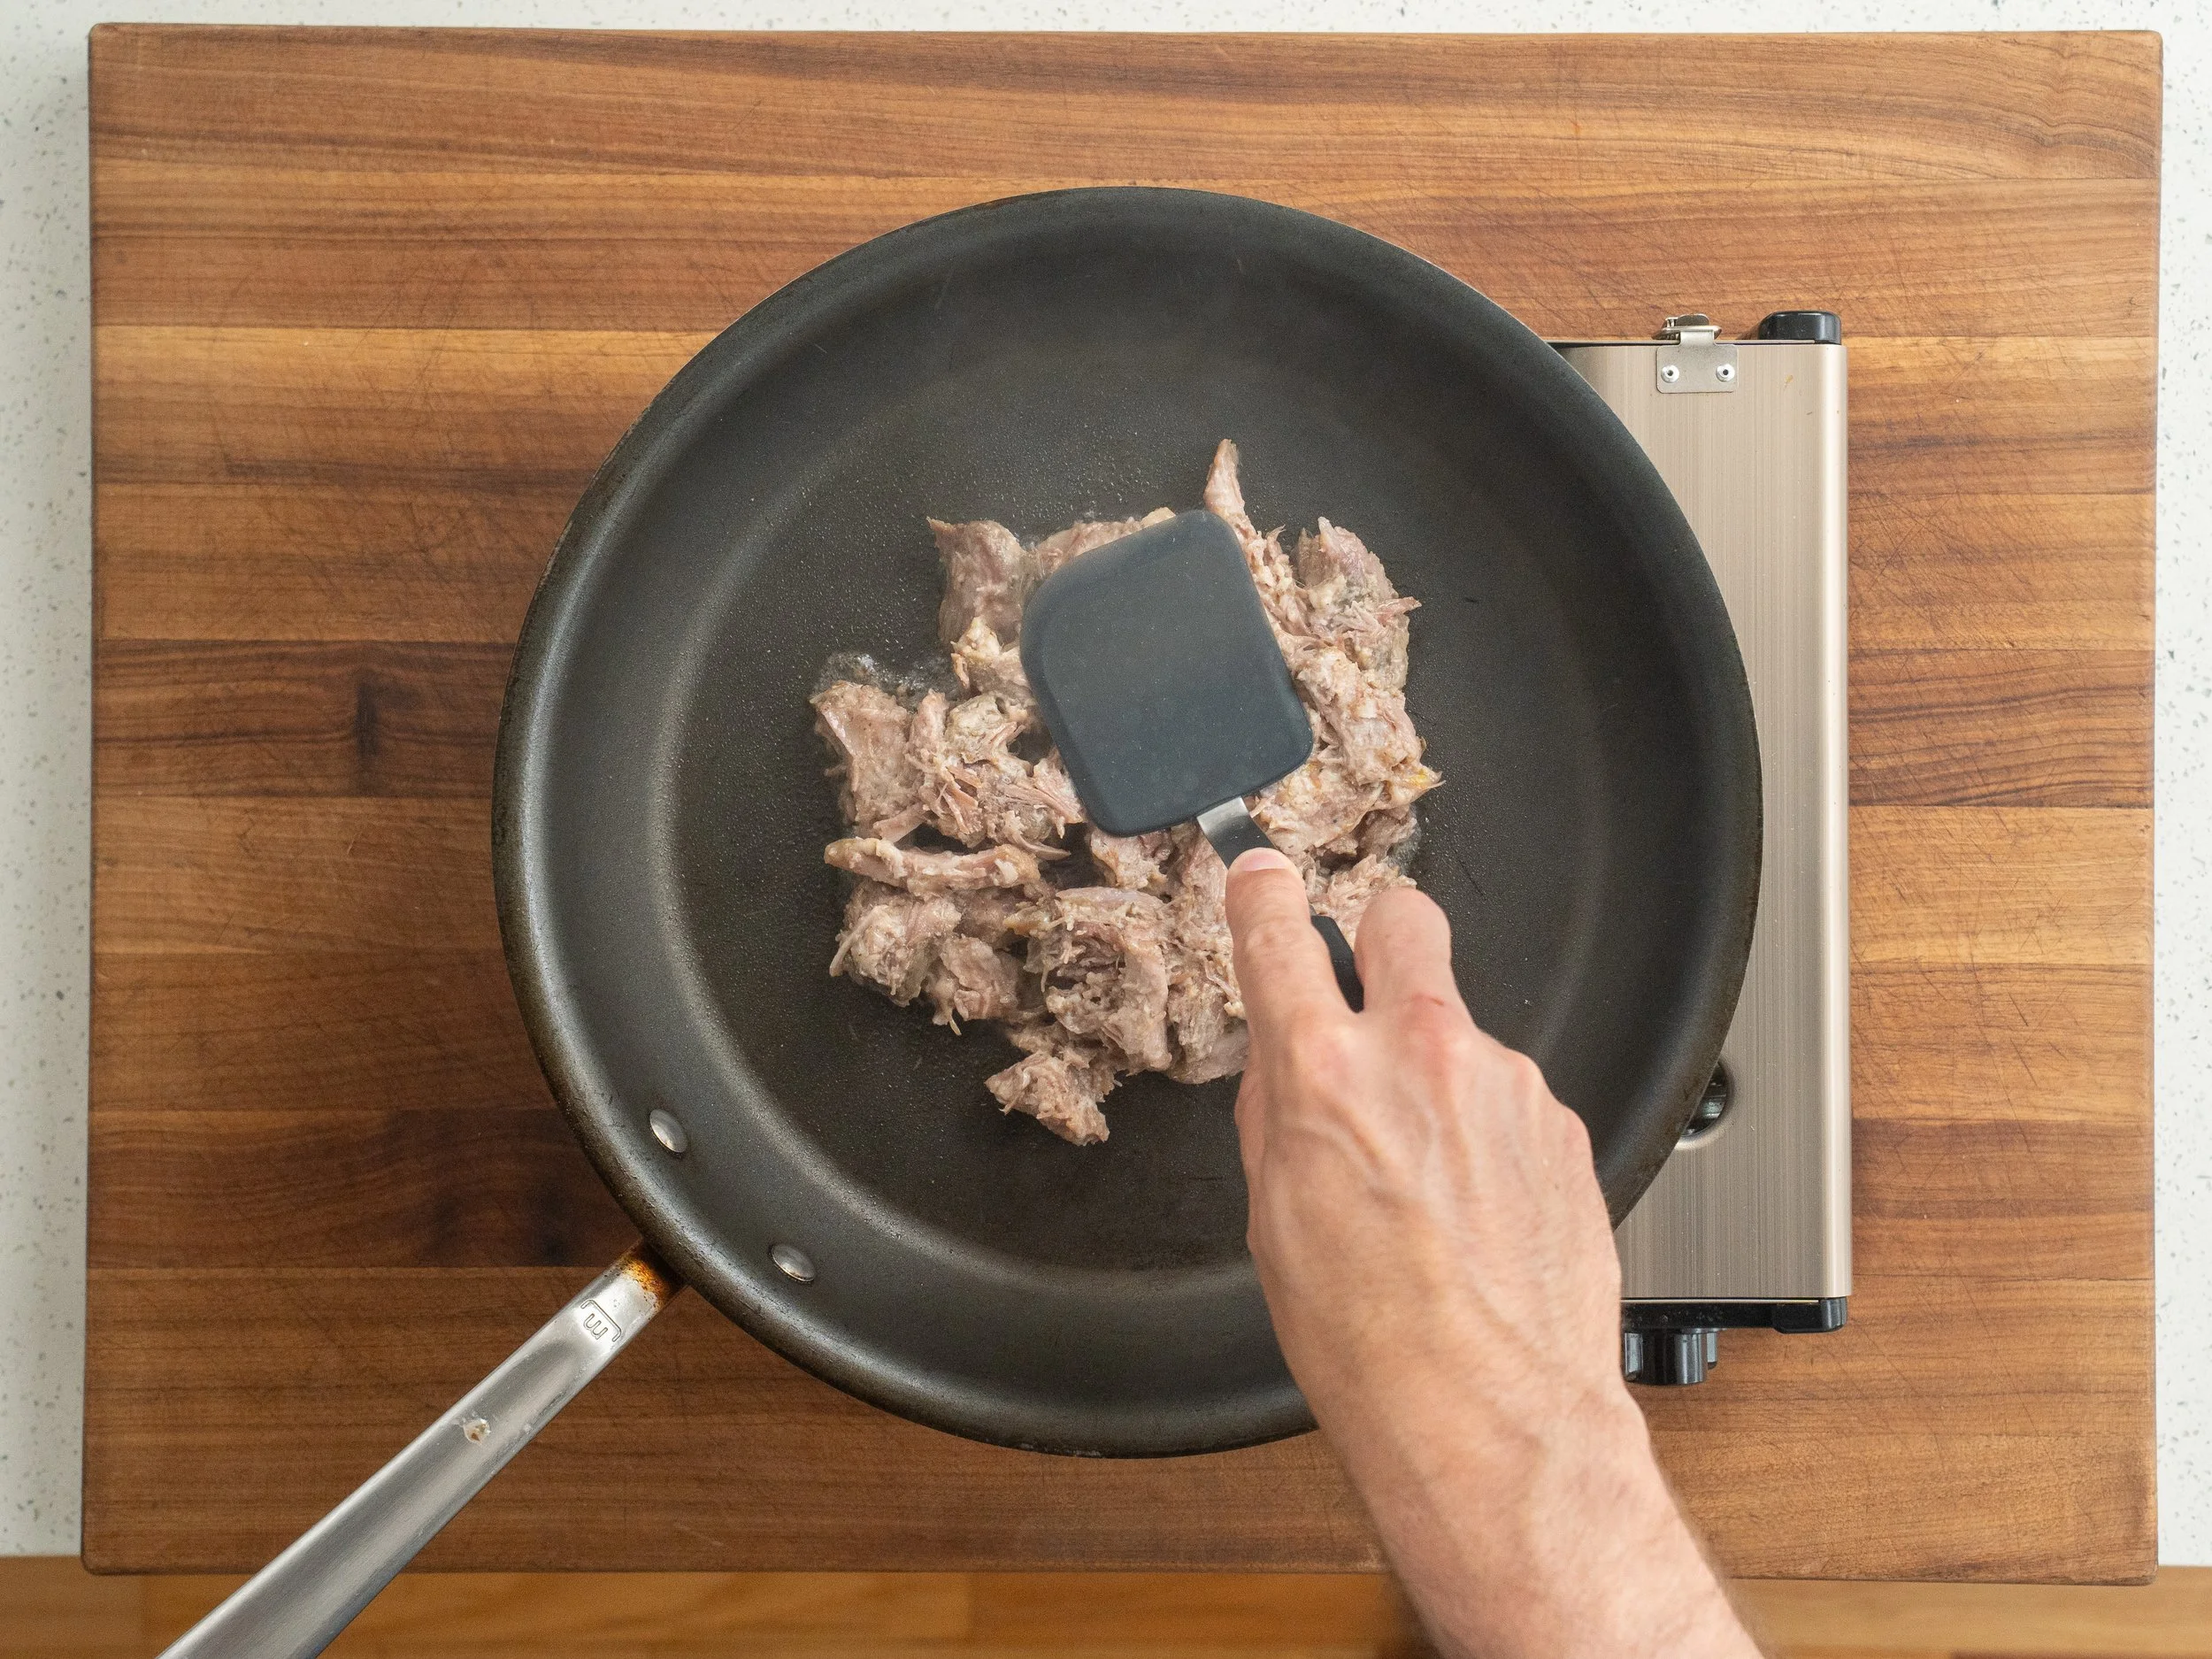
10. Sear until crispy. Heat a nonstick sauté pan over medium-high heat. Add the pork in a thin, even layer, then press it down and let it sizzle untouched for about 90 seconds.
At first, the pork gold will steam and reduce, which warms the meat through and keeps it juicy. Then, as that liquid cooks off, the fat starts to crisp the pork. Don’t move it around too much or you’ll over-shred it.
Once the pork is deep golden and crispy on one side, flip and repeat. I like to take 30-40% of it to a dark golden brown with lots of crispy edges, while still leaving some softer, juicier chunks in the mix.
Can I use a broiler to crisp this? Yes, but it’s not my favorite method. The broiler is a blunt instrument that take carnitas from nicely crisped to charred to dried out pretty quickly. Pan-crisping still gives you the best combo of deep crispy edges and moist, juicy meat.
That said, the broiler works when you want to crisp a lot of pork at once for a crowd. Spread the shredded pork in a thin layer on a sheet tray with a few spoonfuls of rendered pork fat and pork gold mixed in. Broil on high, 6 to 8 inches from the element, until browned and crispy. Keep a very close eye on it, though, because it can dry out fast.
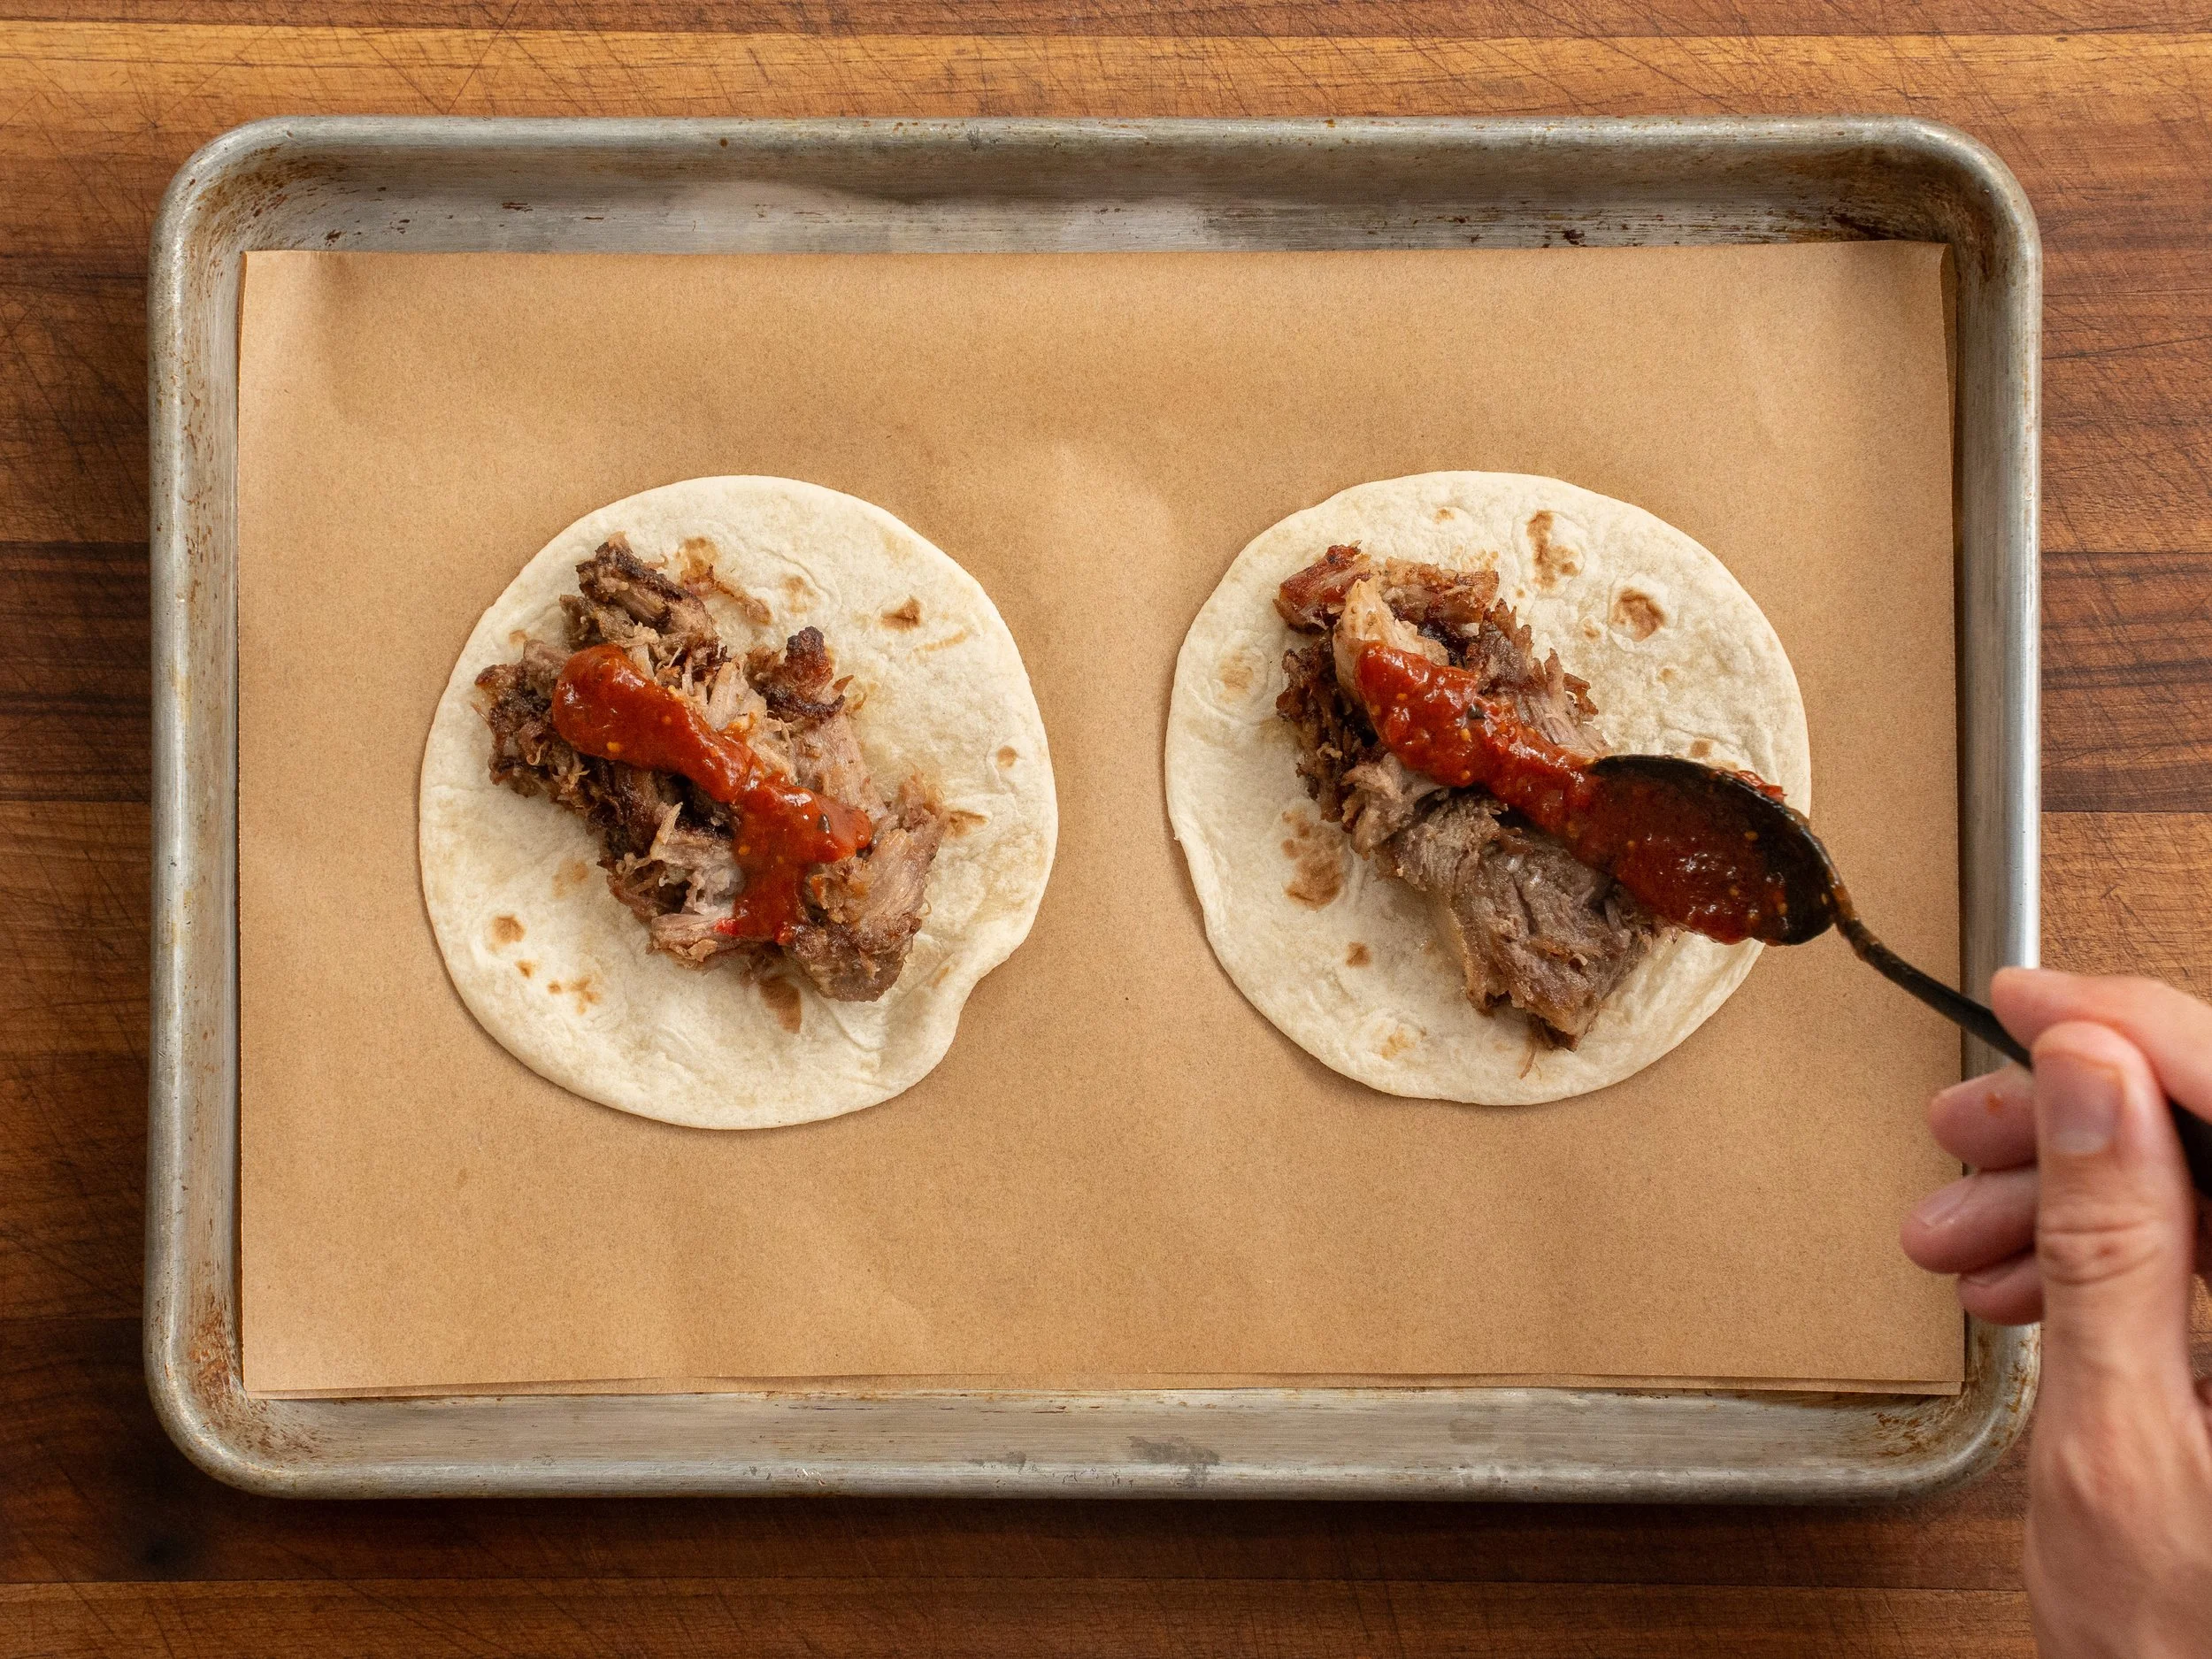
11. Serve. Once crisped, pile the carnitas onto warm flour tortillas and top with chopped onion, cilantro, and salsa taquera or roasted tomatillo salsa. Eat them right away, while the edges are still crisp and crackly.
Storage & Make-Ahead
The un-crisped pork keeps well in the fridge for 4 to 5 days. If you have extra, it also freezes really well. Pack it into an airtight container and freeze for up to 3 to 4 months.
My Go-To Gear
Below are the tools I actually use when making this recipe. Some of these are affiliate links, which means I may earn a small commission if you purchase through them at no extra cost to you.
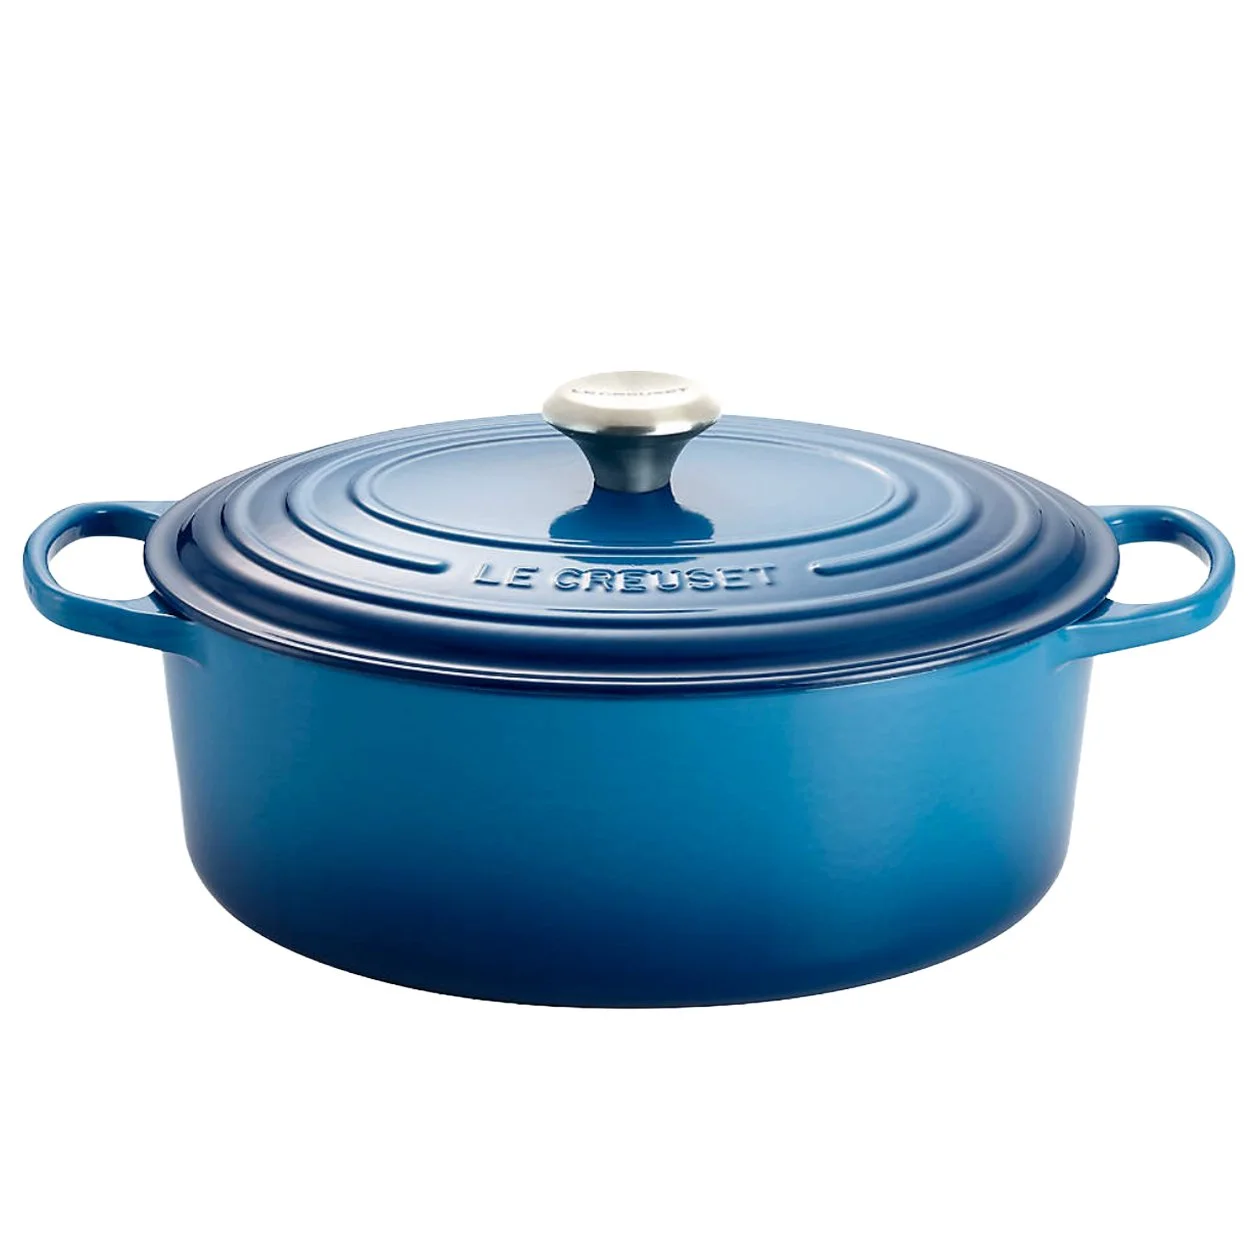
I prefer a more wide and low dutch-oven for the low and slow braise. Mine is a 6.75 qt which is ideal for this recipe. A 5.5qt works too, just reduce the size of your pork shoulder.
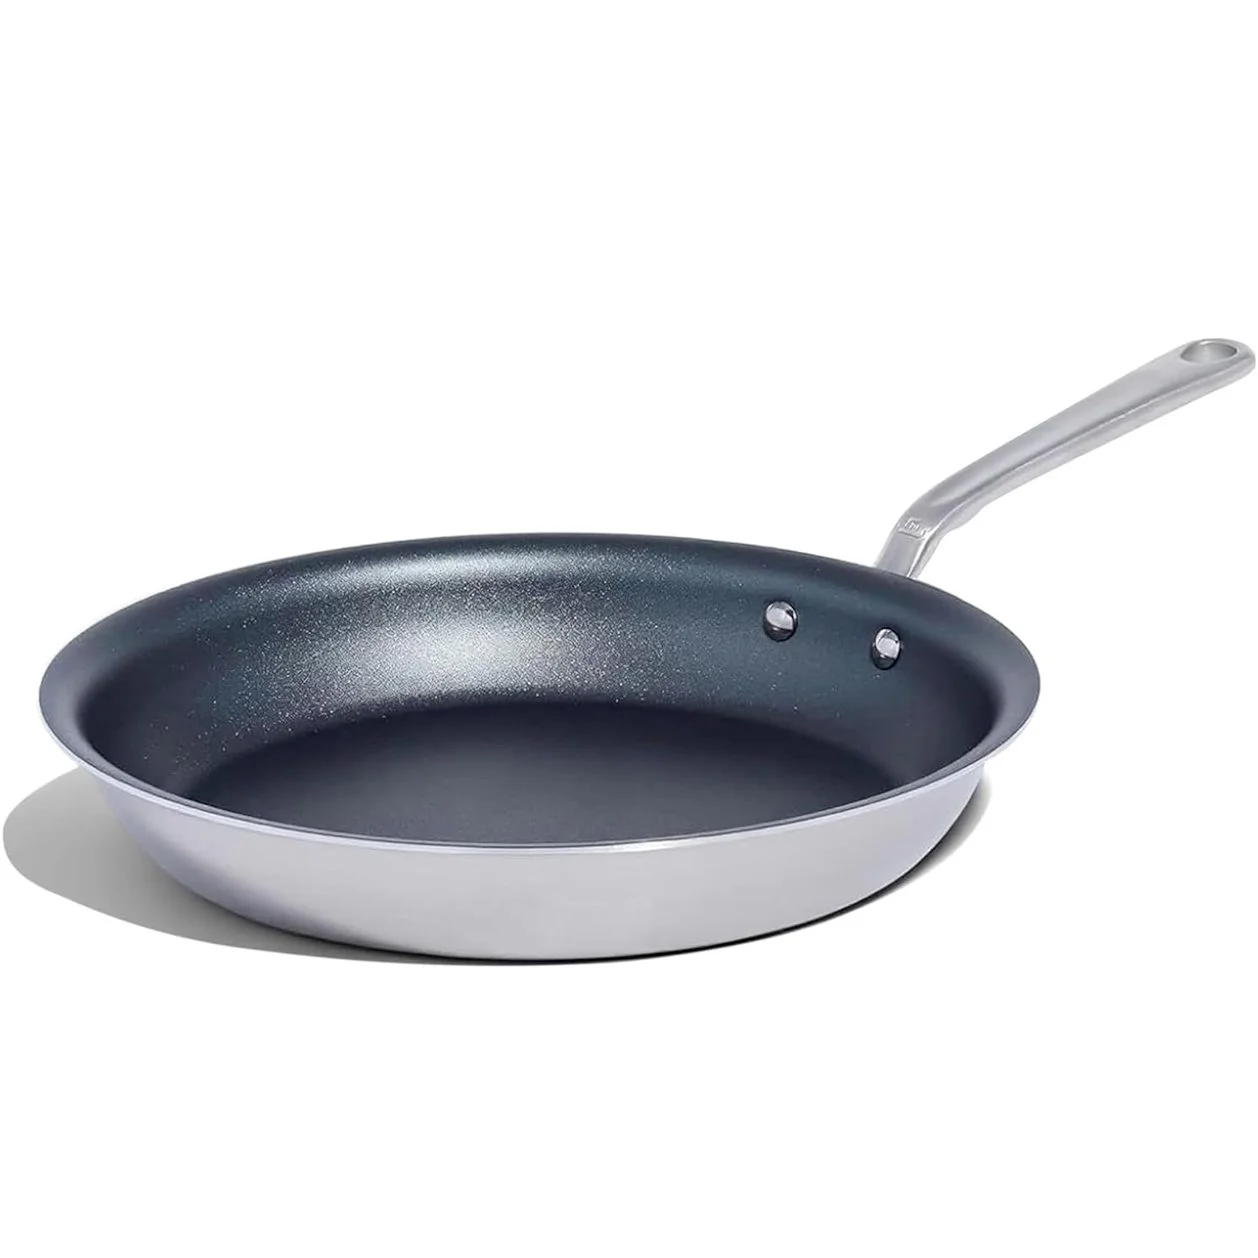
Using nonstick is the move for crisping. Stainless pans stick and cast iron only behaves if it’s well seasoned. Nonstick lets the pork get dark and crispy without tearing apart or leaving half the yummy crusty bits stuck in the pan.
Frequently Asked Questions
Should you use corn or flour tortillas for carnitas?
I go for flour here because I like the soft, slightly sweet chew against the crispy pork. A truly great corn tortilla would be excellent too, but those are harder to come by than people think.
This recipe isn’t meant to be 100% authentic. It’s a crispy pork taco that pays respect to carnitas, but mostly, it’s just the way I like to eat them.
Can I crisp carnitas under the broiler instead of in a pan?
For the BEST version I would not. The broiler can work if you're feeding a big crowd, but it's less precise. In my testing it dried the pork out too much. The pan crisp gives you a better crust while keeping more moisture in the meat. If you do go broiler, watch it like a hawk.